Installing the
What is It ?
The
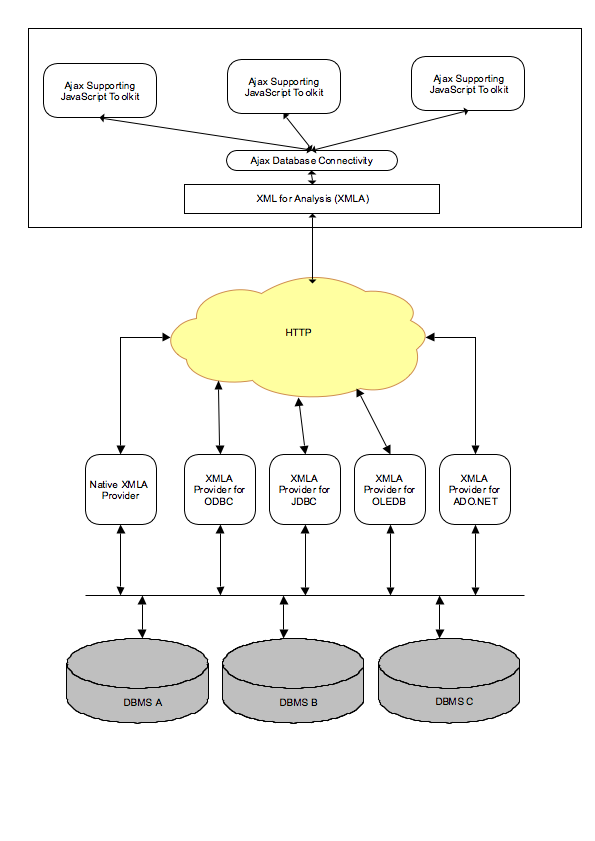
The
OAT includes the
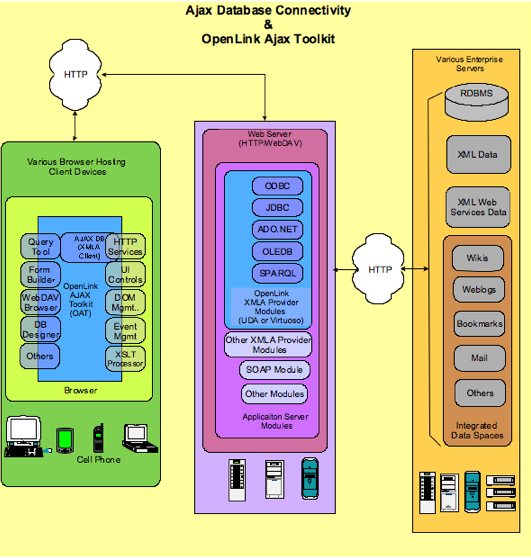
A lightweight standalone Web Server is also included for hosting the OAT and XMLA Provider applications or services. IIS (or any other web server) can also be used as the host.
How do I Use It ?
Installation
- Download the 32-bit
OpenLink Single-Tier Tabular XMLA Provider for Windows Installer.
- Run the Windows MSI installer (ntxmla.msi) to begin the installation process.

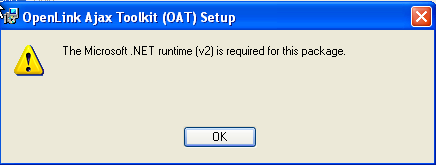
- The XMLA Provider requires the Microsoft .NET Framework version 2.0, which the installer prompts to be installed if not found to be already present.
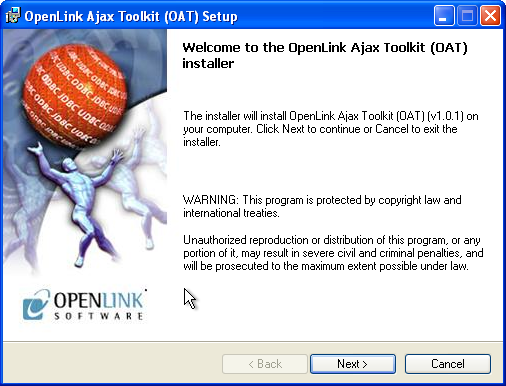
- The installer Welcome dialog is displayed providing details of the products to be installed.
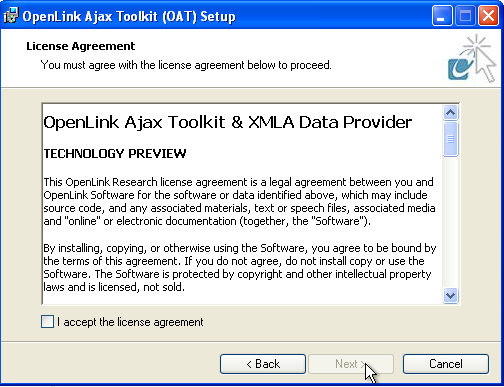
- The License agreement for the products is displayed.
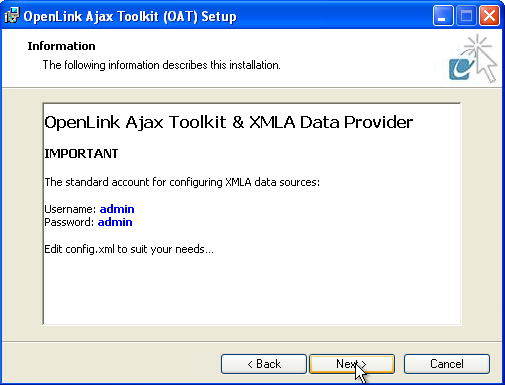
- An informational dialog is displayed detailing the default username and password to be used with the XMLA Provider data source configuration interface.
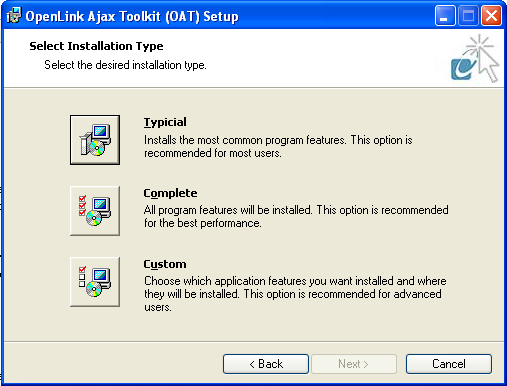
- Select the type of installation to be performed; 'Custom' is used in this guide.
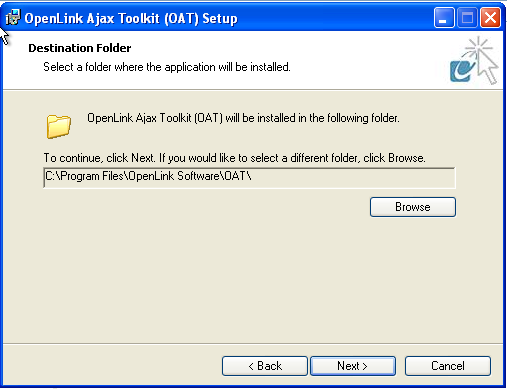
- The installer prompts for the installation directory (only during 'Custom' installation).
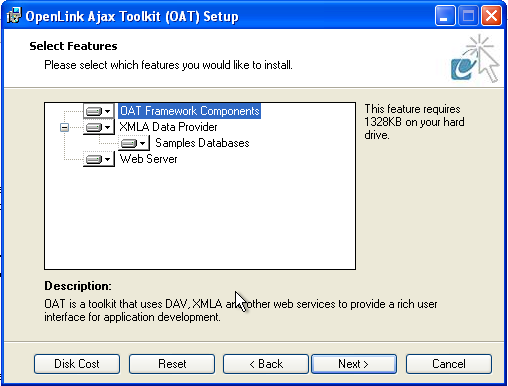
- Next choose the components to be installed (only during 'Custom' installation).
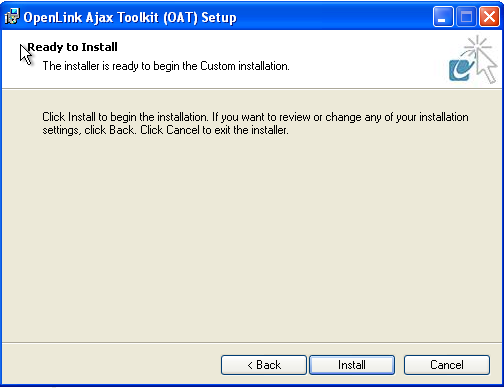
- The product is now ready to be installed.
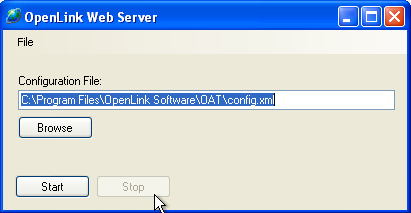
- When the installation is complete, a Web Server configuration dialog will be displayed enabling the Web Server to be started.
.It will use the configuration parameters in the specified config.xml file.
- Once the Web Server has been started , it can be used to host the OAT sample applications provided, and the hyperlink to the sample Form Designer Web application may be loaded.
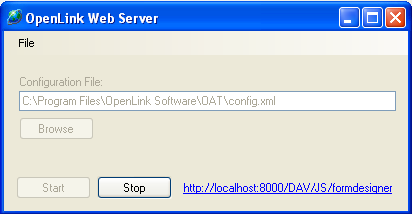
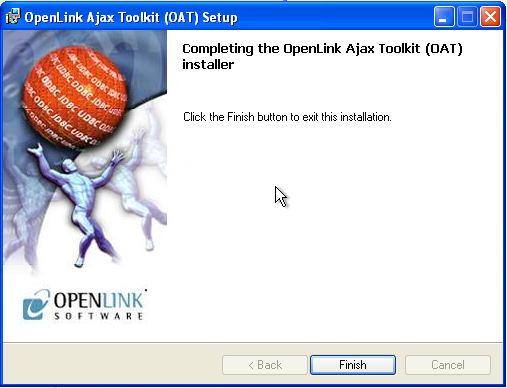
- The installation is now complete.
Configuration and Testing
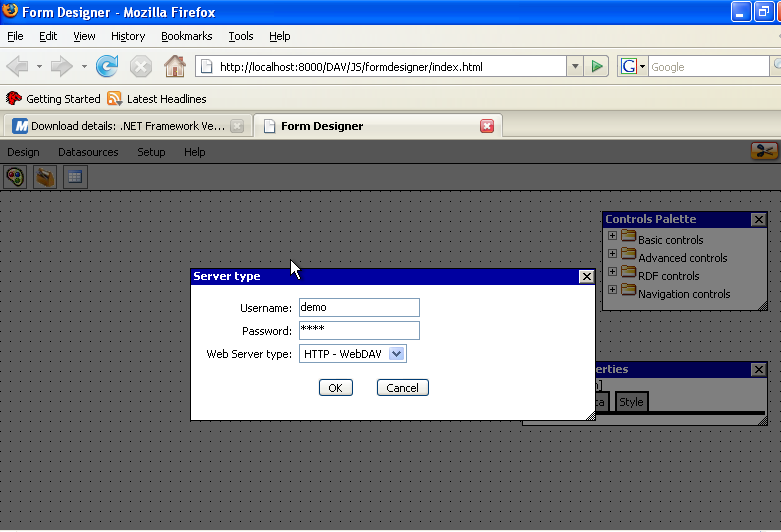
- Assuming the Form Designer application was started during the installation phase, the application loads and prompts for the username, password, and web server type to be used for the session; accept the defaults to continue.
- Run the XMLA Datasource configuration interface by starting it from the
OpenLink Ajax Toolkit start menu item

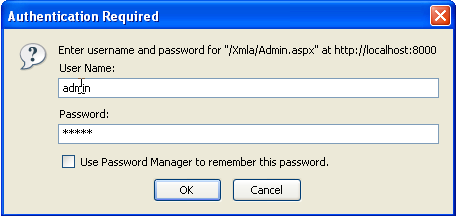
- Enter username/password default is admin/admin
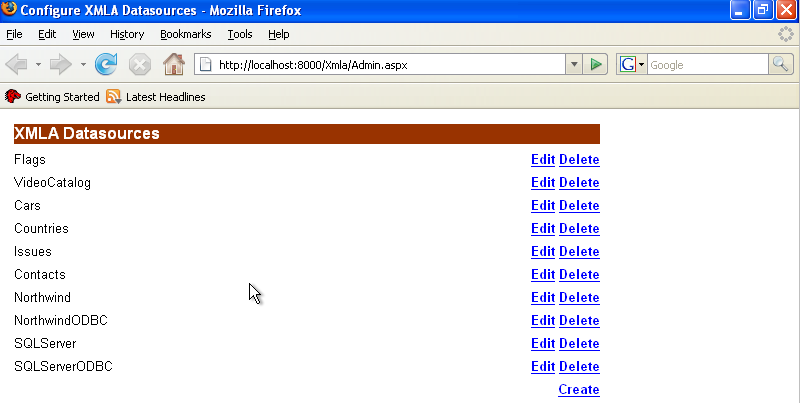
- Click on the 'Create' hyperlink to load the interface for creating a new XMLA Provider datasource
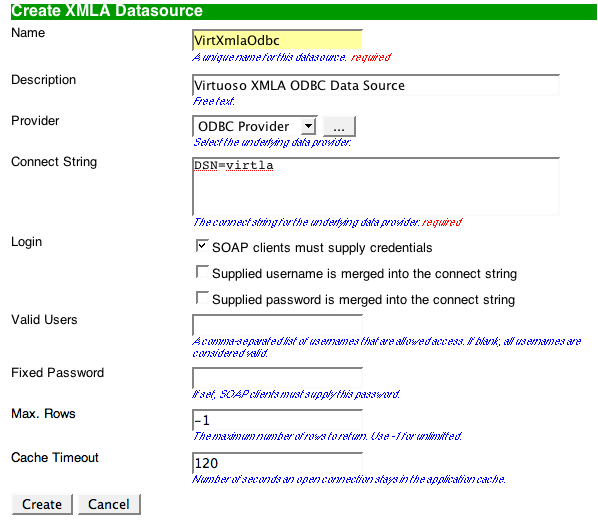
- Name - A name for the XMLA Data source
- Description - A description for the data source
- Provider - Specifies whether the connection will be made using ODBC or OLE DB
- Connect String - Manually add the connect string attributes in the text window or click on the '...' button to choose from a pre-configured list
- Login - Sets the login details to be hard coded, or provided through or by the client application
- Valid users - A comma-delimited list of users allowed to connect
- Fixed Password - A password specified here will be used for every data connection
- Max Rows - The maximum number of rows in a result set.
"-1" means no limit.
- Cache Timeout - Number of seconds an open connection stays in the application cache.
- Name - A name for the XMLA Data source
- Next an
OpenLink Database Connectivity(ADBC) data source needs to be created by choosing the 'View&Edit' menu item from the 'Datasorce' menu and clicking on the 'Add new Datasource' button of the presented dialog
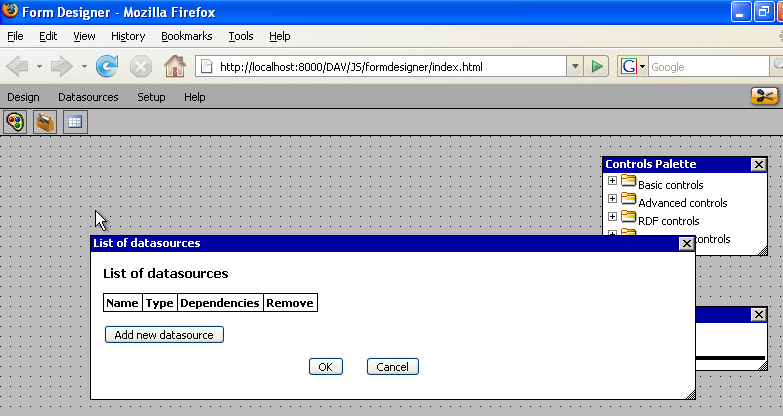
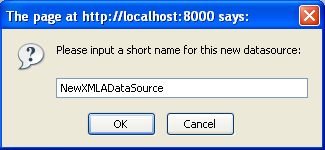
- Enter the name of the new datasource
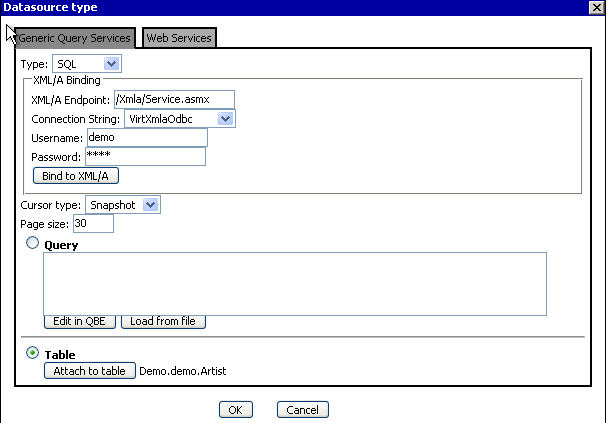
- Click on the 'Connect string' drop down list box, choose the XMLA Provider Data source created previously and click on the 'Bind to XMLA' button to bind the XMLA datasource to the ADBC datasource being ceated
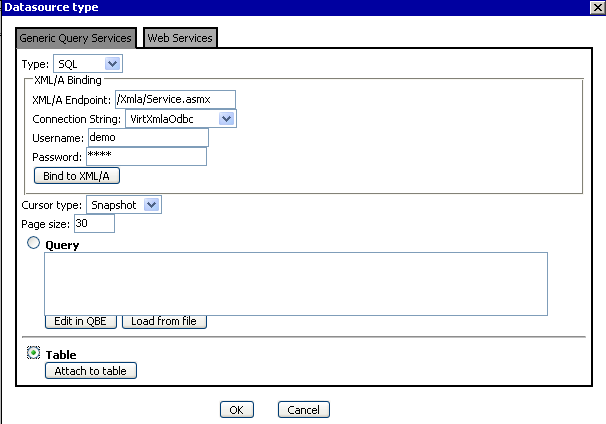
- Select the 'Table' radio buttom above, click on the 'Attach Table' button and choose a table to be associated with the ADBC datasource being created
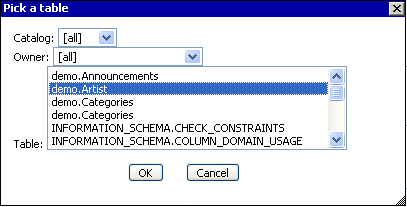
- The selected table will be displayed in the dialog
- From the 'Advanced controls' folder of the 'Control Pallete' dialog drag the 'Grid' control onto the Form and select the ADBC datasource created for use in the 'Data' tab of the Grid 'Control Properties'
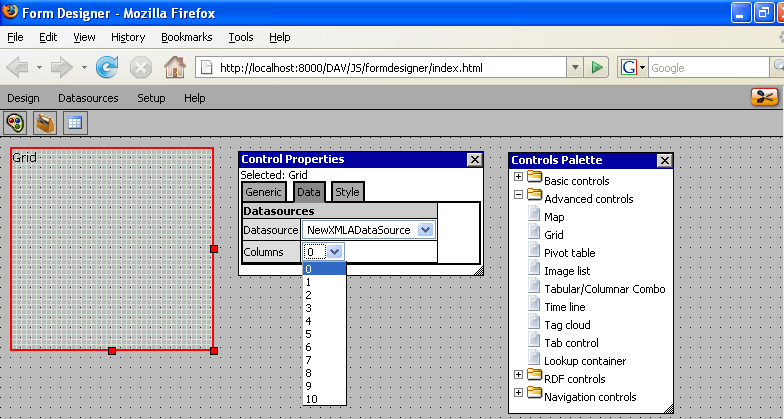
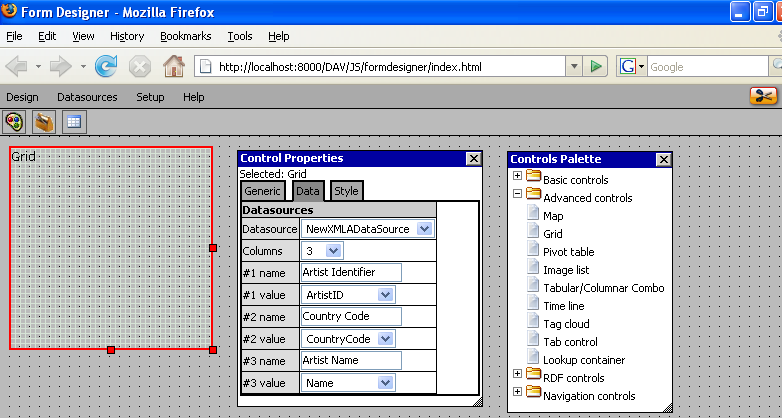
- In the 'Data' tab select the number of columns to be displayed in the Grid and choose the columns from the bound ADBC datasource to be displayed in the Grid
- Select the 'Save' item of the 'Design' menu to save the Form before previewing it
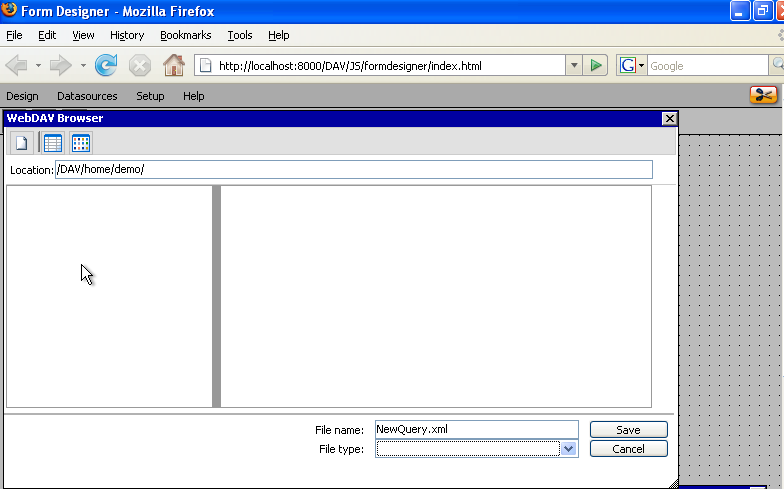
- Give the Form a name and location to be saved
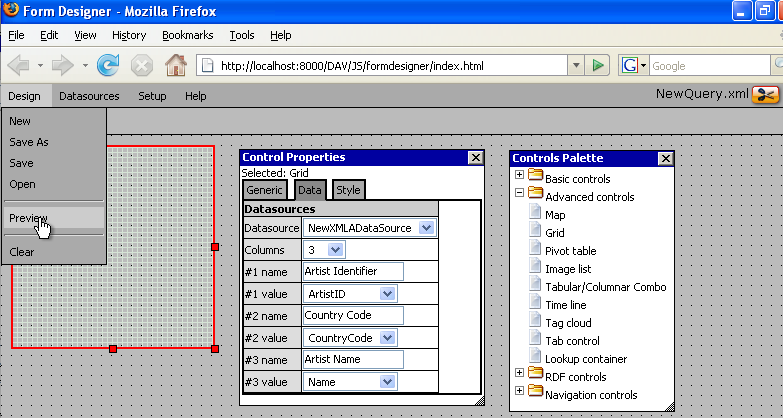
- Click the 'Preview' item of the Design menu to load the Form and preview the bound data in the Grid:

Other sample OAT applications available from the 'OpenLink Ajax Toolkit' start menu item which include the OAT 'Query by Exmaple' and 'SQL Designer' applications ...
IIS Configuration
The OAT and XMLA Provider can be configured for use with IIS on Windows as detailed below, enabling XMLA applications to be written using the
Note configuration and testing with IIS v7 is currently in progress ... We expect it to work fine, but cannot provide specific guidance yet.
The following steps will work for IIS v6.
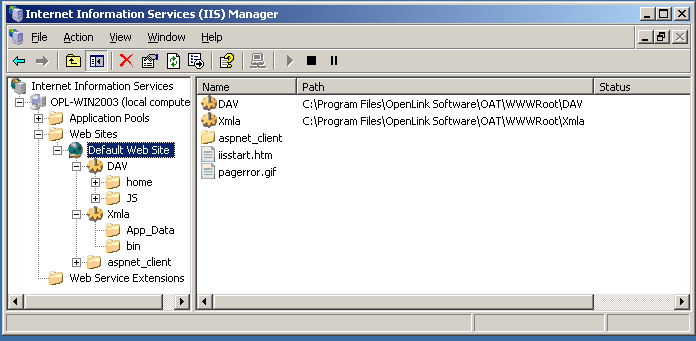
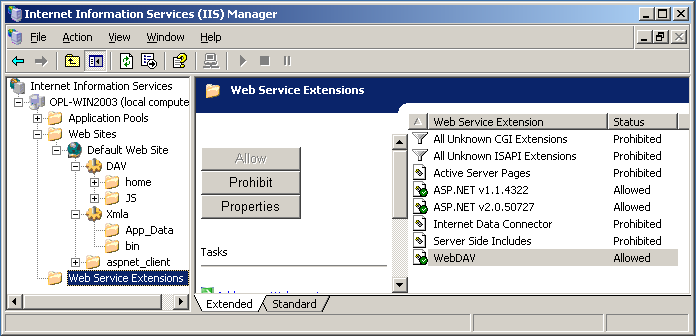
- Run the "Internet Information Services (IIS) Manager" program from Control Panel -> Administrative Tools
- Created an IIS Virtual Directories called /DAV with the physical directory pointing to C:\Program Files\
OpenLink Software\OAT\DAV (or where ever the XMLA Provider was installed)
- Created an IIS Application domain called /Xmla, with physical directory pointing to C:\Program Files\
OpenLink Software\OAT\Xmla (or where ever the XMLA Provider was installed) containing the web.config file
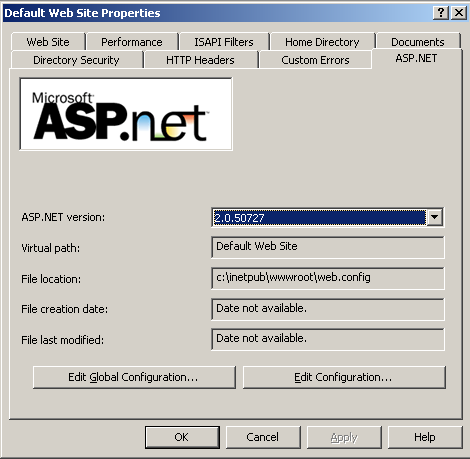
- Enable ASP.Net 2.0 support for Web Server instance to be used for hosting
- Enable the IIS WebDAV Web Service extension
- Enable ASP.Net 2.0 support for the Web Service extension.
Note if ASP.Net 2.0 was installed before IIS you will need to install the ASP.Net 2.0 module of IIS with the following command
C:\WINDOWS\Microsoft.NET\Framework\v2.0.50727\aspnet_regiis.exe -i
- Ensure the file C:\Program Files\
OpenLink Software\OAT\Xmla\App_data\datasources.xml is writable by the internal user IIS runs as. This is required to enable XMLA Provider Datasources created to be saved to the file via IIS.
Once IIS is configured, accessing the OAT sample applications can be achieved as described with the Stand alone Web Server bundled with the XMLA Provider using IIS instead.
