Installation & Configuration of the Single-Tier "Lite" Edition ADO.NET Provider for ODBC Data Sources, for Windows
Review Preinstallation Documentation: OpenLink .NET Data Provider for ODBC Pre-Installation Requirements
Installation
- The
OpenLink .NET Data Provider for ODBC is distributed as a Windows MSI installer. Double-click the installer (e.g., ntl6nodb.msi) to commence the installation: 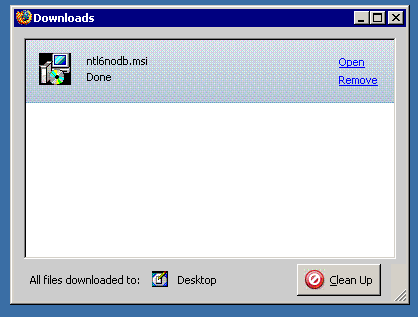
- This is the Welcome dialog for the
OpenLink .NET Data Provider for ODBC: 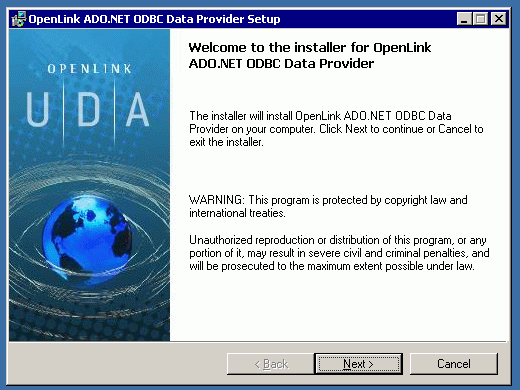
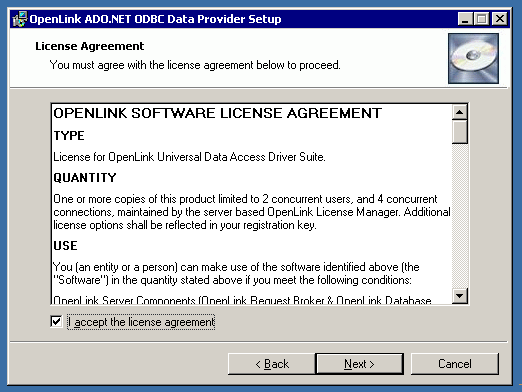
- Please read the Software License Agreement and accept before continuing your installation:
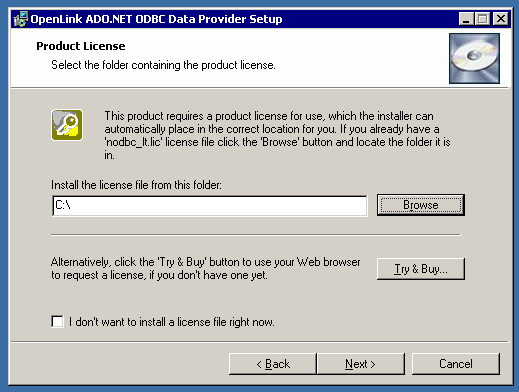
- Before installation, you will be prompted for a license file.
If a license file already exists on the machine, then select the 'use existing file' option.
A trial (try) or full (buy) license can be obtained by selecting the 'try and buy' option, which loads our online try and buy web page.
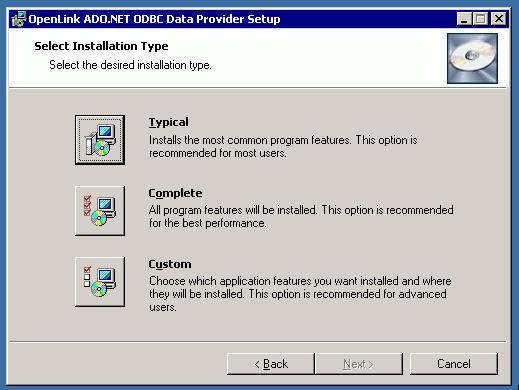
- Choose to perform a custom, typical, or complete installation of the provider:
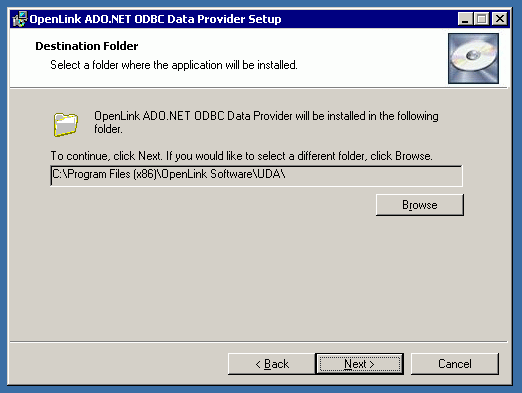
- You can use this dialog to choose the default installation directory, if you chose the custom installation option:
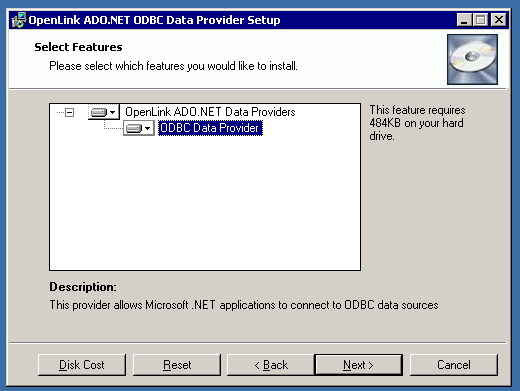
- You can choose which options to install, if you chose the custom installation option:
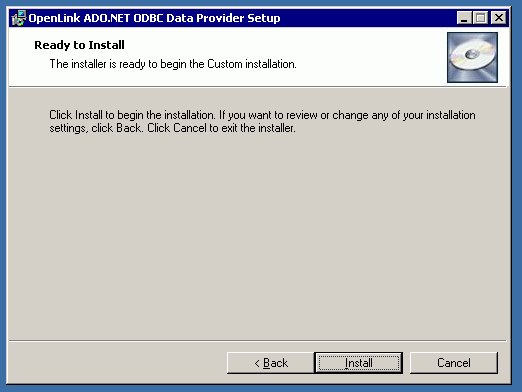
- Click the install button to begin the installation:
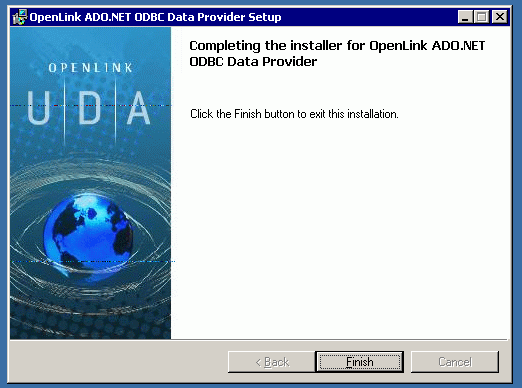
- The installation is complete.
Click the Finish button.
- You may be asked to restart your machine.
This will likely occur, if you have a pre-existing
OpenLink License Manager running. 
- Simply download the .dll and place it in the folder from which your .NET application runs.
Configuration
No additional configuration is involved, if you installed the DLL to a standard location.
The directory containing the DLL must either be the same as that from which the .NET application runs, or the directory's path must be included in the active Global Assembly Cache environment variable setting.
- Provider Name: OpenLink.Data.OdbcClient.dll
- Connection String: DSN=;UID=;PWD=;
- DSN = A local ODBC Data Source Name
- UID = Username associated with Data Source Name
- PWD = Password associated with Data Source Name
- DSN = A local ODBC Data Source Name
A valid connect string might look like this --
DSN=Oracle 10 on AIX52;UID=scott;PWD=tiger
Next...
- Test your connections.
- Should you decide to purchase a commercial license at the end of your evaluation period, be sure to consult our documentation which explains the placement and uptake of commercial license files and the use of our
OpenLink License Manager technology: License Technology & Application.