Installing the Virtuoso Universal Server on Unix-like OS (AIX, HP-UX, Linux, Solaris, etc.)
Installation
Once the required tar file has been downloaded from the web or ftp site and placed in a designated installation directory the installation process is ready to commence.
- Choose or create a suitable user account to own your Virtuoso installation.
- Un-tar the file to obtain the install script and archive file using a command like this, where XX specifies the OS identifier (e.g., l9 = Linux glibc25 x86_64, sv = Solaris 2.10 x86_64, etc.):
tar xvf XXvpz2zz.tar
- If a license file exists, place this in the same directory as the installation files, and it will automatically be applied during installation.
If upgrading an existing Virtuoso instance, be sure to take a backup of your database file and shut down the existing instance before proceeding.
- Run the install script using the following command:
$  sh install.sh

- Extracting Virtuoso Universal Server v8.3

- Checking where license file should be stored

Please make sure all licenses are stored in: "/etc/oplmgr"

- Checking for initial Virtuoso license

- Starting OpenLink License Manager
- Using License directory "/etc/oplmgr"

- Creating default environment settings

- Creating default database settings

- Configuring: database
  - Creating directory $VIRTUOSO_HOME/database/backup
  - Creating directory $VIRTUOSO_HOME/database/logs
  - Installing new virtuoso.ini in $VIRTUOSO_HOME/database
  - Installing new php.ini in $VIRTUOSO_HOME/database
  - Creating symlink to $VIRTUOSO_HOME/bin/virtuoso-iodbc-t

- Registering ODBC drivers

- Registering .NET provider for Mono

- Finalizing installation


This concludes the first part of the installation.

To start the Virtuoso database, please use the following command:

    $ bin/virtuoso-start.sh

After the Virtuoso database successfully started, you can continue
setting up your database by opening the following URL in your
browser:

    http://localhost:8890/conductor/


Installation completed
$
- Run the "bin/virtuoso-start.sh" script to start the Virtuoso database.
If this is an upgrade then the existing database will be started as is or if this is a new installation then a new database will be created in the "database" directory and an initial-password set for it:
$ bin/virtuoso-start.sh

Checking the OpenLink License Manager
- Using License directory "/etc/oplmgr"

Starting Virtuoso instance in [database]
  - Generating a random password
  - Initializing the new database

NOTE: The new database has been initialized with a randomly generated
      password for both dba and dav accounts. Make sure you change it
      at your earliest opportunity.
      The password has been saved to disk in:
	    database/.initial-password

  - Starting the database
- Check the "database/.initial-password" file to what the random password has been set to for the database:
$ cat database/.initial-password
sH7YX2kp
$
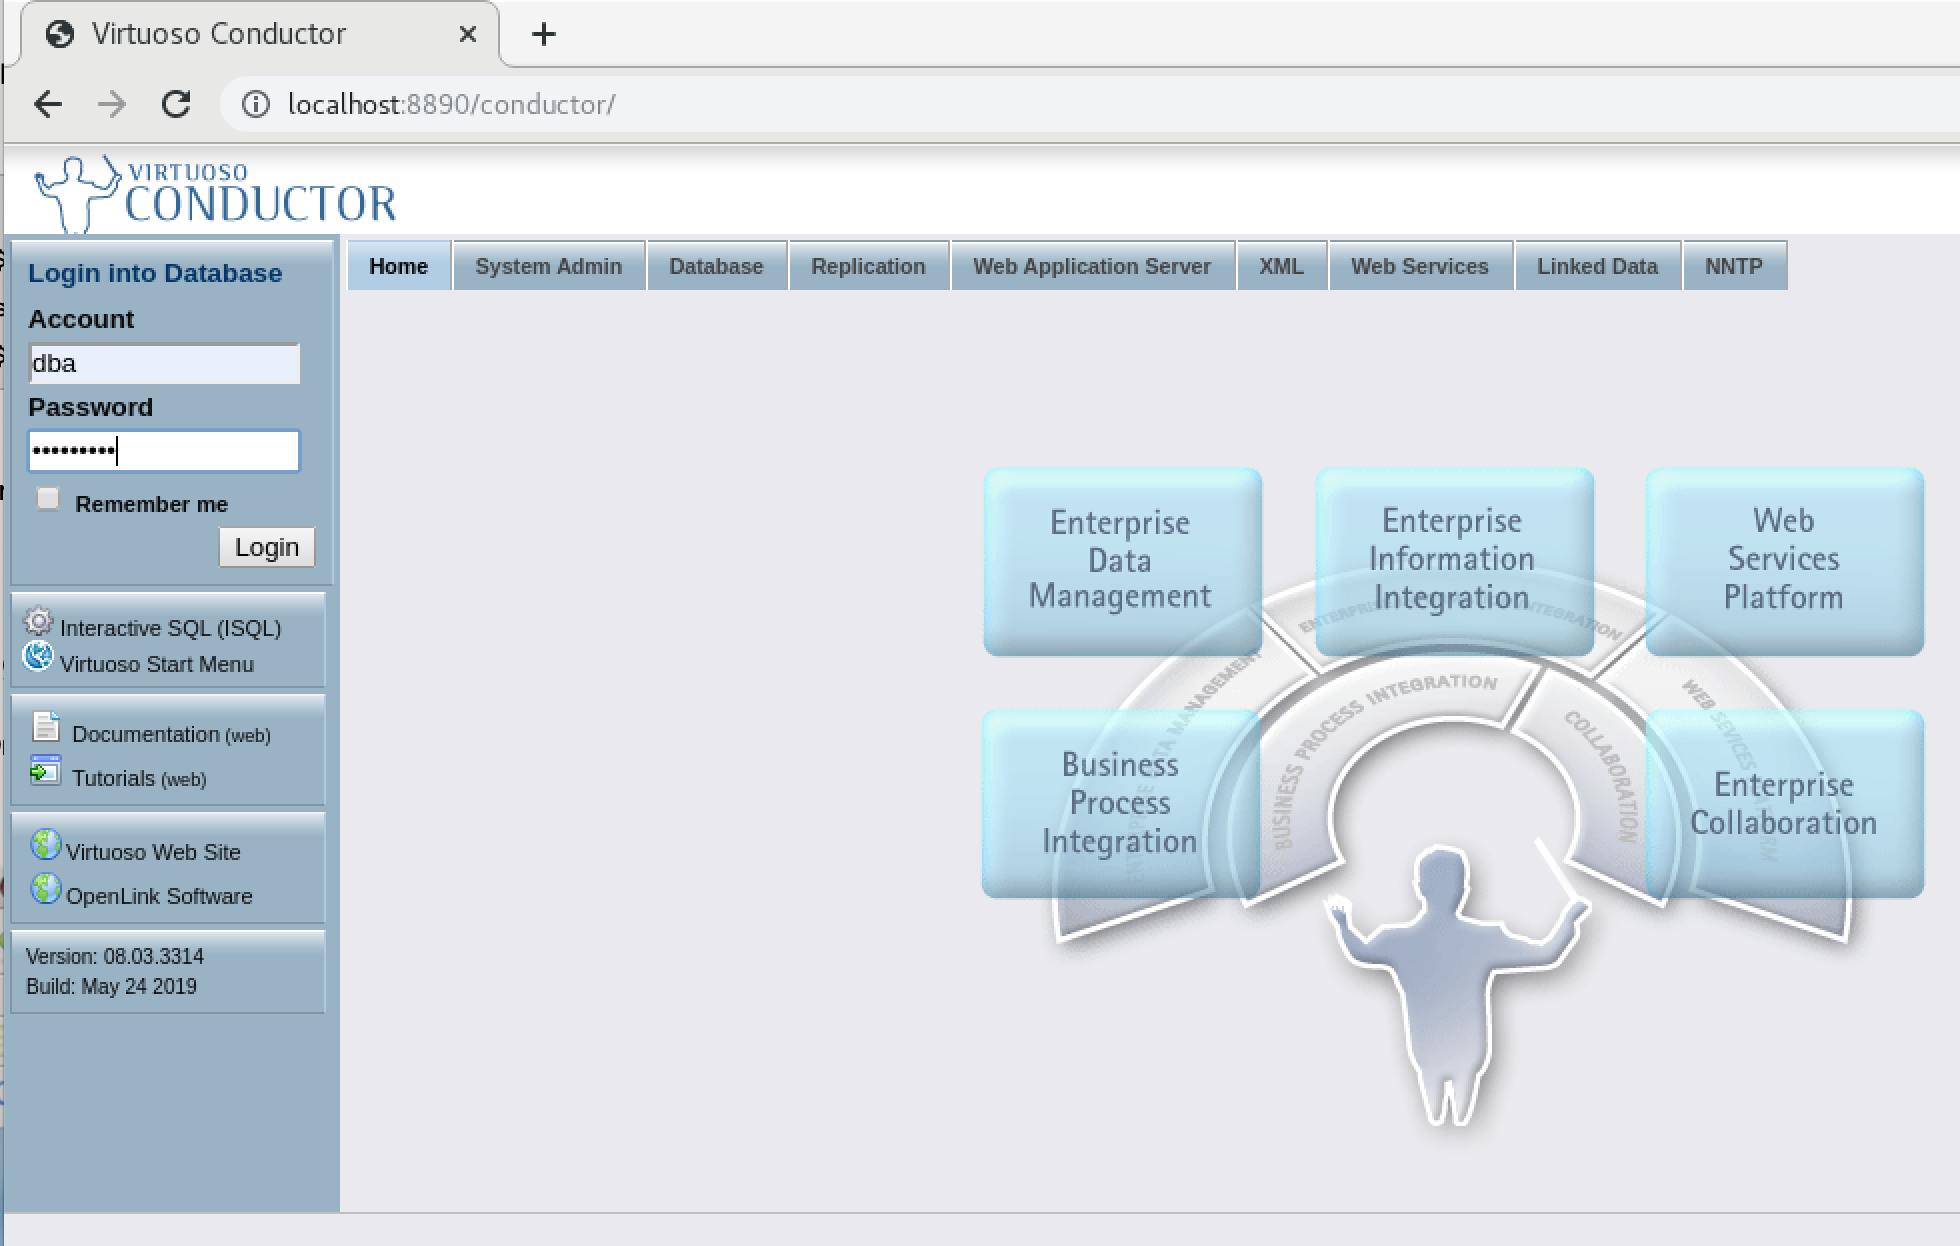
- The Virtuoso Conductor Database Administration Web interface "http://hostname:8890/conductor" can now be logged into using the password above:
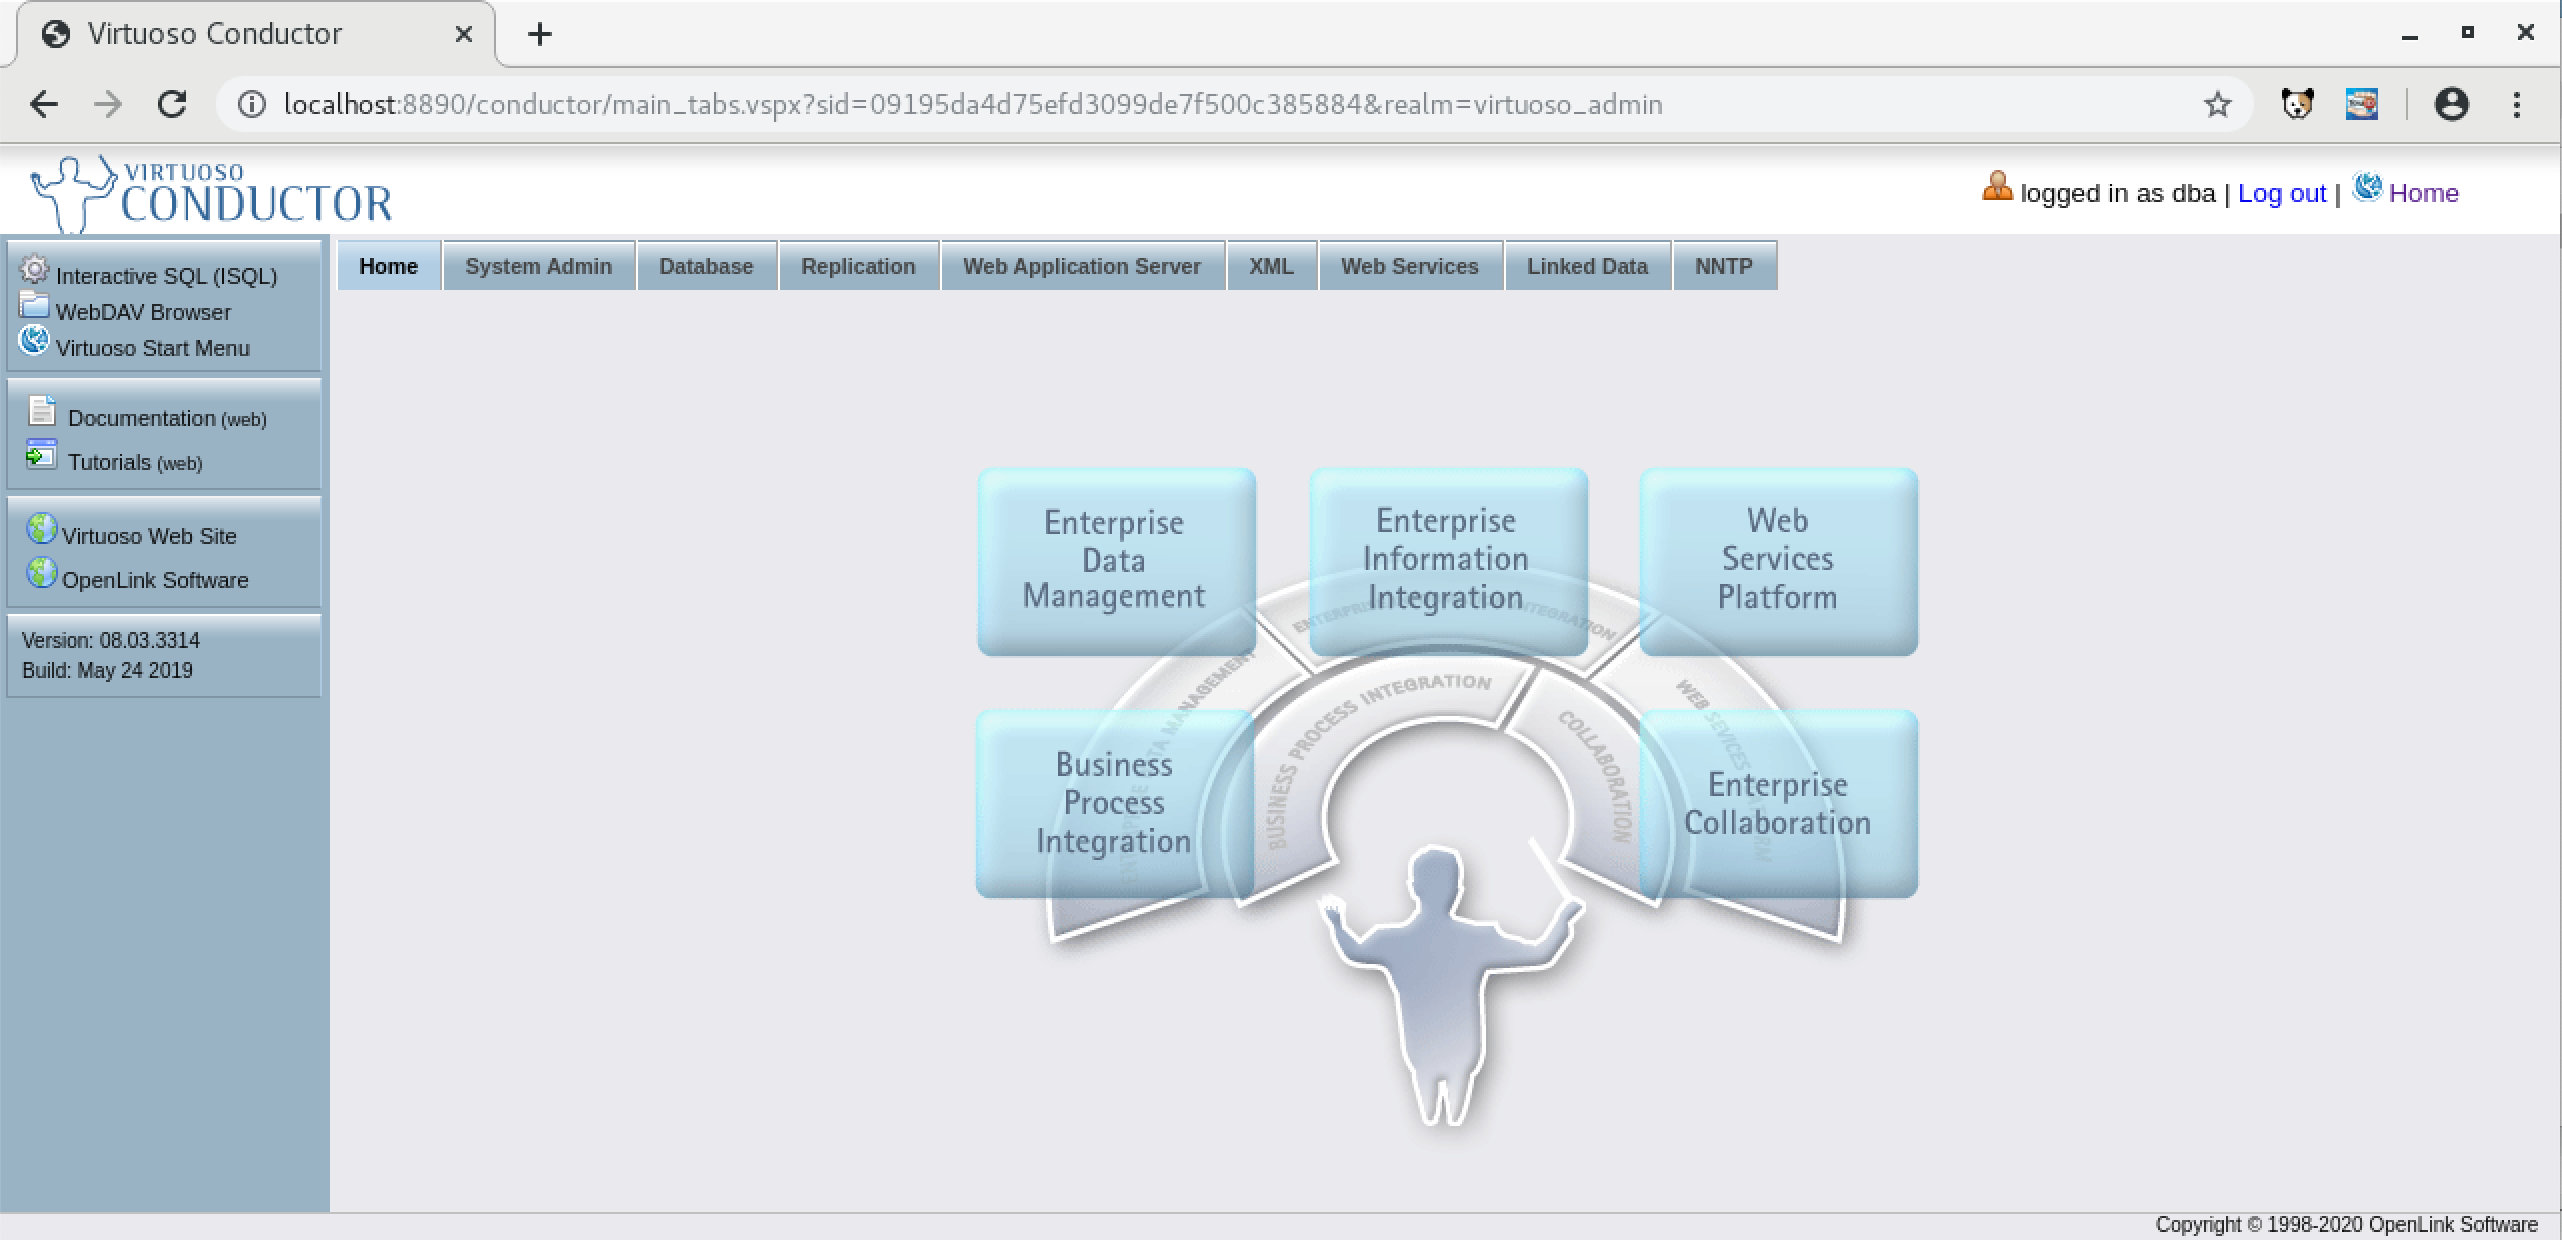
- If Conductor login is successful the installation is now ready for use: