Installing the Virtuoso Universal Server on Windows
- 0 - Prepare to Install
- 1 - Download the Virtuoso Installer Program
- 2 - Obtain a License File
- 3 - Run the Virtuoso Installer
- 4 - Start the Virtuoso Service Manager, and Locate it in the Task Bar
- 5 - Administer your Virtuoso Instance
- 6 - Optional - Restore your old Data and Configuration Files
- See Also
0 - Prepare to Install
If you are upgrading an existing Virtuoso installation and want to preserve your existing data and configuration files:
- Shut down your Virtuoso instance as normal.
- Goto to the
databasefolder of the Virtuoso installation, which is typically inC:\Program Files\OpenLink Softwareby default.
- Check the size of the
virtuoso.trxfile, found in the database folder alongside thevirtuoso.dbandvirtuoso.inifiles.
- If zero bytes, proceed to step 4.
- If larger than zero bytes, start the instance from the command line with the extra argument, "
+checkpoint-only", and recheck.trxfile size -- expecting zero bytes.
- If larger
.trxfiles persist, contact Technical Support.
- If zero bytes, proceed to step 4.
- Make a backup of your existing Virtuoso Database and Configuration files (defaults are
virtuoso.dbandvirtuoso.ini) prior to performing the steps that follow. Note: Virtuoso's online backup feature, if enabled, should have already generated a backup-set.
- Use the Add/Remove Programs utility to uninstall any previously installed Virtuoso components. Data and configuration files will be left behind by this process.
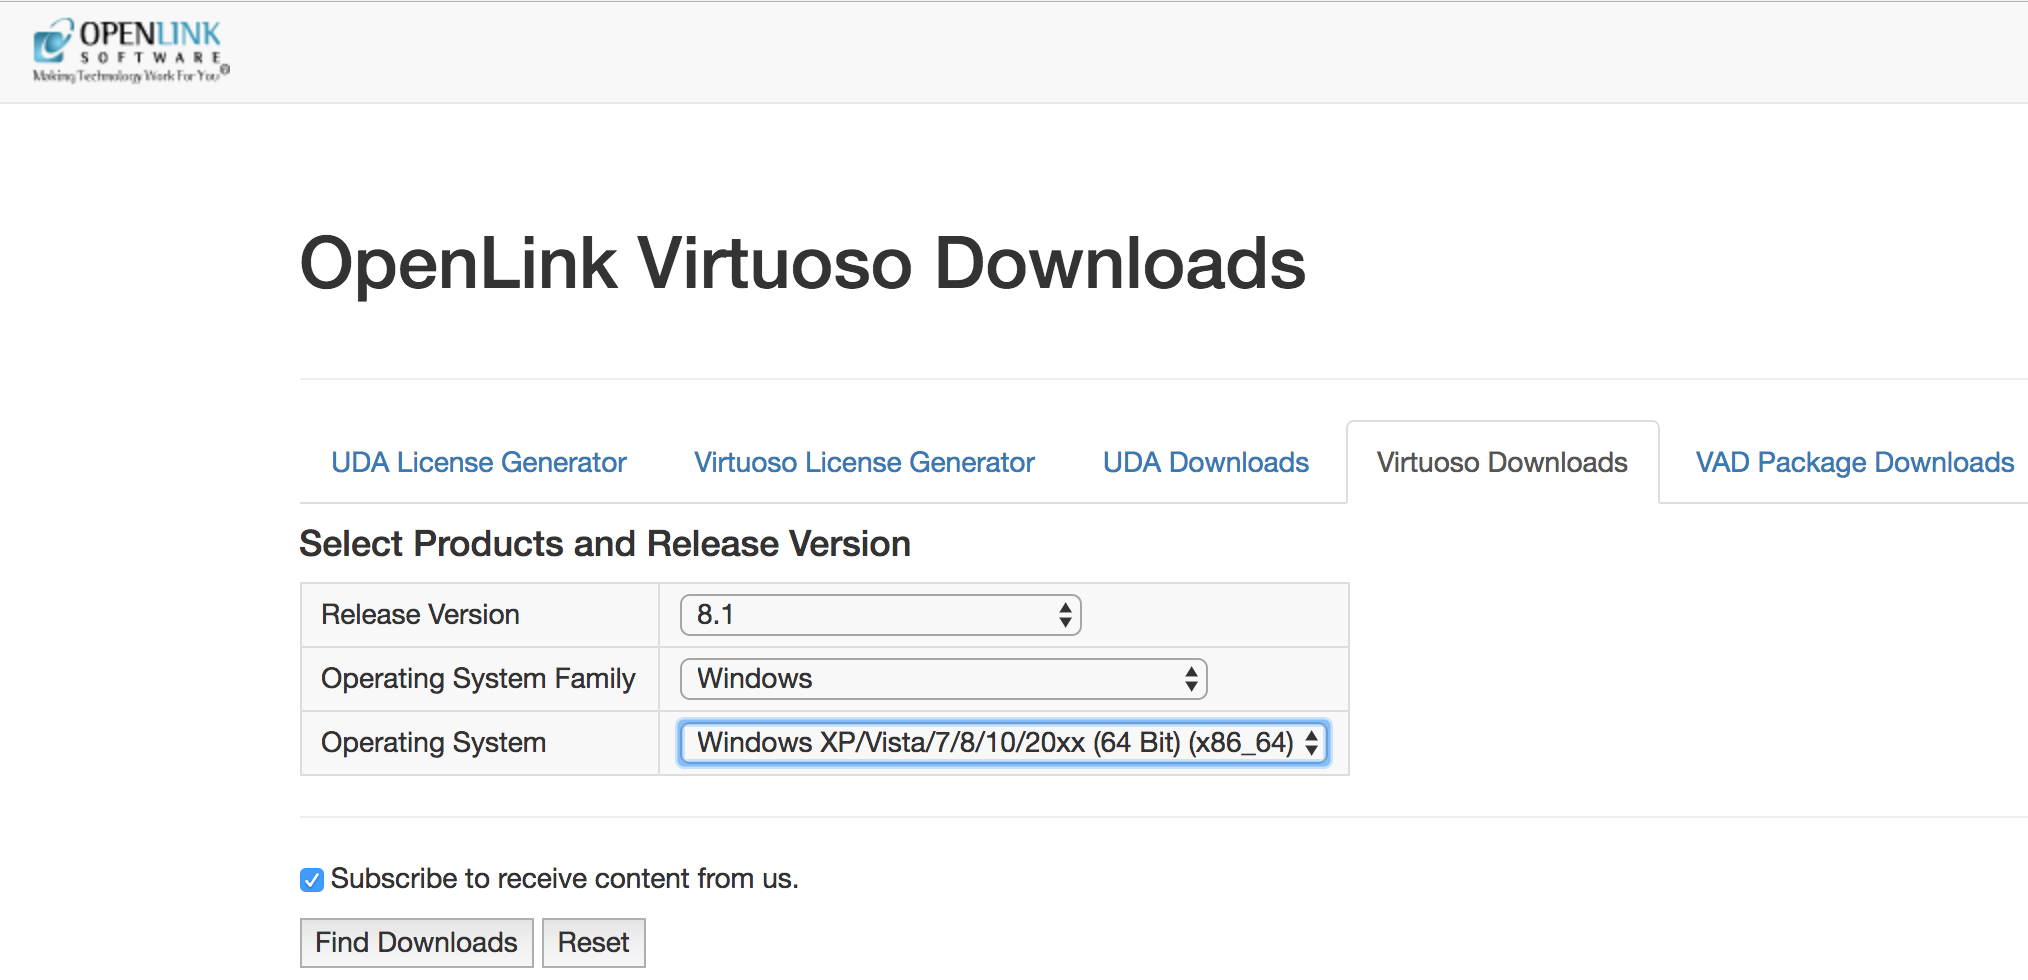
1 - Download the Virtuoso Installer Program
- Select the Virtuoso release number and Windows operating system required from the download site and click on the Find Downloads button.
Note: Virtuoso 7.x and above is 64-bit only, and requires Vista or Windows Server 2003, or later.
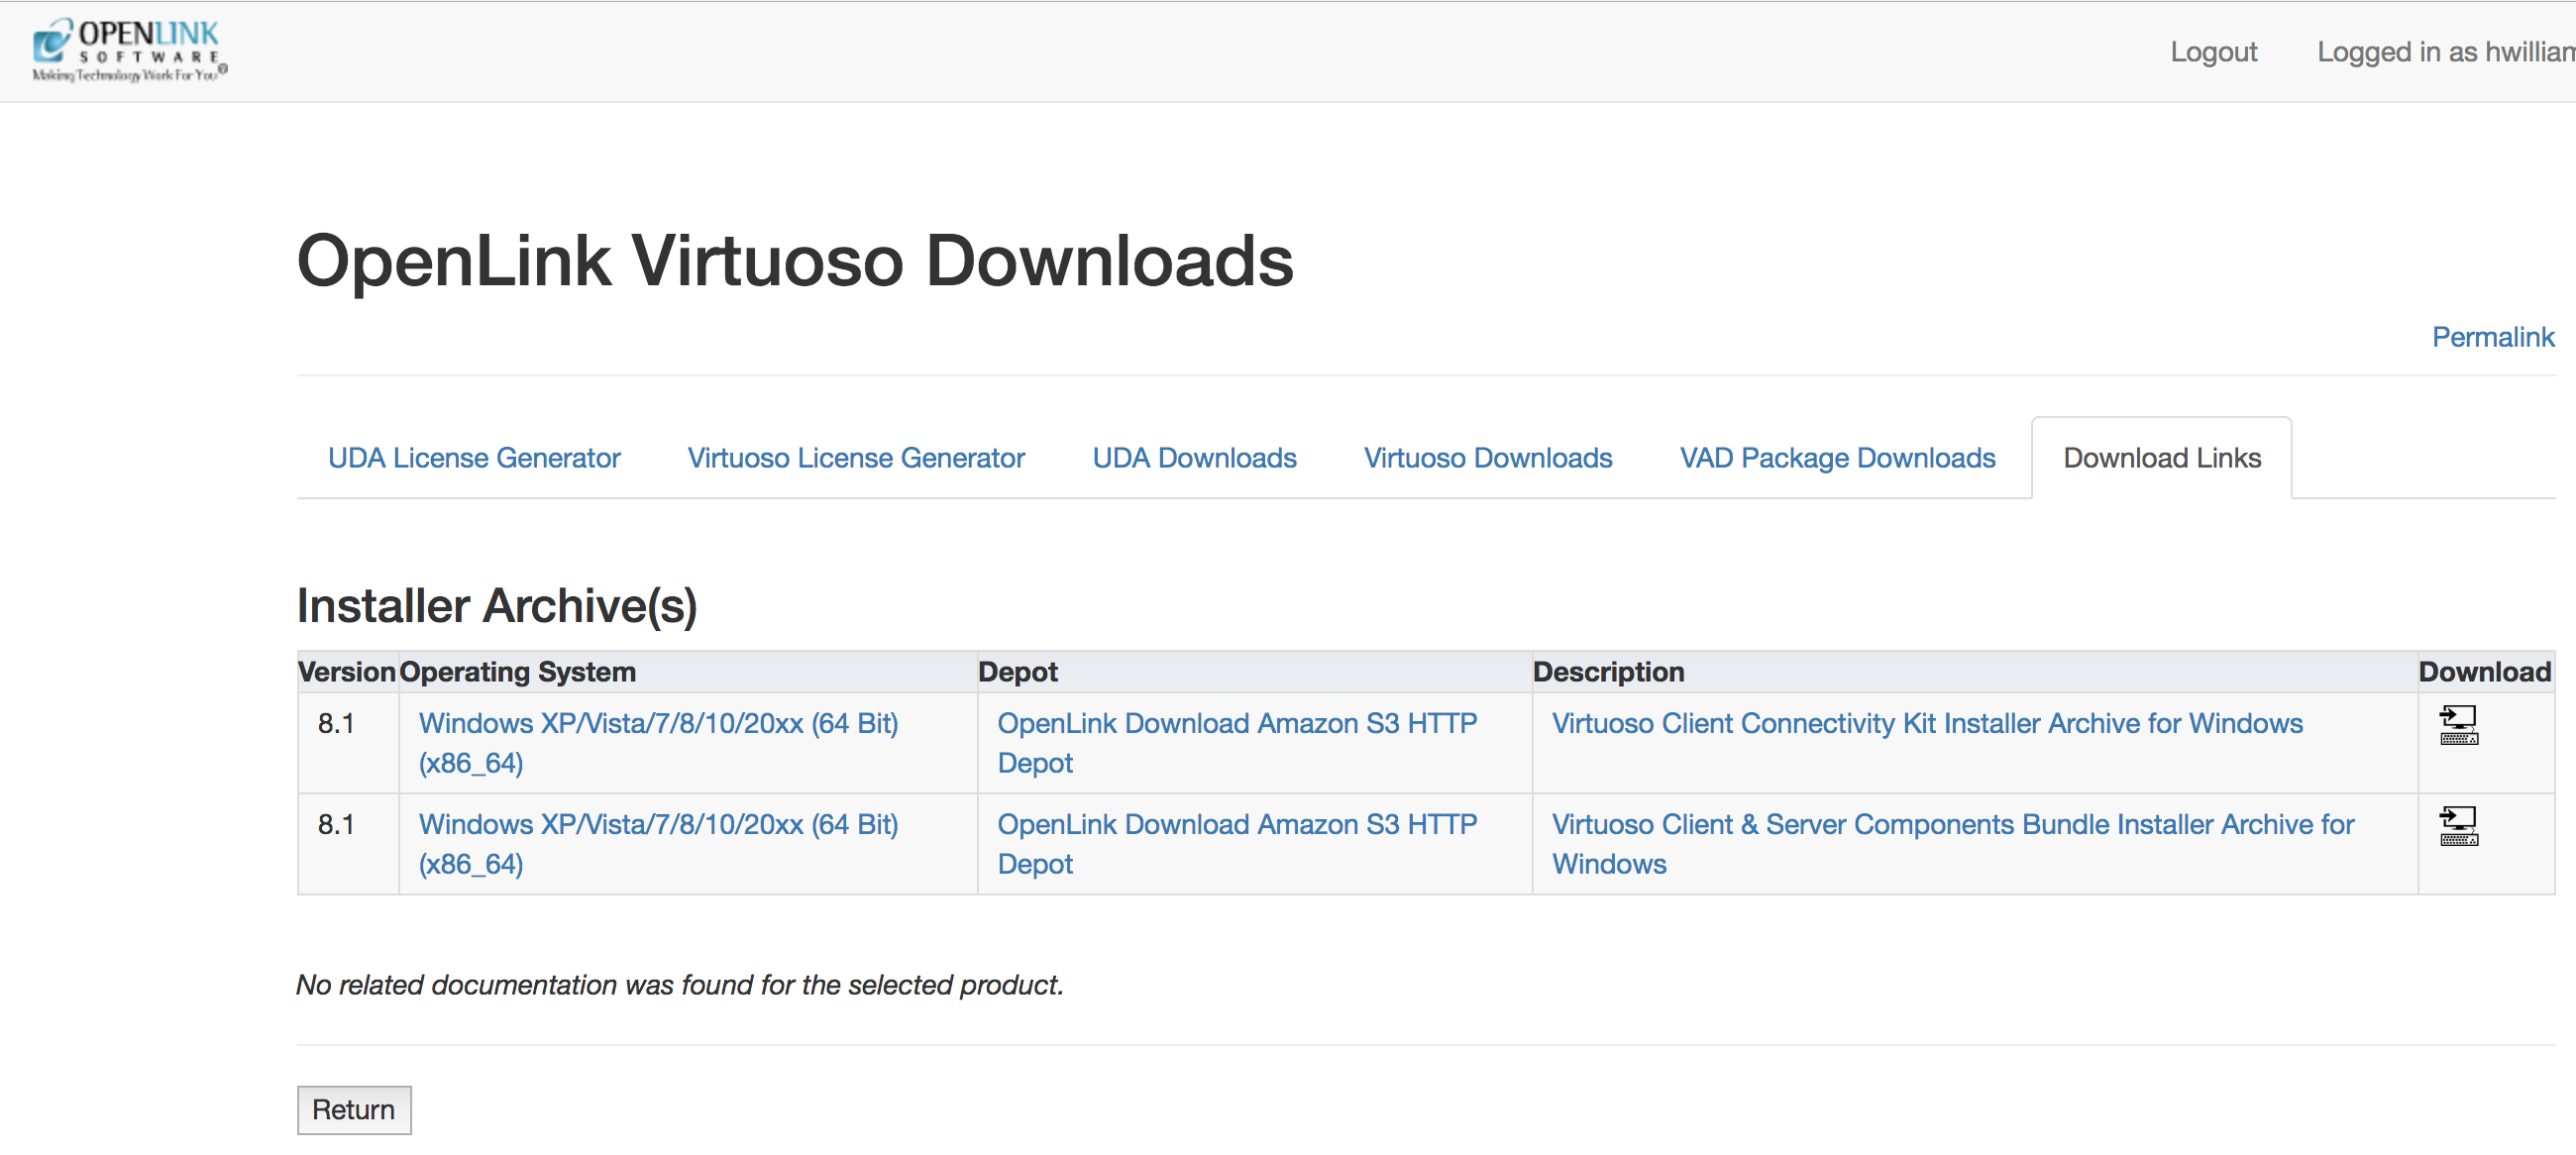
- Download the required Virtuoso Client and/or Client & Server installer archives from the list presented.
2 - Obtain a License File
- If you haven't already obtained a suitable Virtuoso license file, return to the download site, select the Virtuoso release number and Windows operating system required and click on the Generate License button.

- A Free 30 Day Evaluation License will be generated and emailed to the registered user.
The license file will also be stored in the registered users OpenLink Data Spaces Briefcase folder.
Note -- the file must be named
virtuoso.licfor use. Some browsers may rename the file during download; you can simply rename the file on your machine.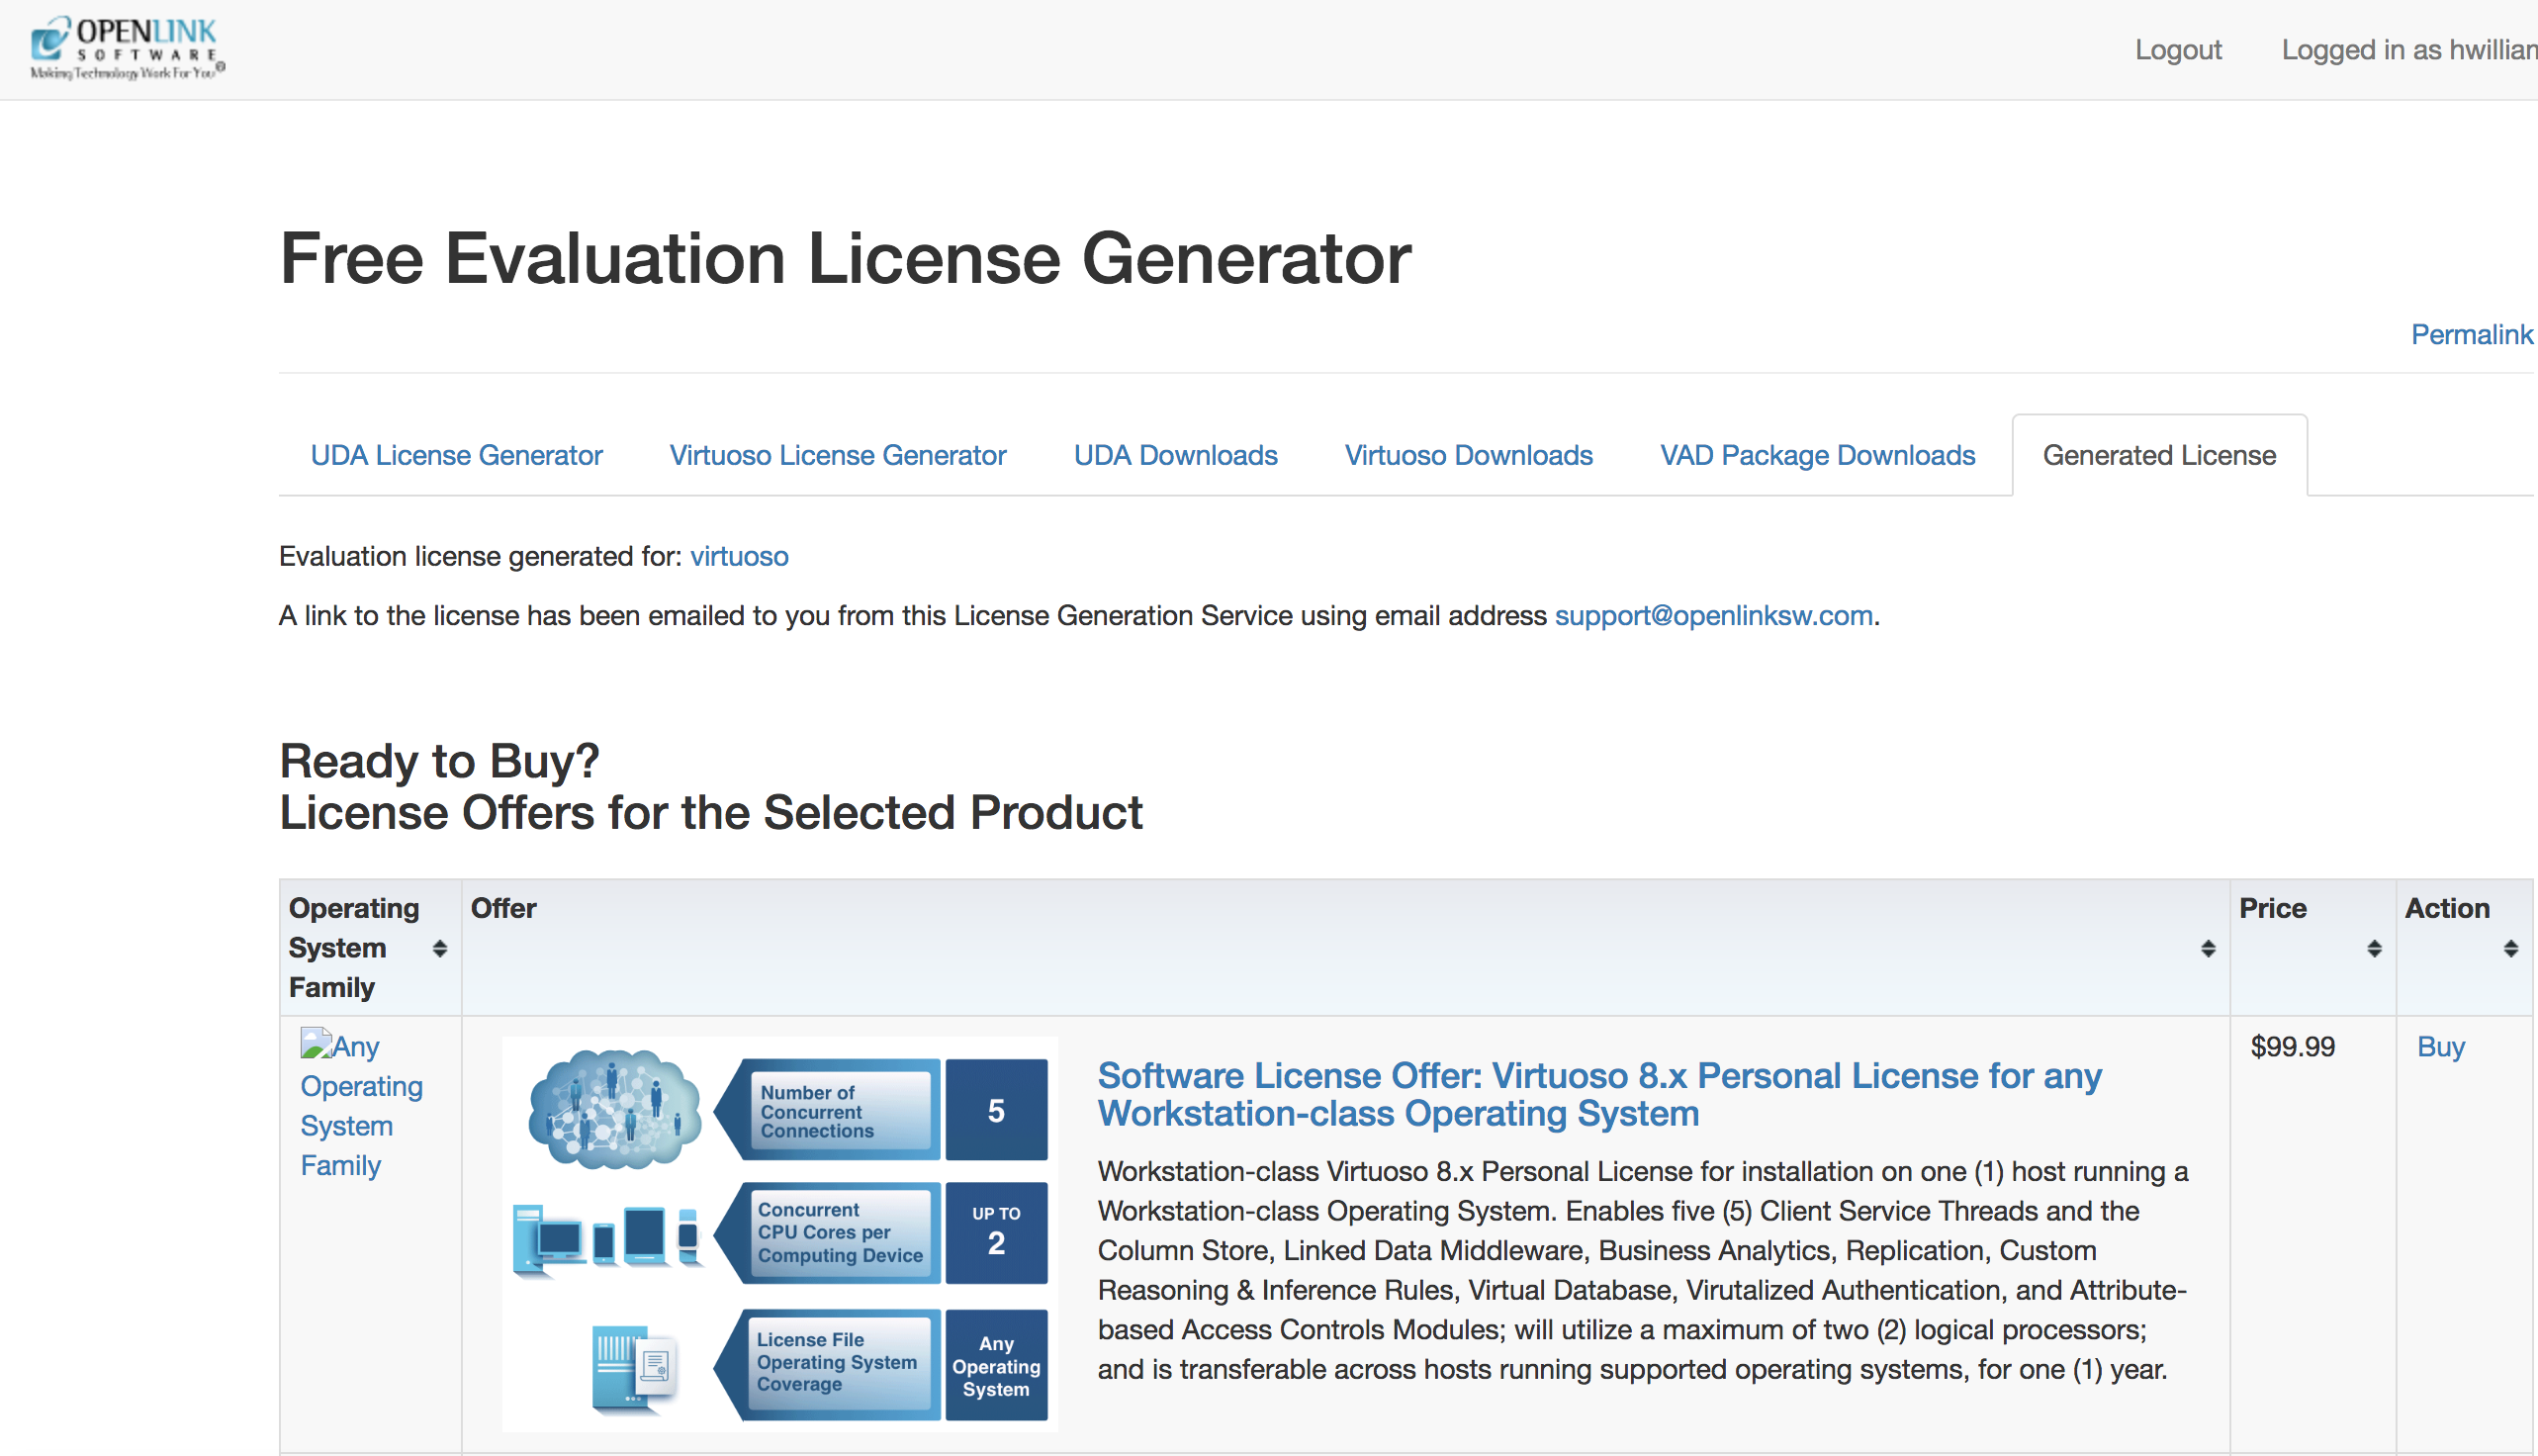
3 - Run the Virtuoso Installer
- Double-click the installer archive,
wavpz2zz, to start the process with the Installer Program Introduction.
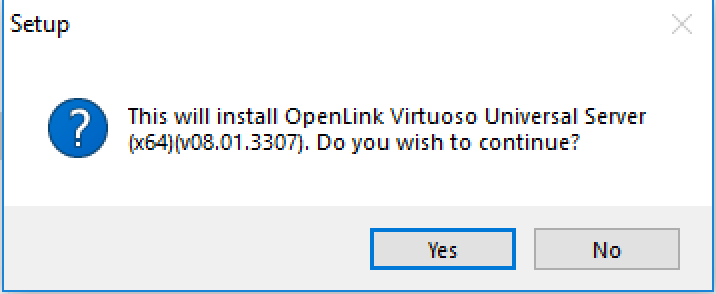
- Click Next, and the License Agreement dialog is presented:
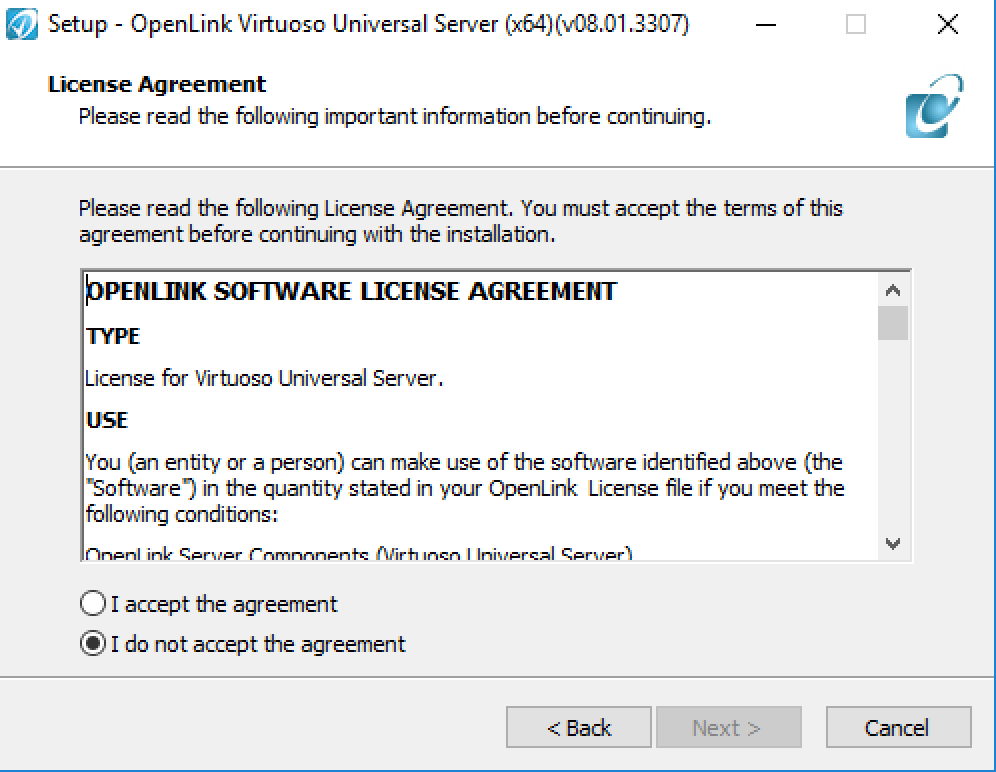
- Tick the box for I accept, and click Next.
The Select Destination Location dialog is presented:
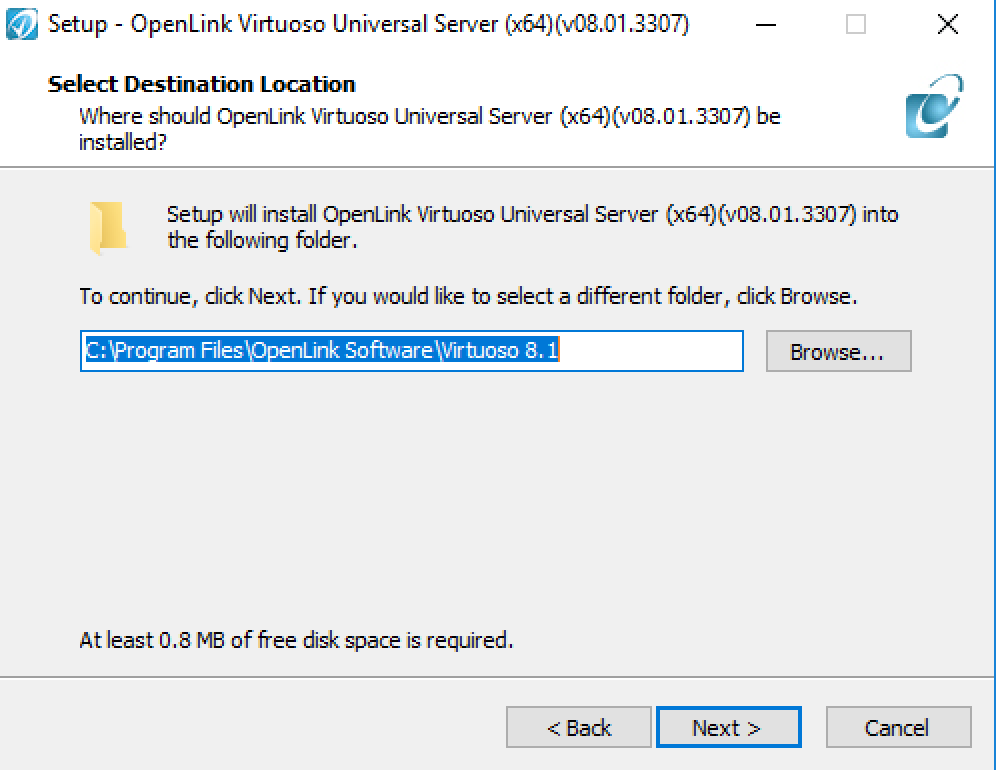
- Use the Browse button to select the location for the installation or if the default location is acceptable click the Next button.

- Use the Browse button to locate the license file you obtained earlier then, click Next.
The dialog to Select the Components to be installed is presented:
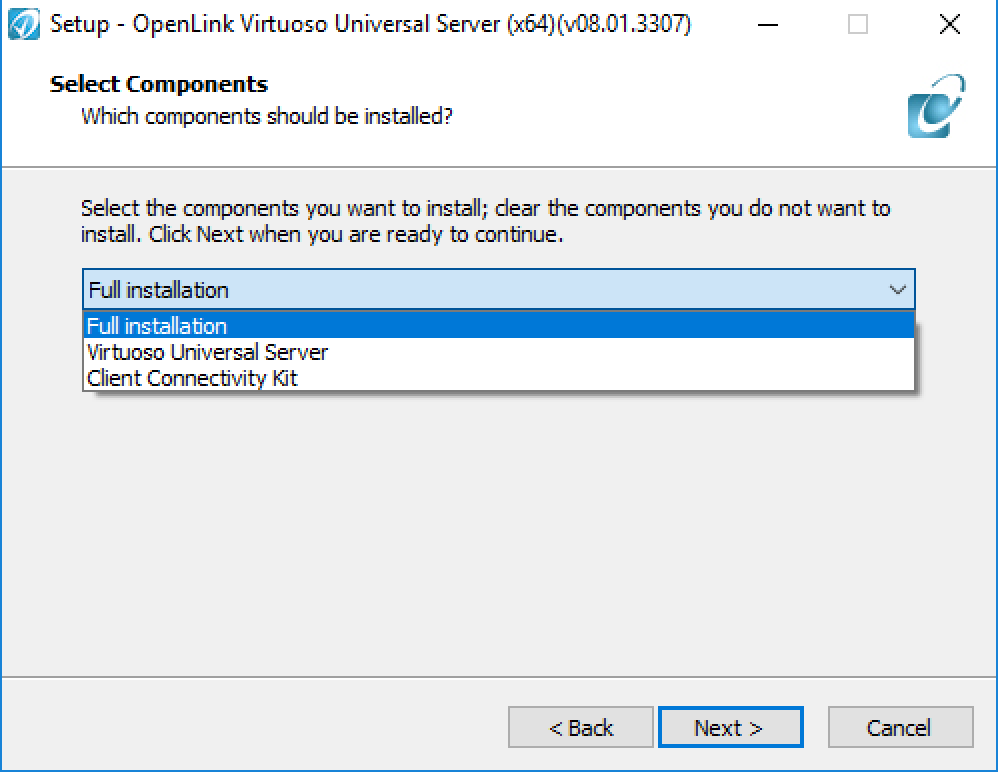
- Select the of the component types to install:
- Full -- installs both Client and Server components
- Client -- installs the Client components only
- Server -- installs the Server components only
- Full -- installs both Client and Server components
- Click Next and the Select Start Menu Dialog is presented:
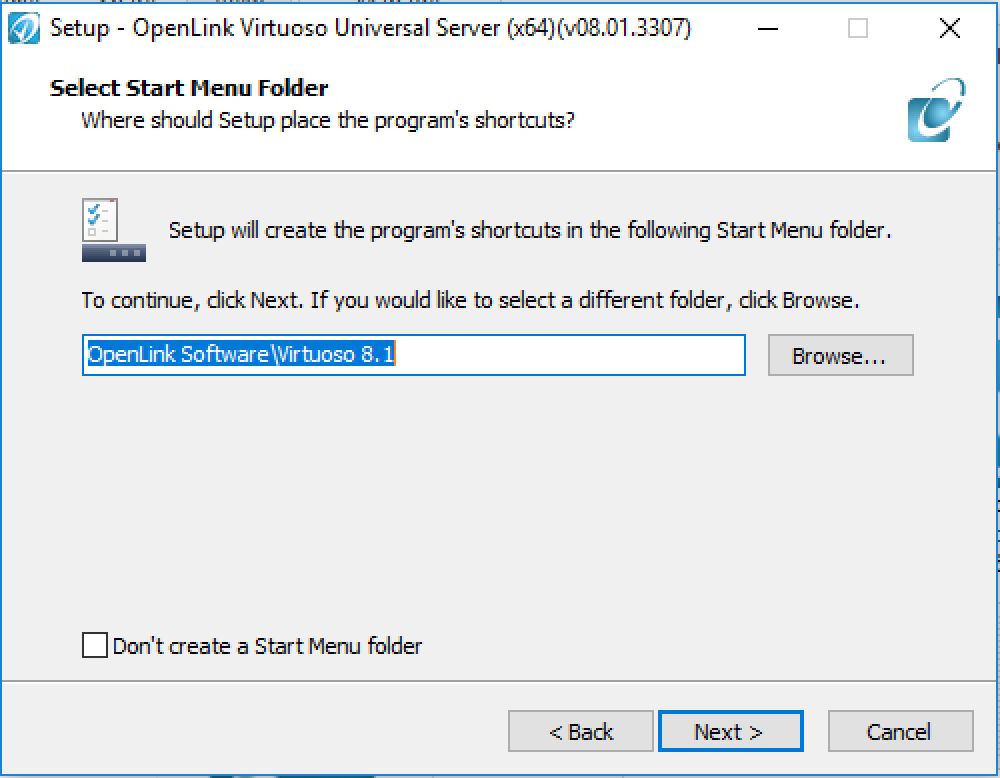
- Click Next and the Select Additional Tasks dialog is presented with option to start the database automatically post installation:
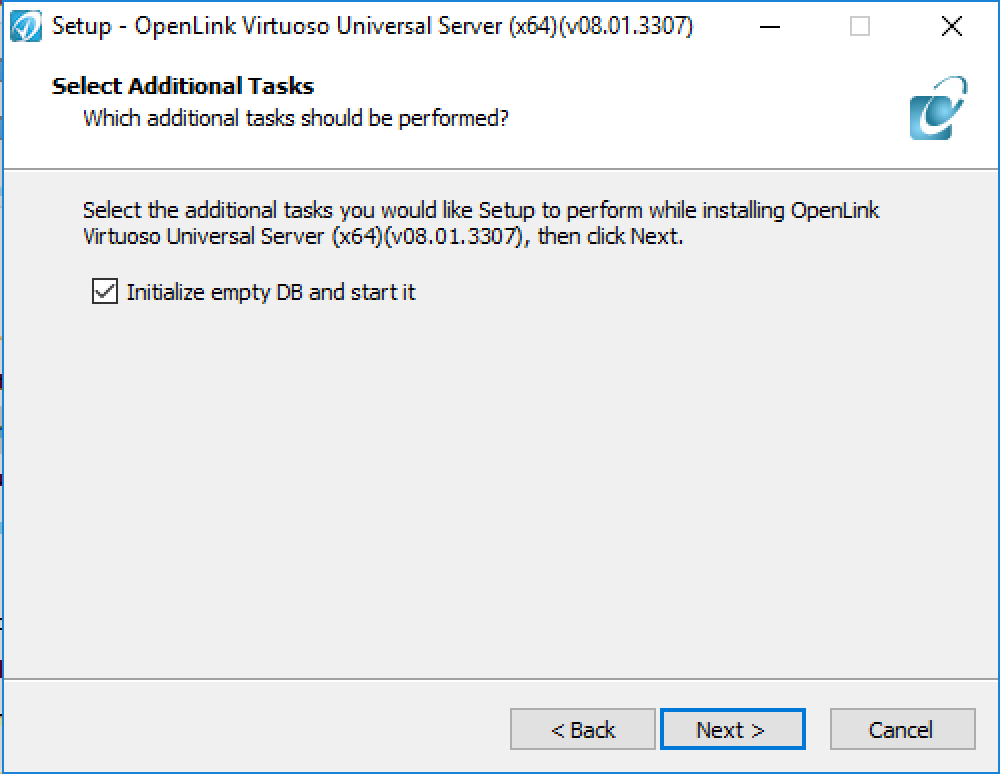
- Click Next and the Ready to Install dialog is presented:
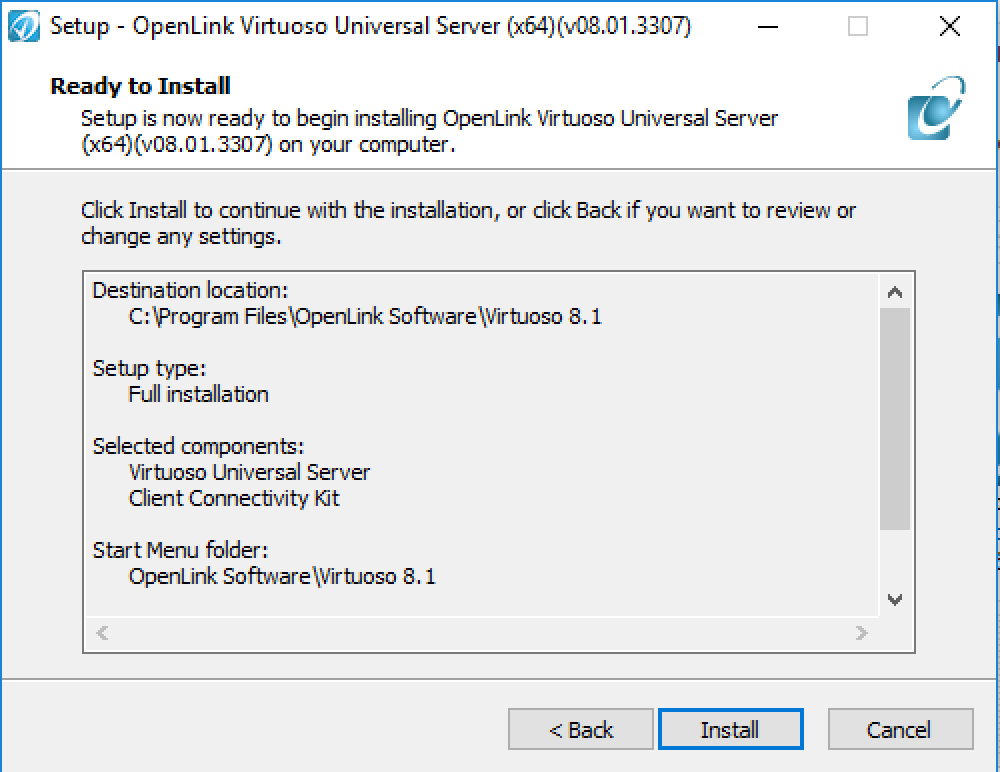
- Click Next and the installation will proceed and present a completion dialog when done:

- The installation is now complete.
4 - Start the Virtuoso Service Manager, and Locate it in the Task Bar
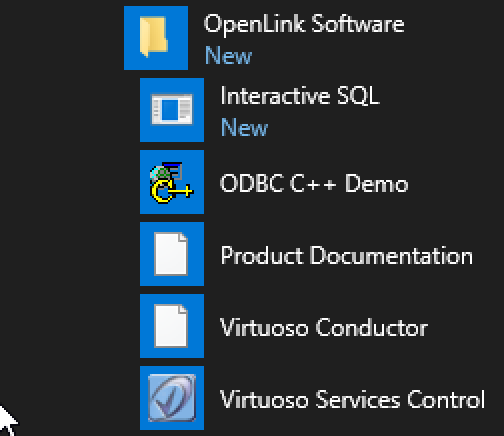
- Go to the Program Start Menu item created and select the Virtuoso Service Control program
- The Virtuoso Service Control program will start in the Windows icon tray:
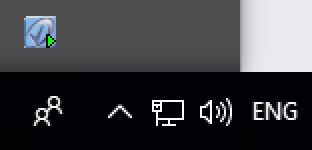
- Double click on the Virtuoso Service Control icon to load the application, which can then be used to verify that the Virtuoso Windows service and License Manager are running:

5 - Administer your Virtuoso Instance
- Go to the Program Start Menu item created and select the Virtuoso Conductor menu item to start the HTTP-based Virtuoso Database Administration interface:
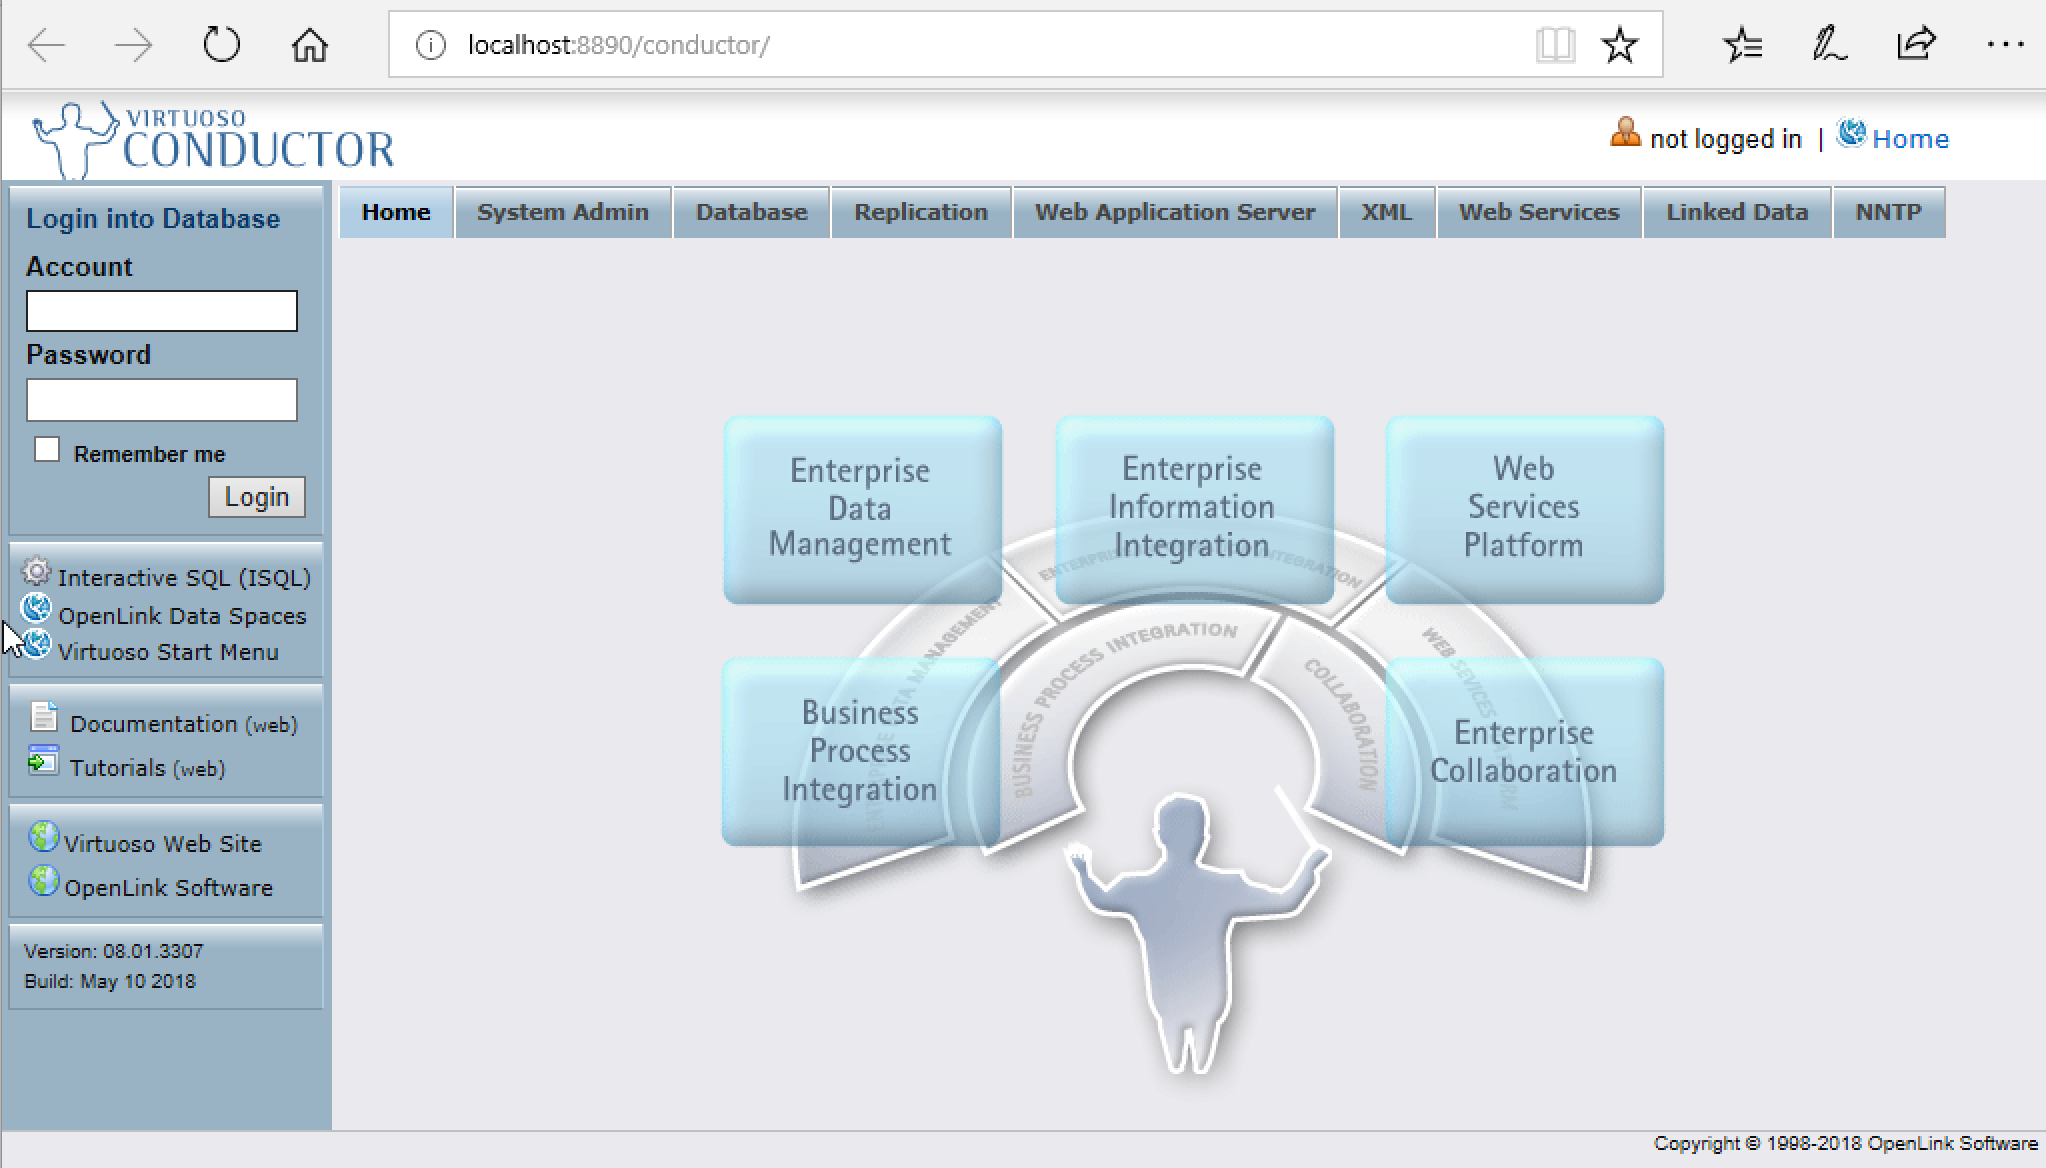
- Use the Conductor to configure your Virtuoso instance for future use.
For example, it is strongly advised that you change the default passwords for the
dbaanddavsuper-user accounts (drill down to System Admin --> User Accounts).
6 - Optional - Restore your old Data and Configuration Files
If you preserved existing data and configuration files at the start of this process, now is the time to bring them back into play.
- If you used Virtuoso's online backup feature, the documentation will walk you through the restoration process.
- If you simply copied the INI and DB files elsewhere, and if they were Virtuoso 7.x files, you can just stop the current Virtuoso instance, and replace the newly created INI and DB with the old ones.
For best results, we do advise that you compare the content of the old INI with the new, and add any new settings from the new to the old, adjust as may be appropriate to your deployment.
- If you simply copied the INI and DB files elsewhere, and if they were Virtuoso 6.x or older files, there are some extra steps that must be taken.