Installing the Virtuoso Client Connectivity Kit on Windows
- 1 - Download the Virtuoso Installer Program
- 2 - Obtain a License File
- 3 - Run the Virtuoso Installer
- 4 - Configuring Client Connections
- See Also
1 - Download the Virtuoso Installer Program
- Select the Virtuoso release number and Windows operating system required from the download site and click on the Find Downloads button.
Note: Virtuoso 7.x and above is 64-bit only, and requires Vista or Windows Server 2003, or later.
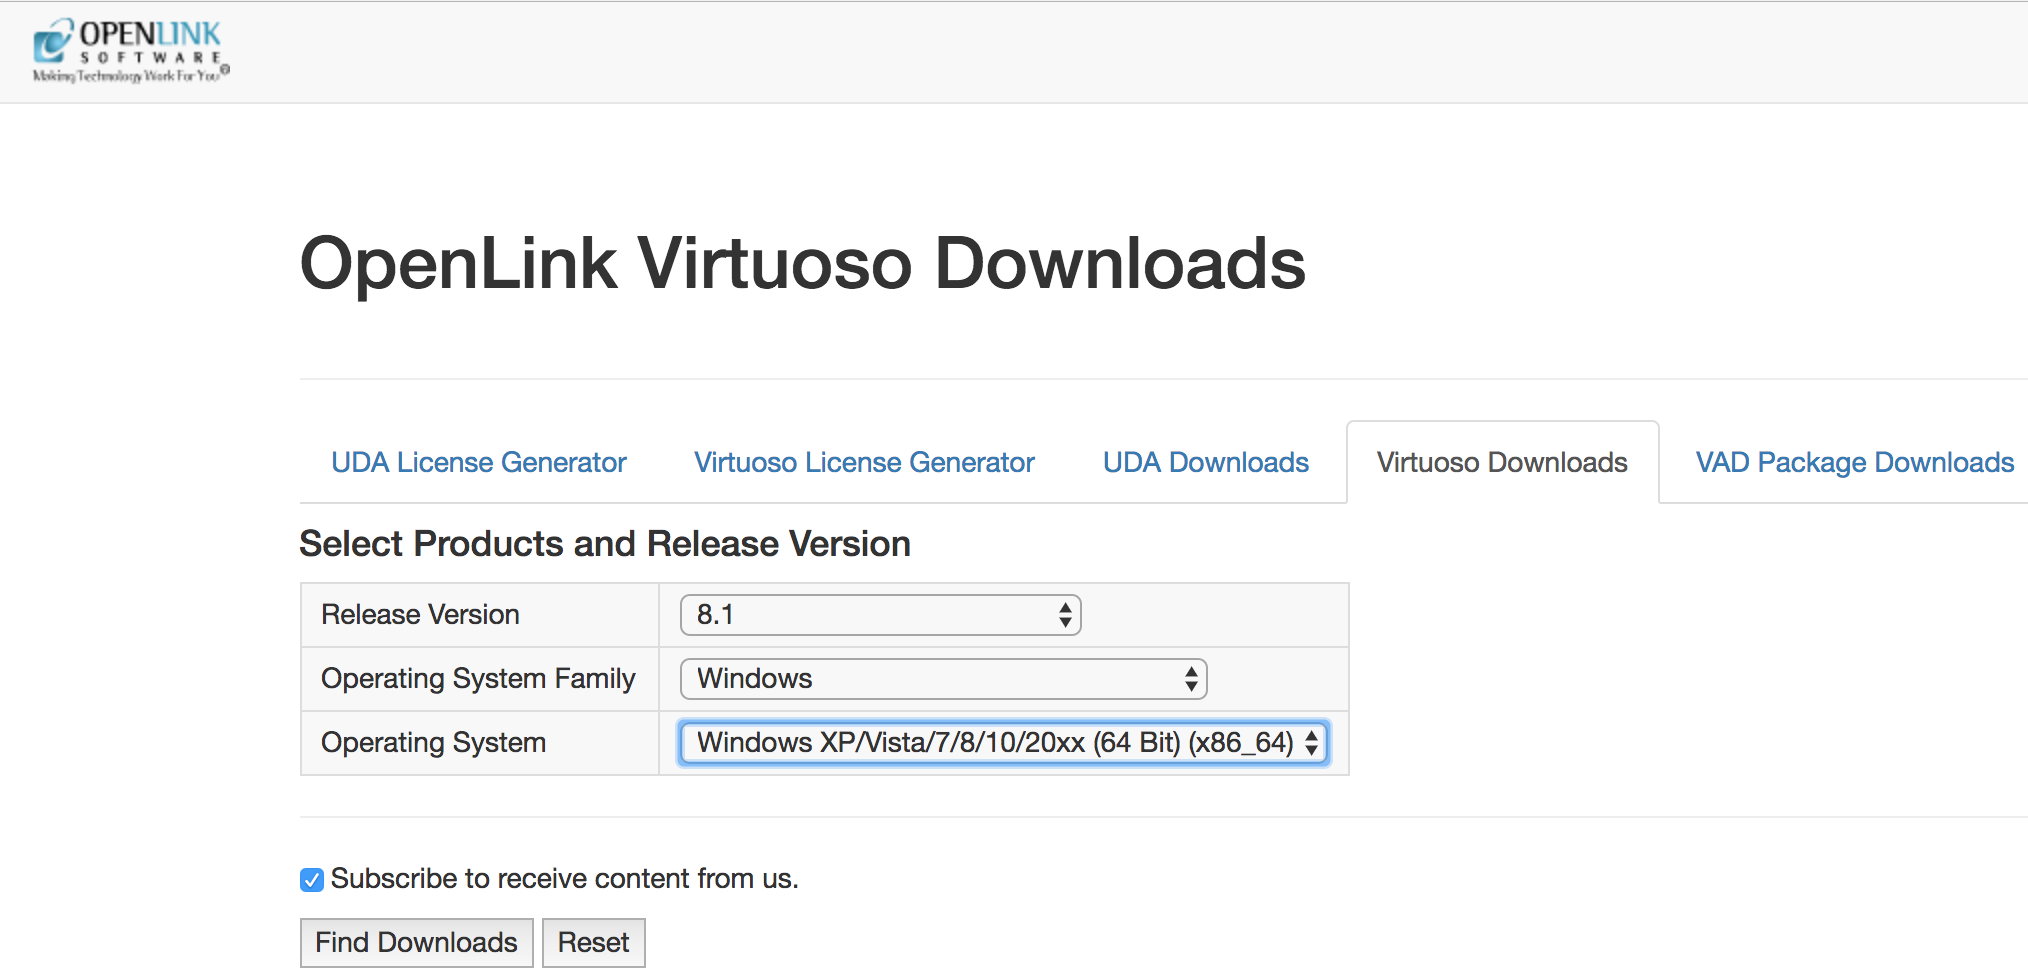
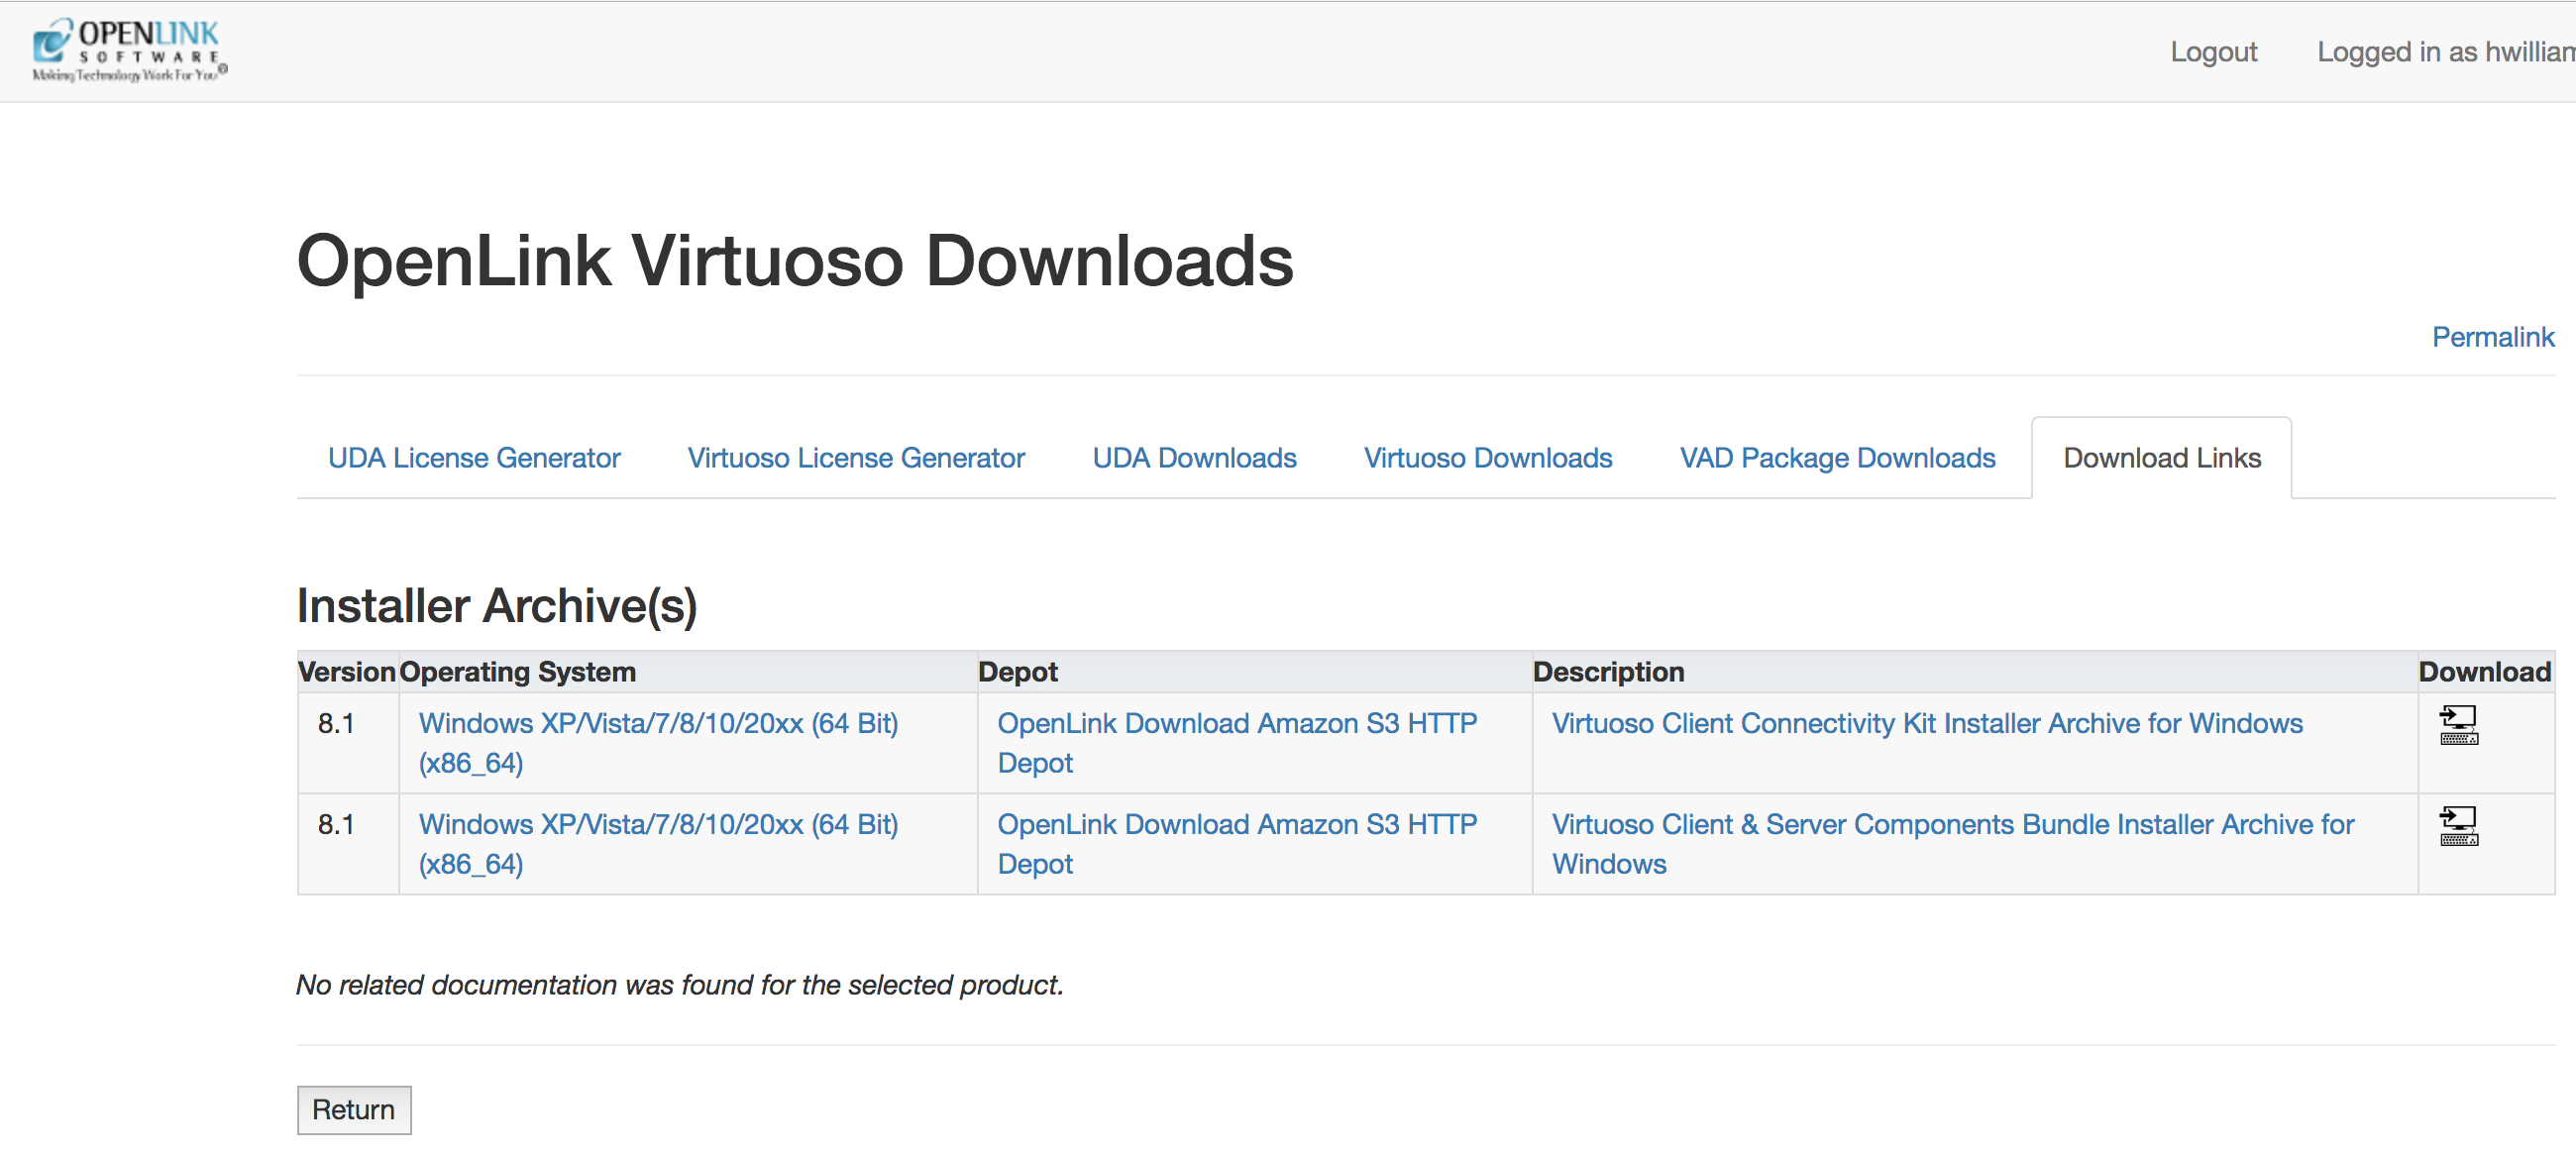
- Download the required Virtuoso Client and/or Client & Server installer archives from the list presented.
2 - Obtain a License File
- If you haven't already obtained a suitable Virtuoso license file, return to the download site, select the Virtuoso release number and Windows operating system required and click on the Generate License button.
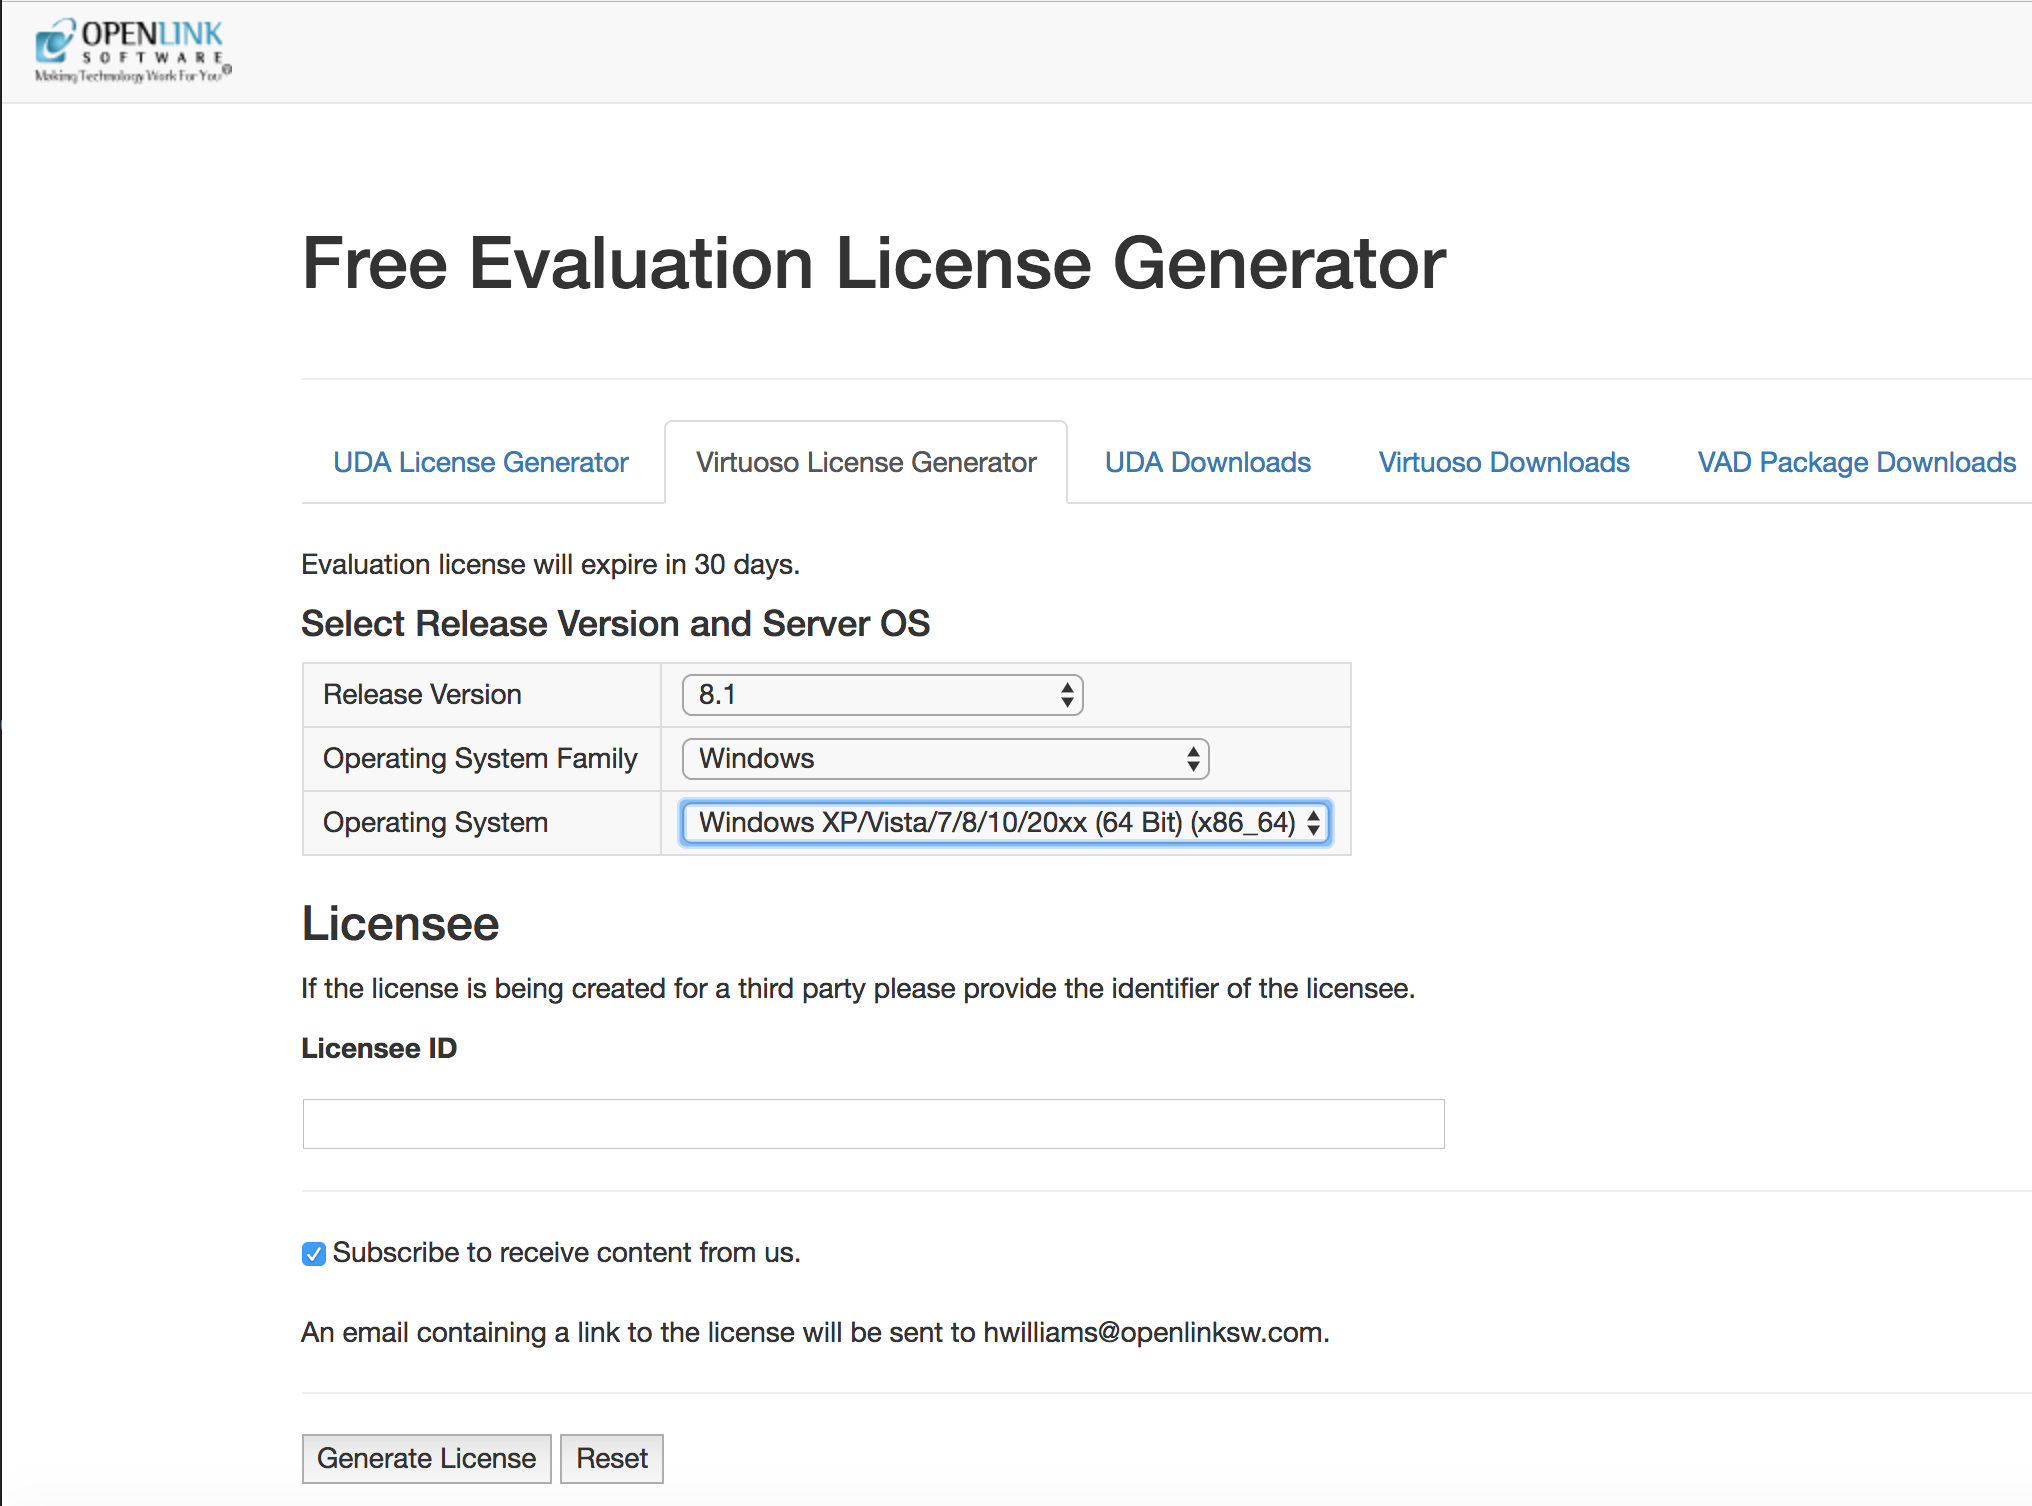
- A Free 30 Day Evaluation License will be generated and emailed to the registered user.
The license file will also be stored in the registered users OpenLink Data Spaces Briefcase folder.
Note -- the file must be named
virtuoso.licfor use. Some browsers may rename the file during download; you can simply rename the file on your machine.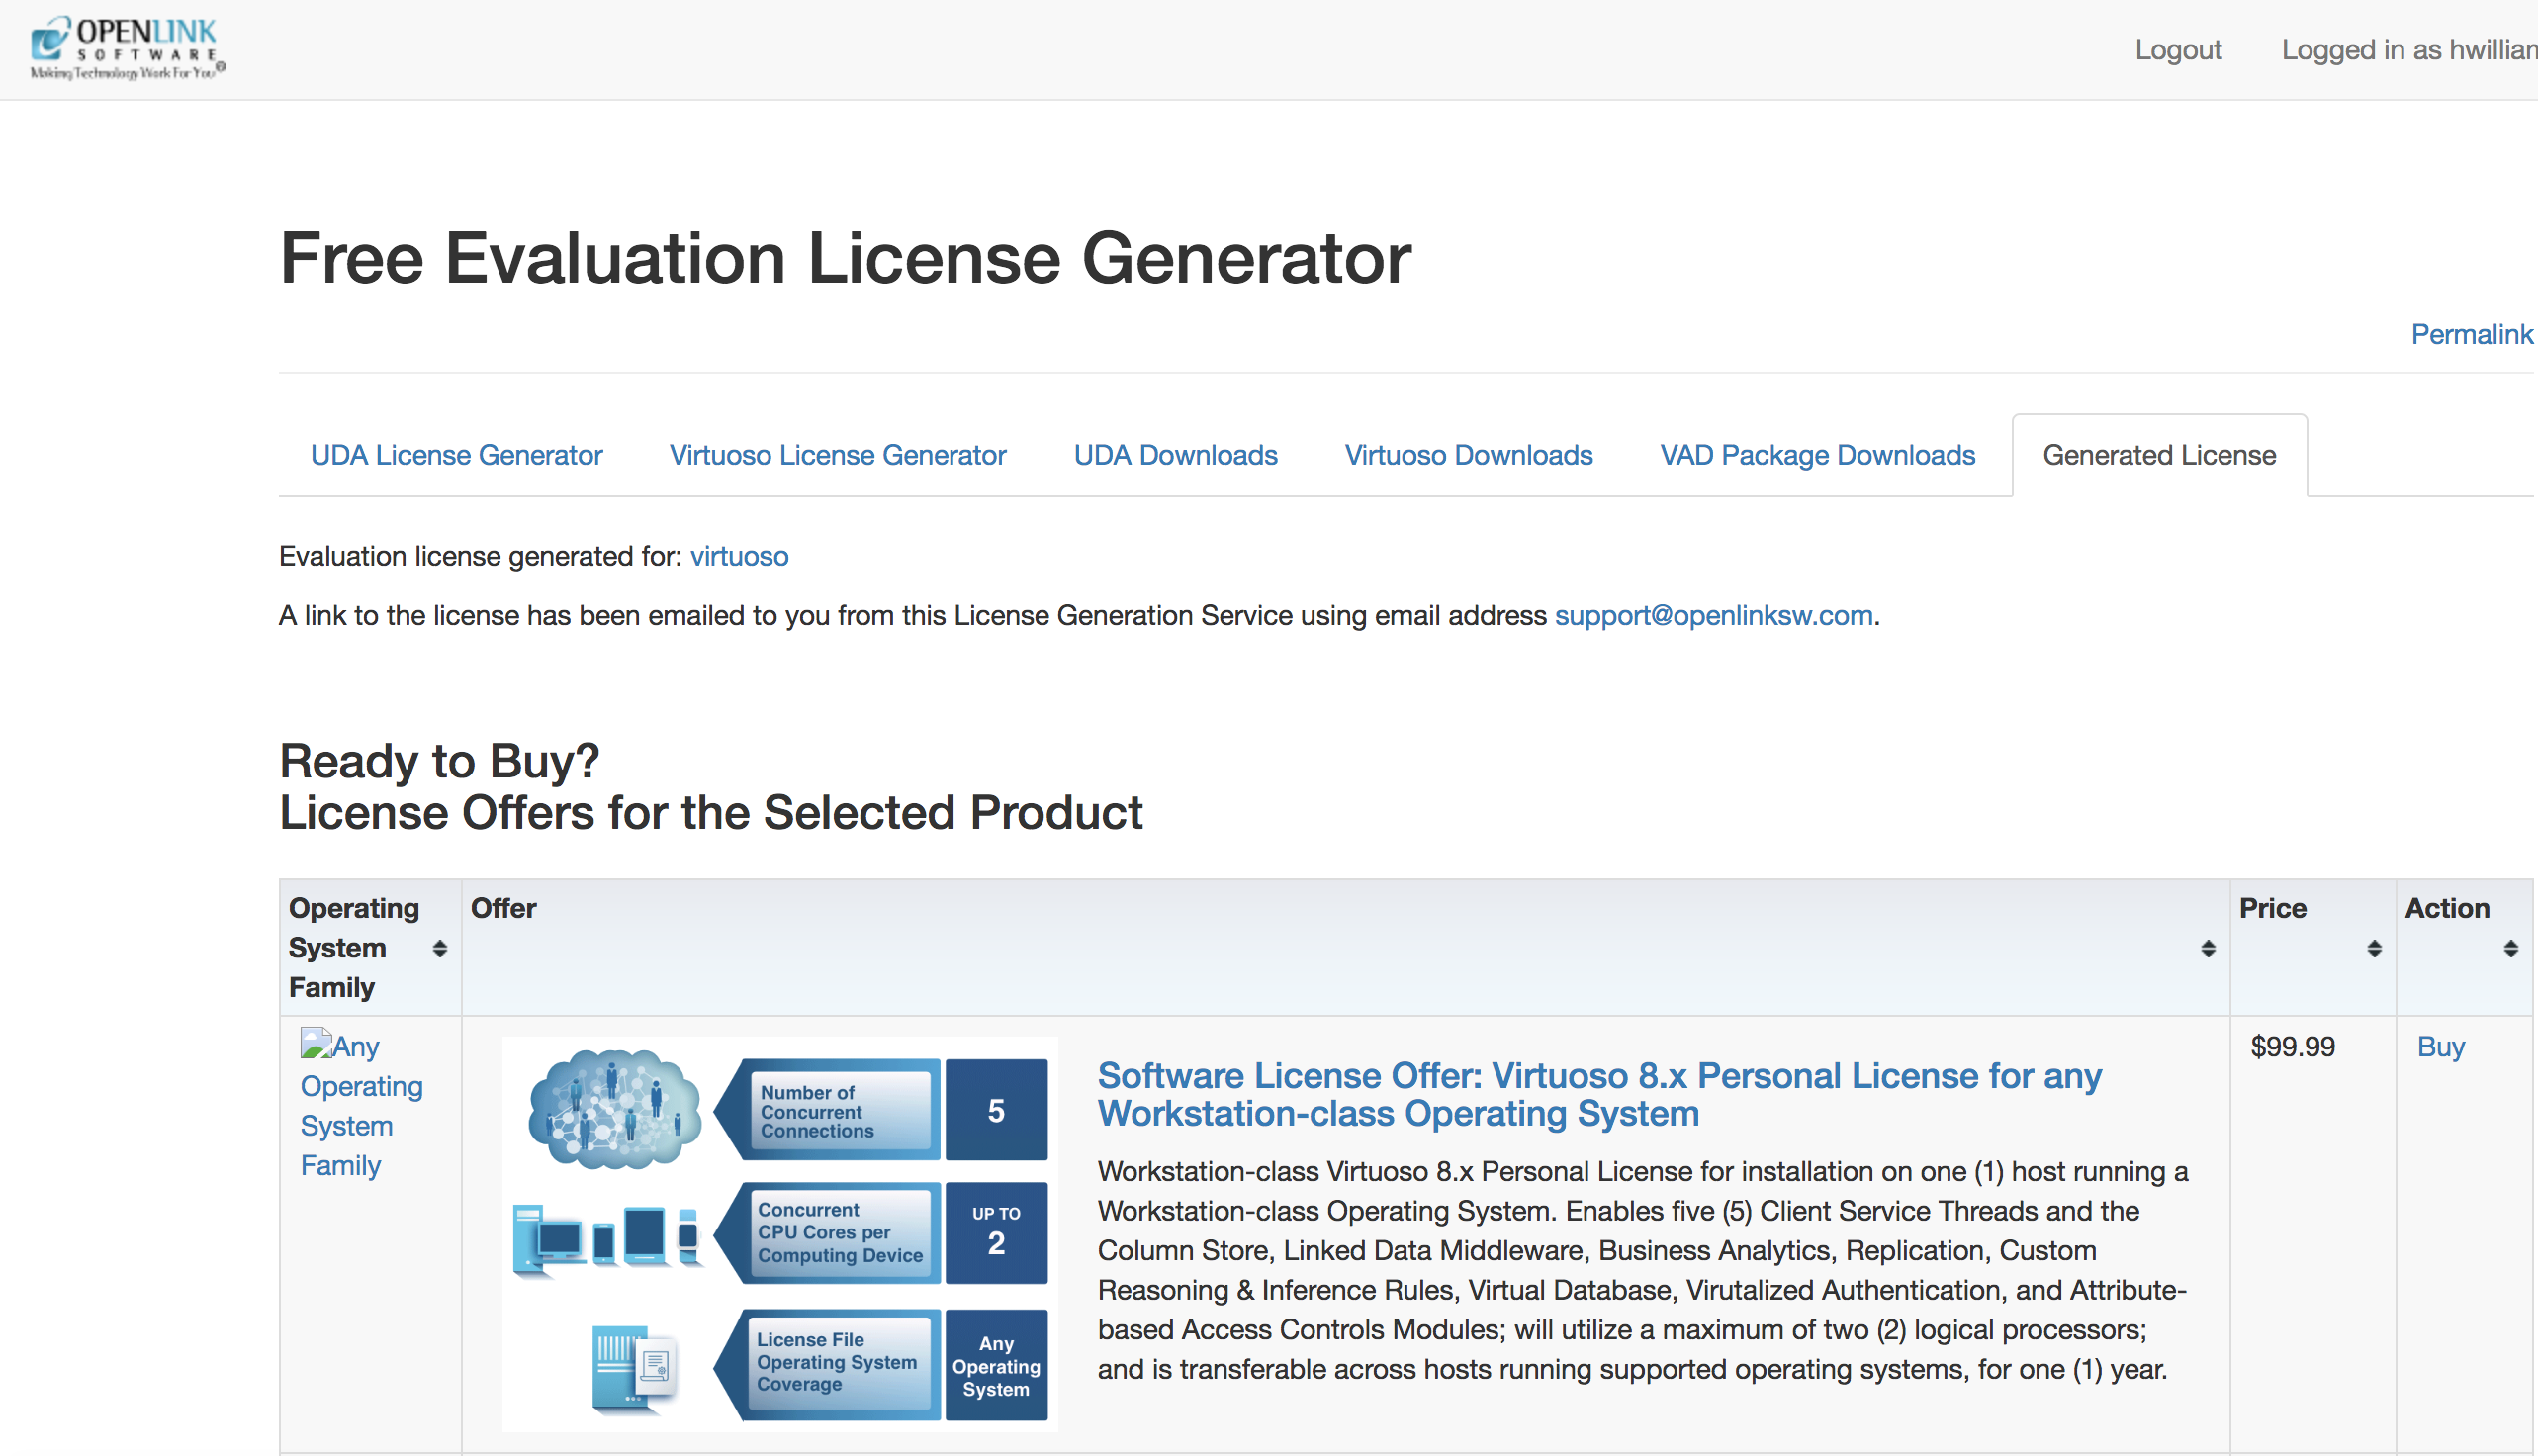
3 - Run the Virtuoso Installer
- Double-click the installer archive,
wavcz2zz, to start the process with the Installer Program Introduction.
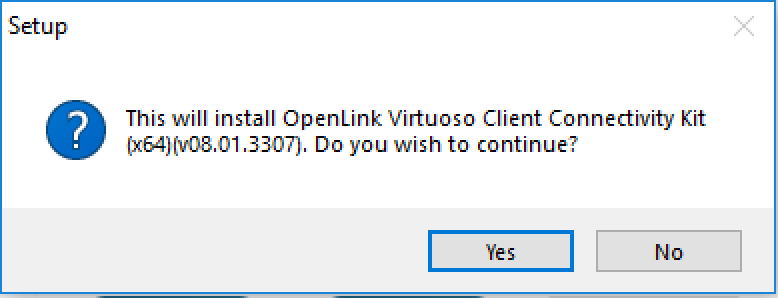
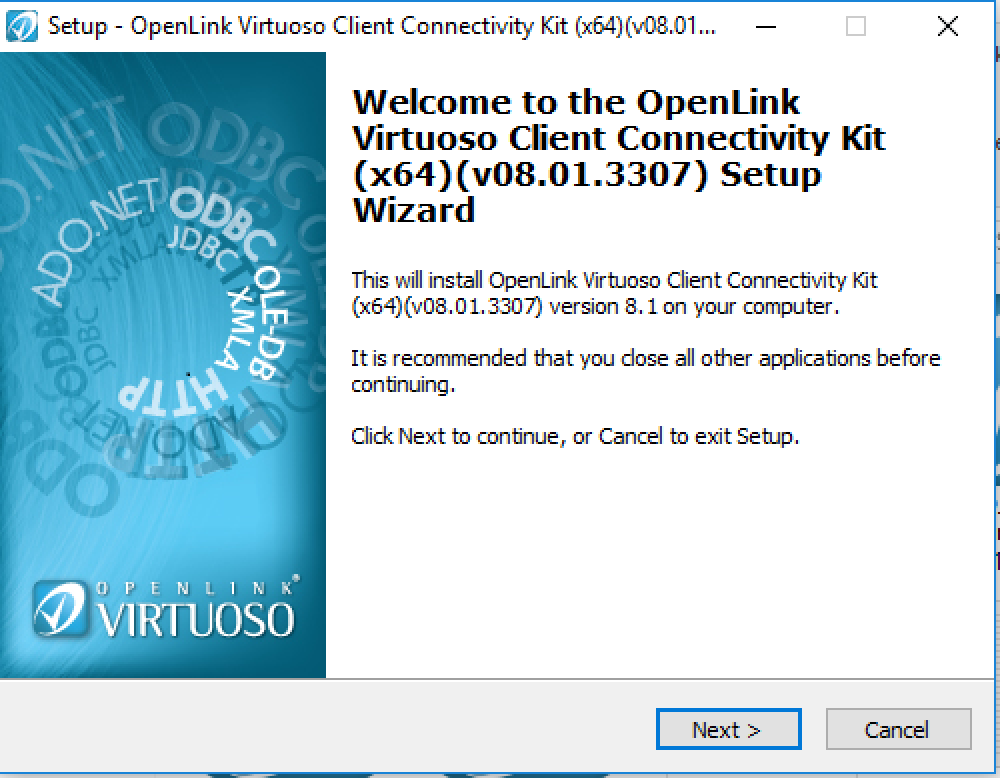
- Click Next, and the License Agreement dialog is presented:
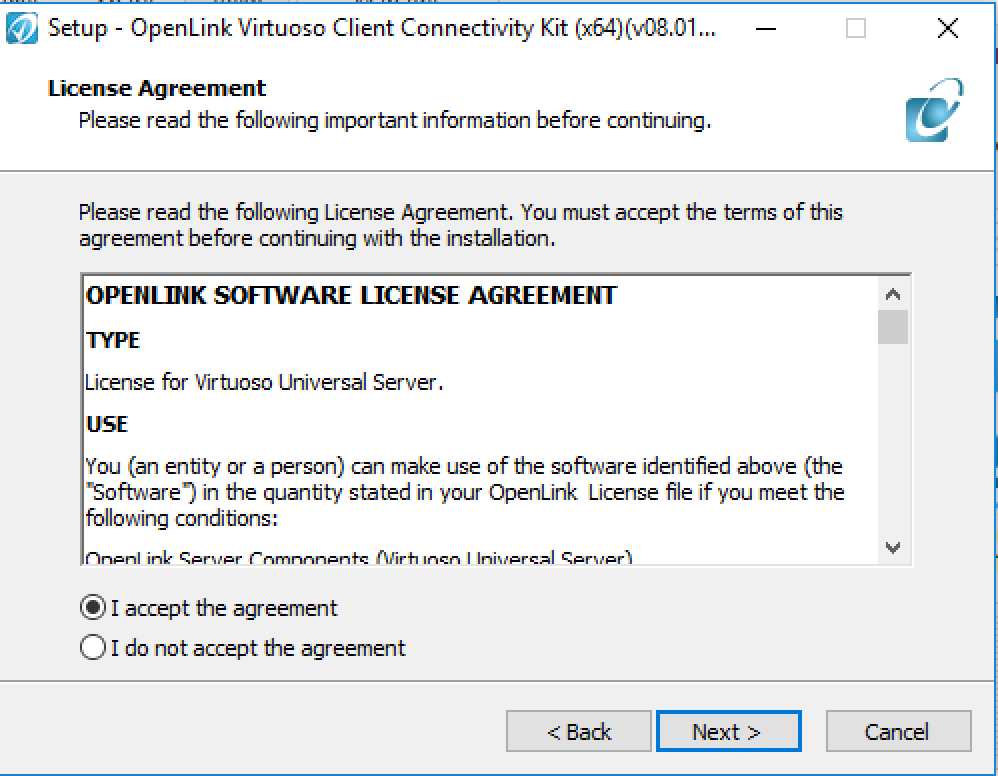
- Tick the box for I accept, and click Next.
The Select Destination Location dialog is presented:
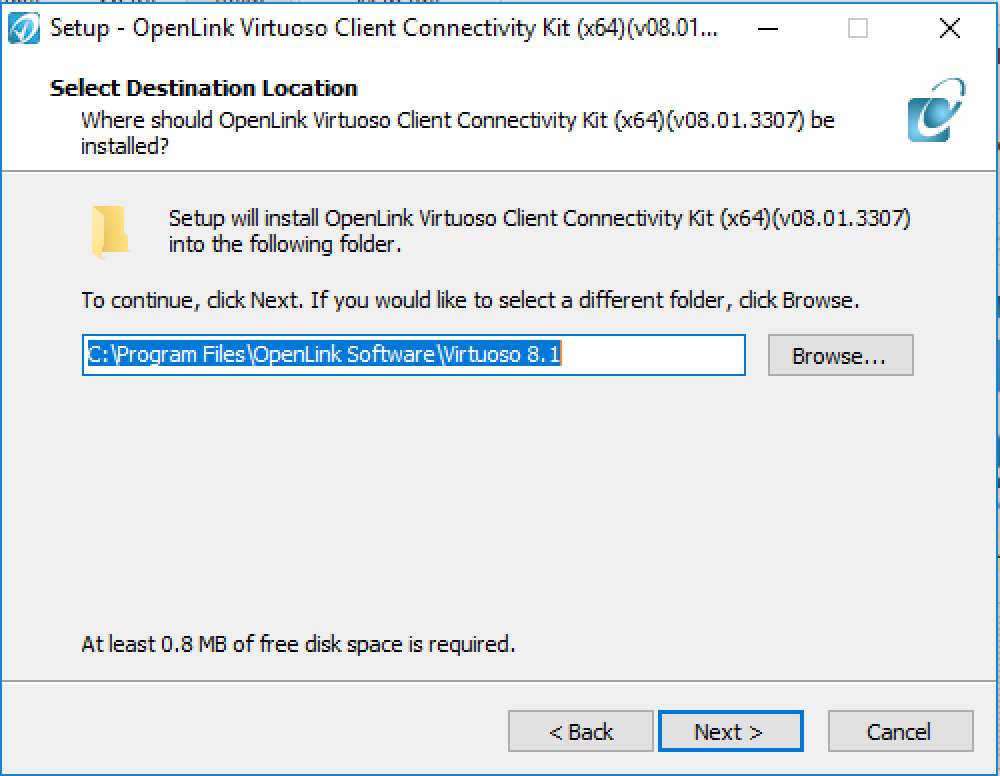
- Use the Browse button to select the location for the installation or if the default location is acceptable click the Next button.
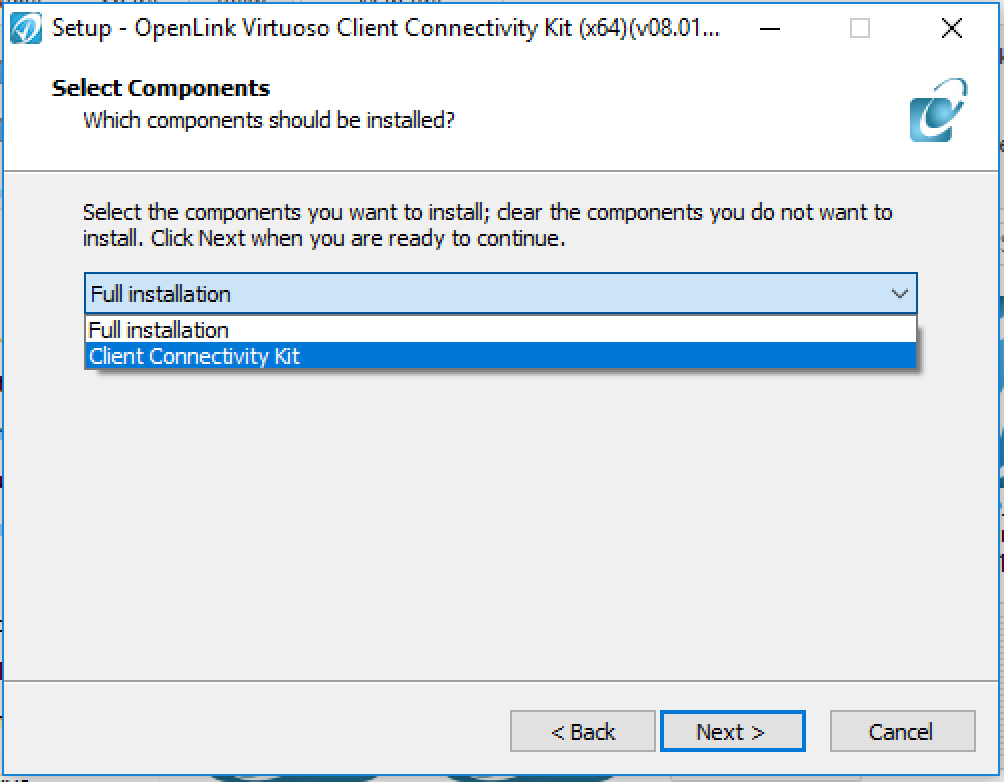
- Select the of the component types to install:
- Full -- performs Full installation
- Client -- installs the Client components only
- Full -- performs Full installation
- Click Next and the Select Start Menu Dialog is presented:

- Click Next and the Ready to Install dialog is presented:
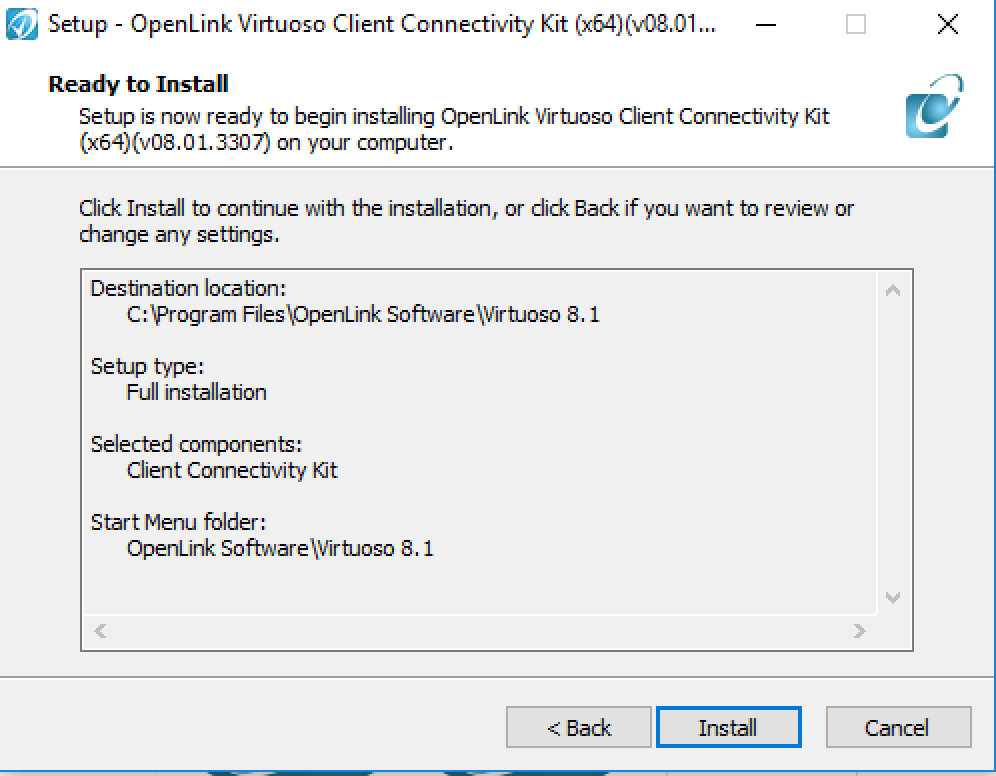
- Click Next and the installation will proceed and present a completion dialog when done:

The installation is now complete.


4 - Configuring Client Connections
- ODBC
- JDBC
- OLE DB
- Basic ADO.NET Provider?
- ADO.NET 3.5 Provider with Entity Frameworks Support