Review Preinstallation Documentation: Multi-Tier Server Components
Installation
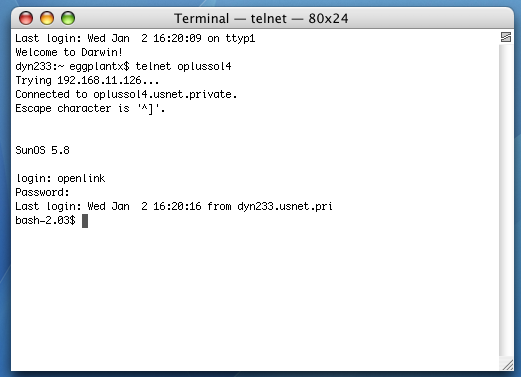
- Log in to your Unix or Linux server machine.
- Create and navigate to the intended
OpenLink installation directory, e.g.,
mkdir /opt/openlink
cd /opt/openlink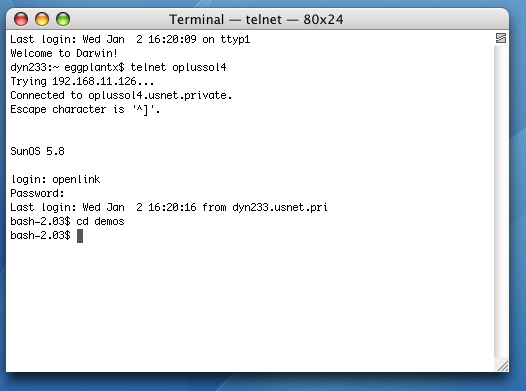
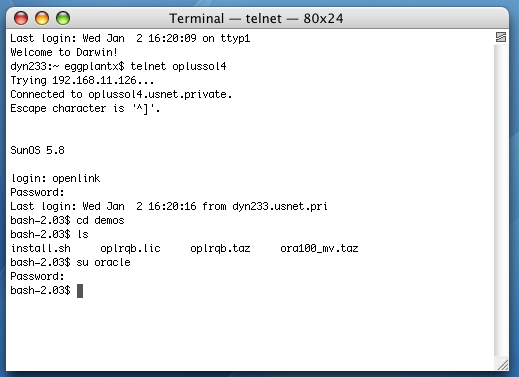
- The installation files ship as an installation shell script (install.sh), a Request Broker archive (oplrqb.taz), and an agent archive (name varies, e.g., sql_mv.tgz).
All files should be transferred using binary-preserving methods (e.g., ftp in BIN mode, or scp).

- Use the su - <username> command to switch to your DBMS or DBMS native client user, where appropriate?:
- Execute the .profile associated with the DBMS user:
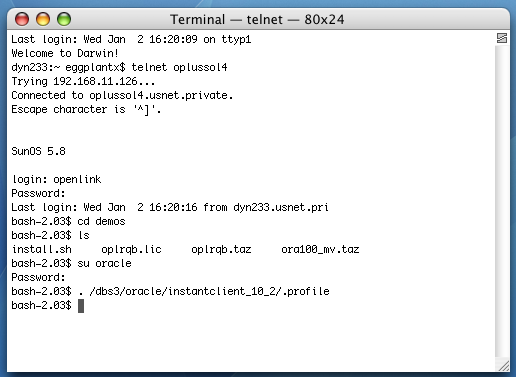
- Use the echo command to confirm that relevant DBMS-specific environment variables? are set:
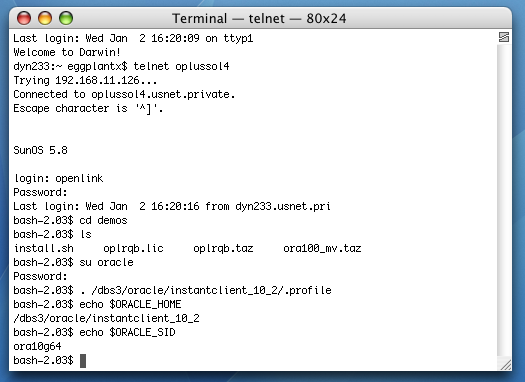
- Run the following command to start the installation:
sh install.sh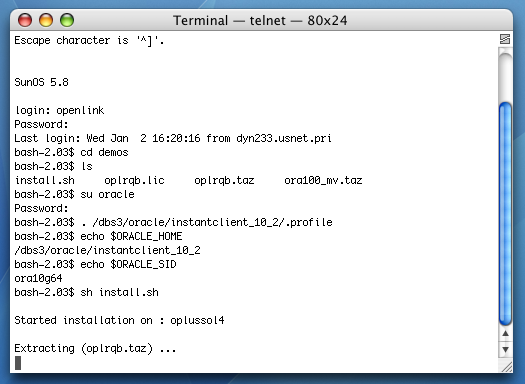
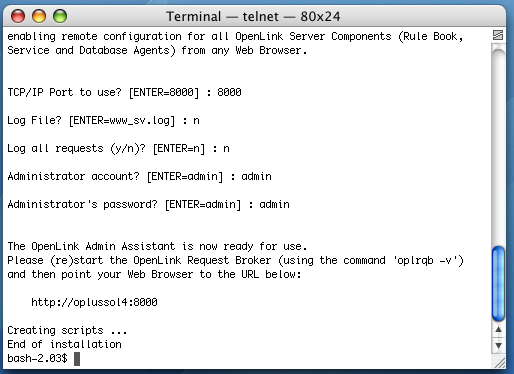
- You must choose a TCP port at which on which the
OpenLink Request Broker will listen for requests. The default is 5000. You will need to know this port number and the Broker host's IP address or hostname when configuring ODBC Data Source Names (DSNs). 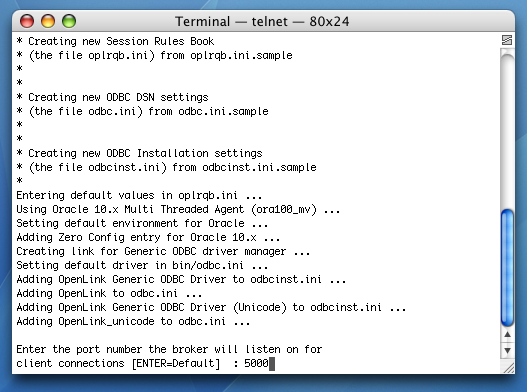
- You must choose a TCP port at which the
OpenLink Request Broker's HTTP-based Admin Assistant will listen for requests. The default is 8000. You will need to know this port number and the Broker host's IP address or hostname to access your Admistrator in a Web browser. The URL will look like this:
http://broker-host.example.com:8000/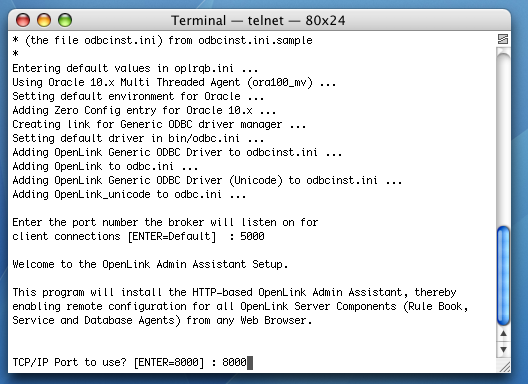
- Log file? enables you to specify the name and location of the
OpenLink Request Broker's HTTP-based Admin Assistant's log file. It is best to go with the default. 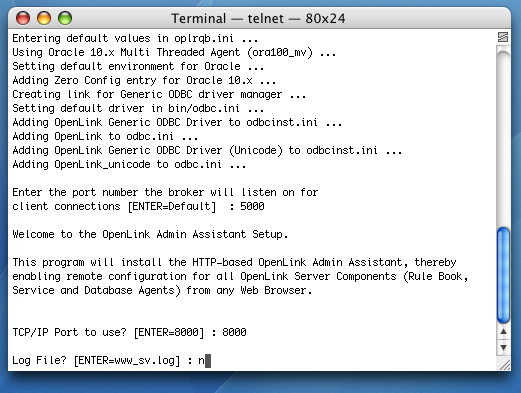
- You can choose to log all requests made to the
OpenLink Request Broker's HTTP-based Admin Assistant. This is not diagnostic-level ODBC tracing nor multi-tier connection logging. The default is no, and this is generally appropriate. 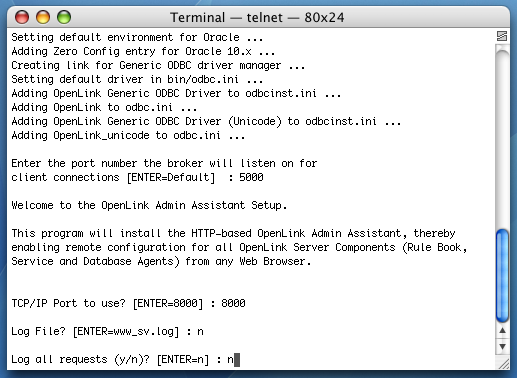
- You can change the
OpenLink Request Broker's HTTP-based Admin Assistant's default username from "admin." This is the username you will use when working with the OpenLink Request Broker's HTTP-based Admin Assistant. (You can set up other usernames later; consider this one similar to "root".) 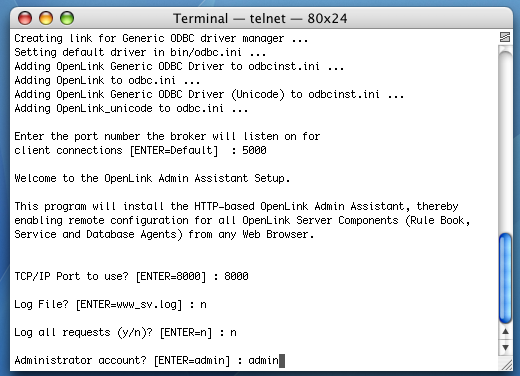
- You can change the
OpenLink Request Broker's HTTP-based Admin Assistant's default password from "admin." This is the password associated with the username you just set. 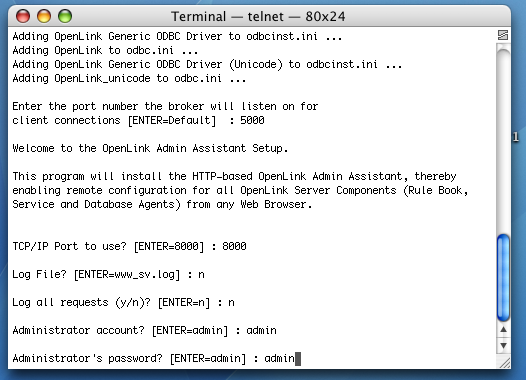
- The installation is complete.
Configuration
OpenLink's server components require minimal configuration.
In most instances, the installation process includes steps to ensure that the primary configuration file (oplrqb.ini) is configured for basic connectivity.
Use the following steps to check and enhance your individual agent settings.
- Navigate to the root of the
OpenLink server components installation, e.g.,
cd /opt/openlink/ - Use the bash or sh command to open a bash or bourne shell.
Other shells may be used, but these are the most predictable.
- In bash or sh, execute this command to set the necessary environment variables, and start the OpenLink? License Manager:
. ./openlink.sh
(If using a different shell, the command may be source ./openlink.sh or source ./openlink.csh.) - Navigate to the bin sub-directory of the
OpenLink installation
cd bin - Execute this command:
./oplrqb +debug - The
OpenLink Request Broker will start, and its stdout output will take over the terminal session. This debug output is useful when testing and troubleshooting a new installation. Once connections are confirmed to be working properly, stop the Broker with ctrl-C, and then restart with
./oplrqb - Connect to the
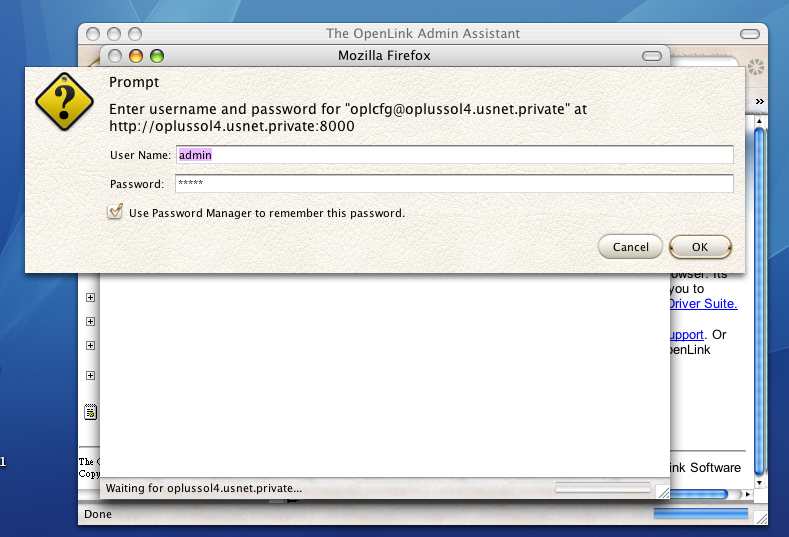
OpenLink Request Broker's HTTP-based Admin Assistant with a Web browser. As noted above, the URL convention is:
http://broker-hostname.example.com:mt_admin_port/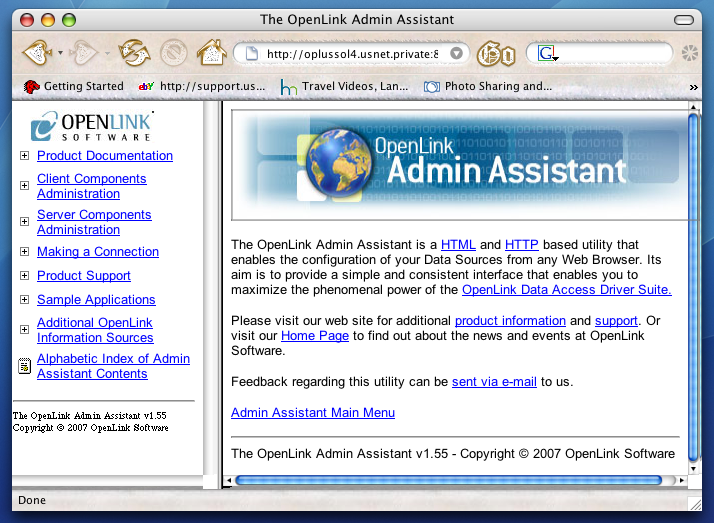
- Click the Server Components Administration link.
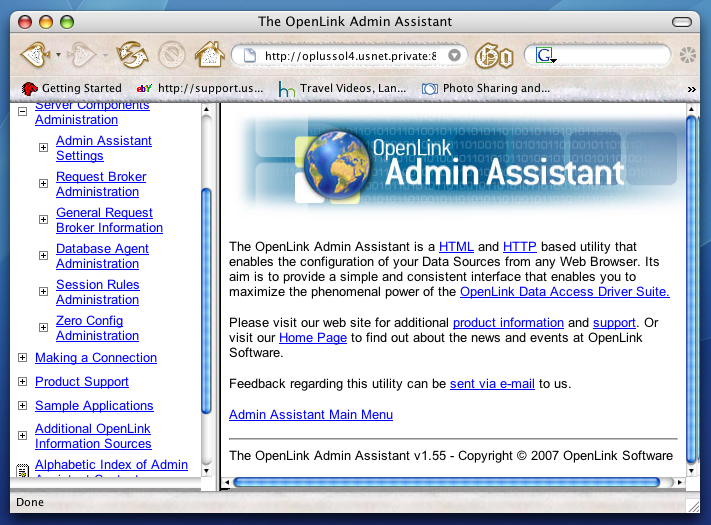
- Click the Database Agent Administration link.
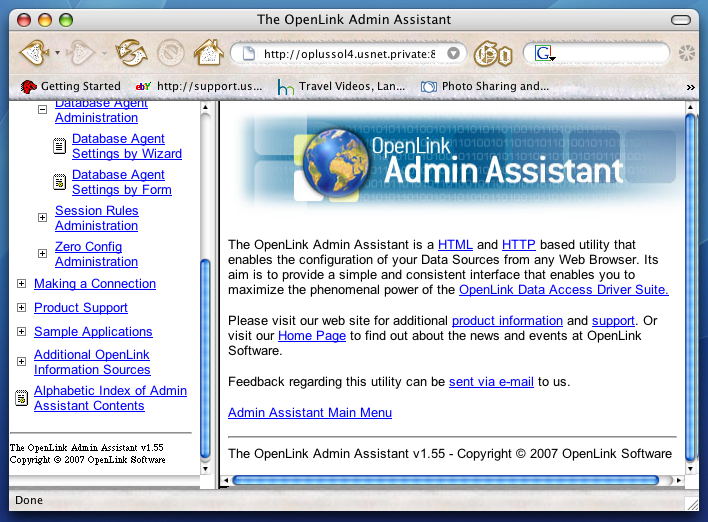
- Click the Database Settings by Wizard link.

- Login with the Administrator username and password you set up earlier.
As noted above, both default to "admin".
- Select the configuration section that you want to review.
The naming convention for default database agent configuration sections is generic_ followed by an abbreviation for the
OpenLink agent. 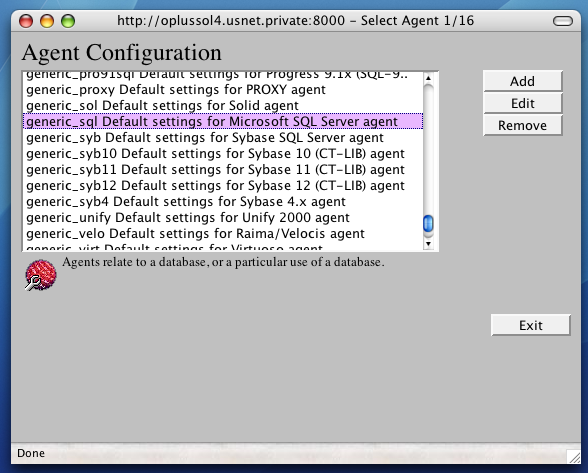
- The Agent Details dialog allows you to rename the default agent configuration section and provide an optional comment.
This is an advanced feature that should not be pursued for basic connectivity.
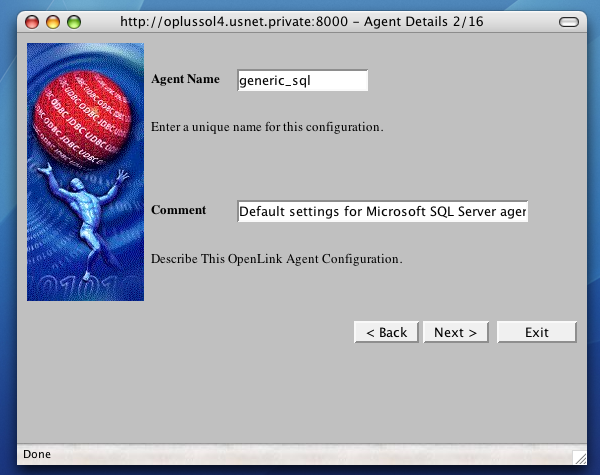
- Click Edit to continue.
- The first Connection Parameters dialog allows you to hard-code a single username and password for all connections that use this agent configuration section for ODBC connectivity.
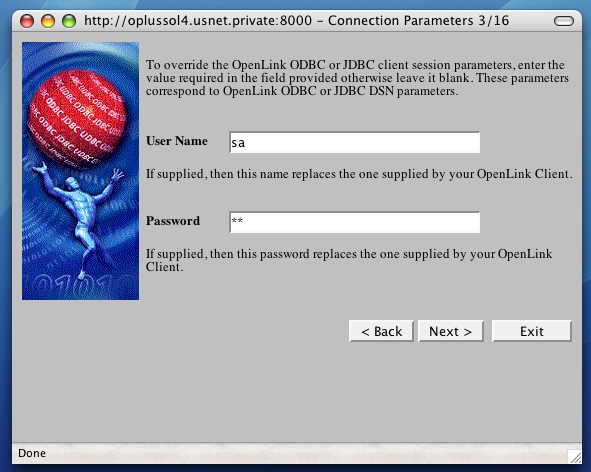
- User Name — A valid database user name.
- Password — A valid database password.
- User Name — A valid database user name.
- Click Next to continue.
- The second Connection Parameters dialog allows you to hard-code a Database/schema, Read/Write access mode, and Connection Options string for all connections that use this agent configuration section for ODBC connectivity.
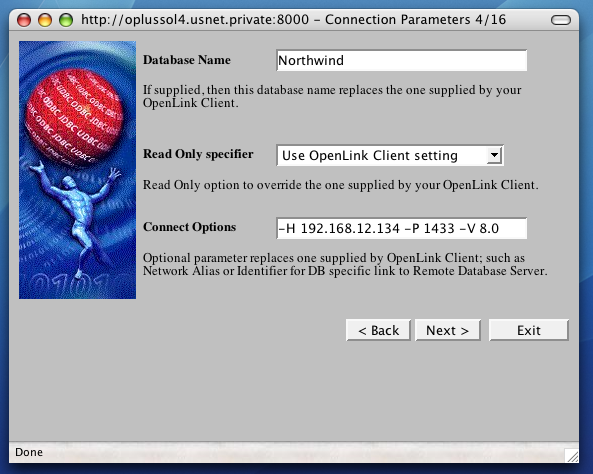
- Database Name — Takes a database name or Oracle SID.
- Read Only specifier — Specifies whether the connection is Read-only or Read/Write.
- Connect Options — This field passes network connection parameters for TCP/IP sockets-based connections to target DBMS instances, whether those reside on the Broker host or not.
Review Complete Settings and Usage for Connect Options
- Database Name — Takes a database name or Oracle SID.
- Click Next to continue.
- The second Connection Parameters dialog allows you to hardcode Server Options, a Domain, and a Host Name for all connections that use this agent configuration section for ODBC connectivity.
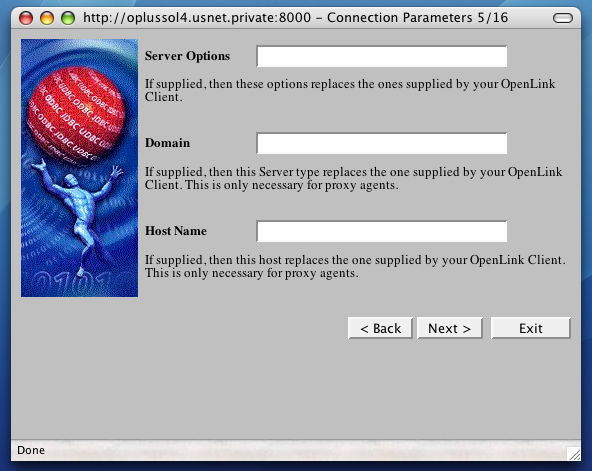
- Server Options — Server Options are typically Progress specific options which are passed to the database at startup.
You want to ensure that the options passed to the actual database match the options passed in the Server Options field or
ServerOptions parameter. These options must also match actual options passed to the database at startup time. - Domain — The value must match a [Domain Alias], which is contained in the Request Broker's Session Rulebook.
This Domain Alias typically represents the name and version of an
OpenLink Agent, by default. The agent's visible versioning may differ from the DBMS version to which it connects. Note that advanced users may create custom domain names that follow their own conventions. - Host Name — Host name or IP address of the machine that contains the
OpenLink Request Broker.
- Server Options — Server Options are typically Progress specific options which are passed to the database at startup.
You want to ensure that the options passed to the actual database match the options passed in the Server Options field or
- Click Next to continue.
- The Secure SSL Connection dialog allows you to designate an SSL certificate.
It also allows you to enforce SSL-only connectivity.
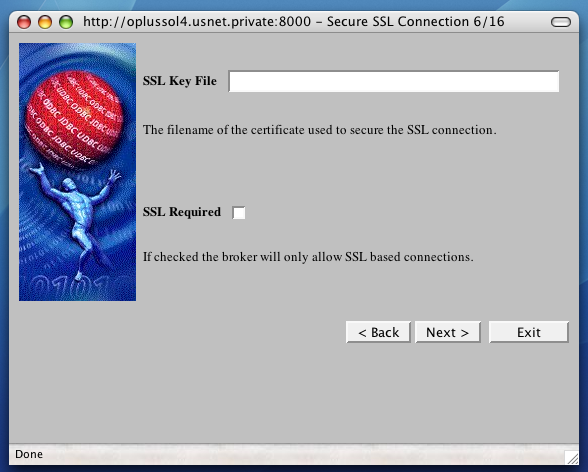
- SSL Key File — Passes the path to an SSL certificate file.
- SSL Required — Check to force the broker to accept only SSL-based connections.
- SSL Key File — Passes the path to an SSL certificate file.
- Click Next to continue.
- The first Application & Database Specific Parameters dialog allows you to enable opsyslogin.
Opsyslogin authenticates connection usernames and passwords against the operating system instead of the database.
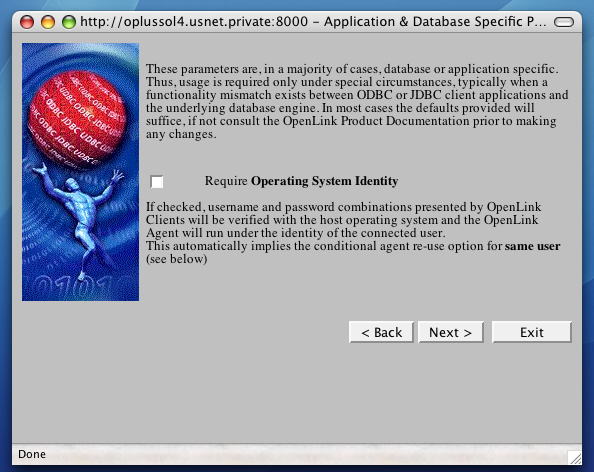
- Require Operating System Identity — If checked, the Request Broker will test to see that the username and password which are supplied to it are valid for the machine.
If the authentication parameters are valid, it will start the database agent under the identity of that user.
If unchecked, the username and password are simply passed to the backend database for its internal authentication.
- Click Next to continue.
- The second Application & Database Specific Parameters dialog allows you to set autocommit and Jet data type mapping behaviors
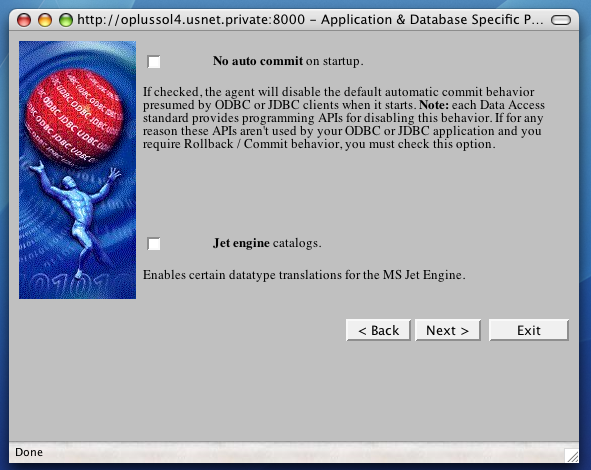
- No auto commit on startup — Changes the default commit behaviour of the
OpenLink driver. The default mode is AutoCommit (box unchecked). - Jet engine catalogs — Check this box if you intend to use this driver with Microsoft Access or other Jet-based data consumers (e.g., Microsoft Excel, Microsoft SQL Server, Microsoft OLE DB Provider for ODBC, Microsoft ADO.NET Provider for ODBC, etc.).
This option changes the handling of certain datatypes for the Microsoft Jet Engine.
If you utilize MS applications, and you notice that money and other datatypes are mishandled, test with this feature enabled.
- No auto commit on startup — Changes the default commit behaviour of the
- Click Next to continue.
- The third Application & Database Specific Parameters dialog allows you to limit your rowset size and pass an initial SQL script.
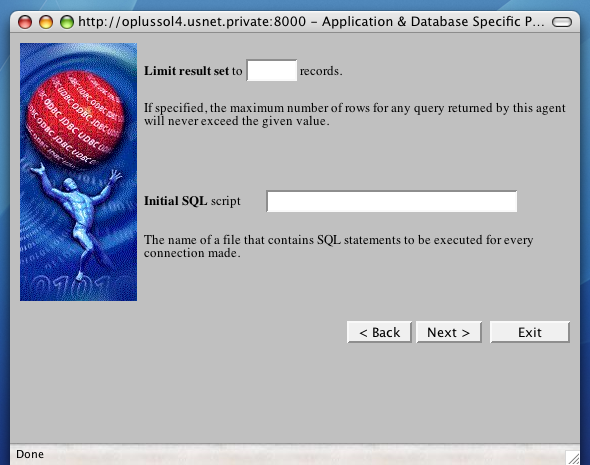
- Limit result set to n records — Allows you to define a limit on the maximum number of rows to be returned from a query.
The default value of 0 means no limit.
- Initial SQL script — Lets you specify a file containing one or more SQL statements that will be automatically executed against the database upon each connection.
- Limit result set to n records — Allows you to define a limit on the maximum number of rows to be returned from a query.
The default value of 0 means no limit.
- Click Next to continue.
- The Startup Parameters screen enables you to identify the
OpenLink database agent to use for your ODBC connections. It also allows you to hardcode specific environment variables for the connection. Proper environment variables are essential for ODBC connectivity. 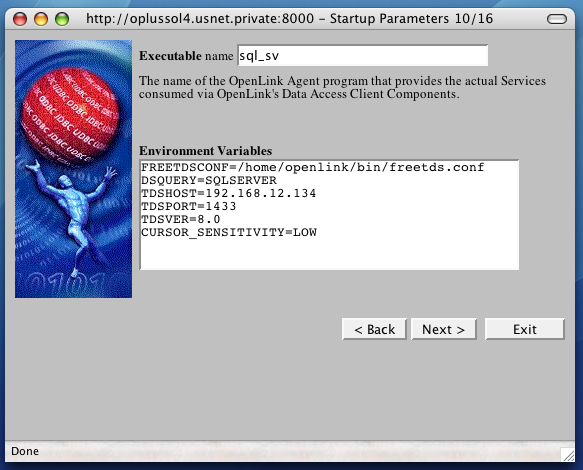
- Executable name — Allows you to choose which
OpenLink agent should serve all connections associated with this agent configuration section. - Environment Variables —
OpenLink's agents are written using the database native CLI. Consequently, they use the same environment variables that database native clients use to connect to the relevant DBMS. Use this box to set them. Complete List of Variables by Database
- Executable name — Allows you to choose which
- Click Next to continue.
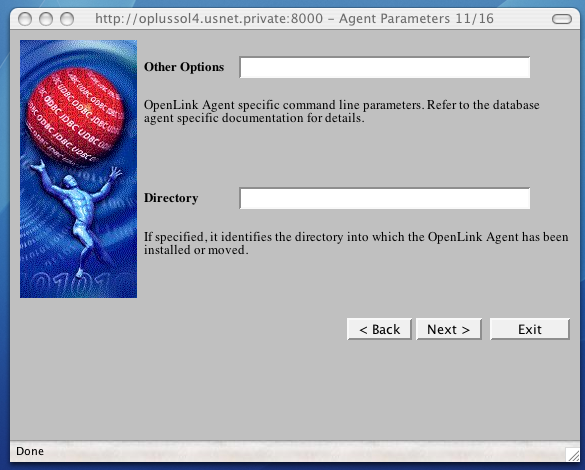
- The Process Mapping dialog enables you to set your agent reuse rules.
These rules dictate whether or not an agent process instance will be re-used for subsequent connections.
Reuse of agent instances reduces overhead associated with agent spawning and connection instantiation, but can have user authentication and other security implications.
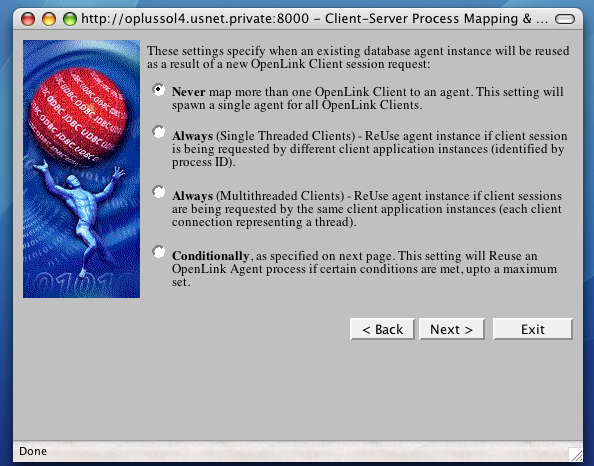
- Click Next to continue.
- The Save Settings dialog allows you to save your new agent settings.
Your new settings will not take effect until the Request Broker is restarted or reinitialized.
Check the Reinitialize box to reinitialize the
OpenLink Request Broker with these settings. Some setting changes require a full restart, which cannot be handled through the HTTP-based Admin Assistant. 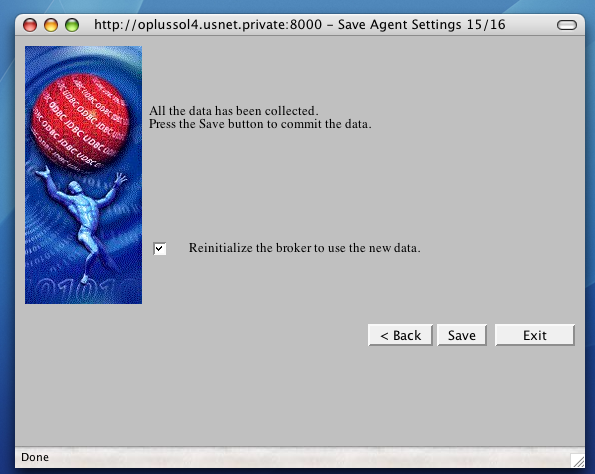
- Click Save to complete the agent configuration process.
Proceed to Commercial Licensing Documentation
If you purchase a commercial license at the end of your evaluation period, be sure to consult our documentation which explains the placement and activation of commercial license files and the use of the