Installation and Configuration of the Multi-Tier "Enterprise" Edition Generic Client ODBC Drivers, on Unix-like OS
Review Preinstallation Documentation: Multi-Tier ODBC Client Components
Installation
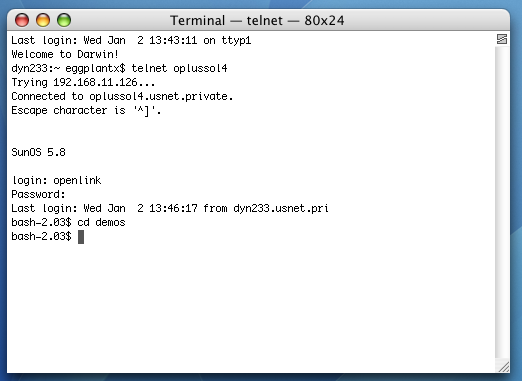
- Login to your Unix or Linux client machine.

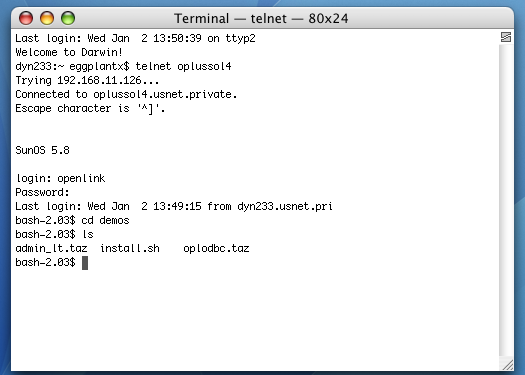
- cd into the installation directory.
- The installation files ship as an installation shell script, a driver .taz archive, and an optional administrator .taz file.
All files should be transferred using binary-preserving methods (e.g., FTP in BIN mode) at all times.
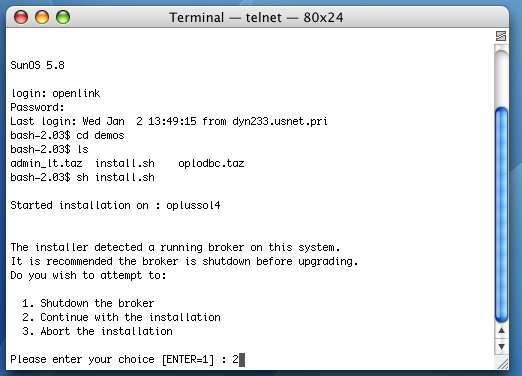
- Run the following command to start the installation:
sh install.sh - If you have a pre-existing installation running on the machine, you will be presented with the following options:
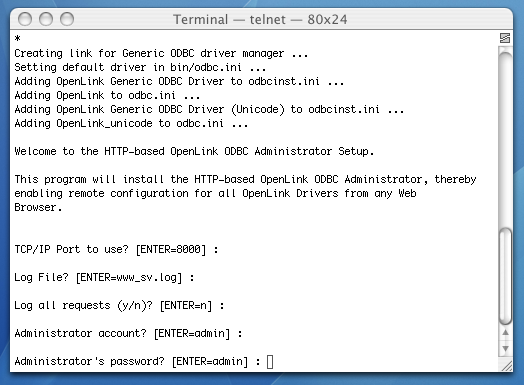
- You must choose a TCP port on which to run your HTTP-based iODBC Data Sources Administrator.
The default is 8000.
You will need to know this port number and your local machine's IP address or hostname to access your Administrator in a Web browser.
This is how you call it:
http://machine:portnumber/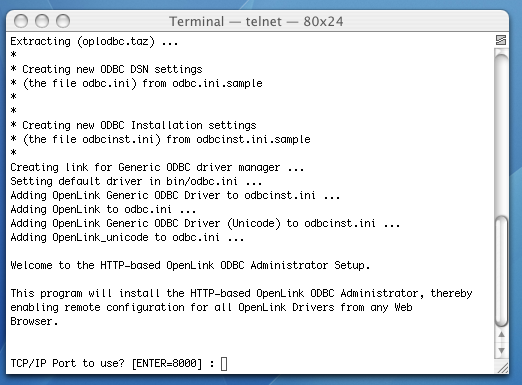
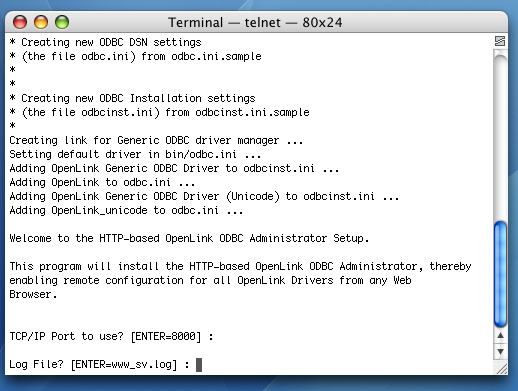
- Log File? enables you to specify the name and location of your administrator's log file.
It is best to go with the default.
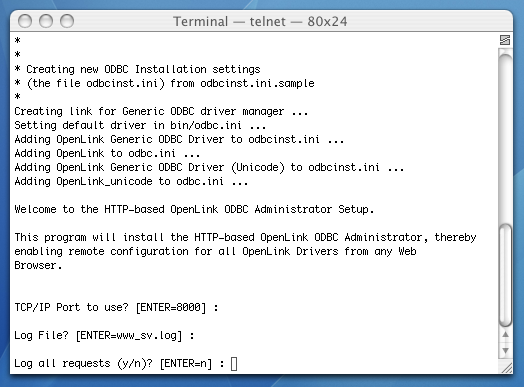
- You can choose to log all requests.
This is not diagnostic-level ODBC tracing or connection logging.
The default is no.
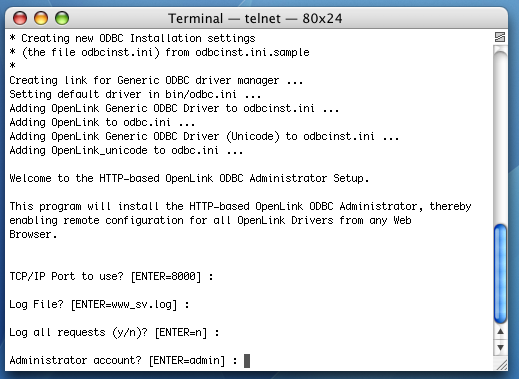
- You can change the iODBC Data Source Administrator's default username from "admin." This is the name that you will need to log in to the HTTP-based OpenLink? ODBC Administrator.
- You can change the iODBC Data Source Administrator's default password from "admin."
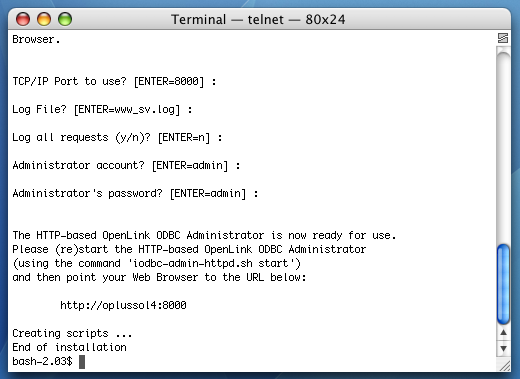
- The installation is complete.
Configuration
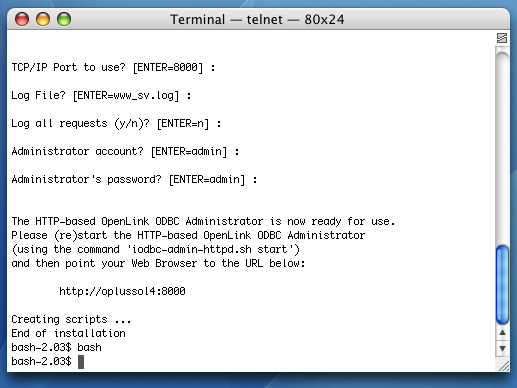
- For best results, use the bash command to open a bash shell.
Next best is the sh command for the Bourne shell.
Other shells may work, but subsequent commands may vary.
- Set the
OpenLink environment by running the appropriate script for your shell. The following will work in most environments, but your required command may differ --
shell command sh, bash, zshand related. ./openlink.sh kshand relatedsource ./openlink.sh csh, tcshand relatedsource ./openlink.csh 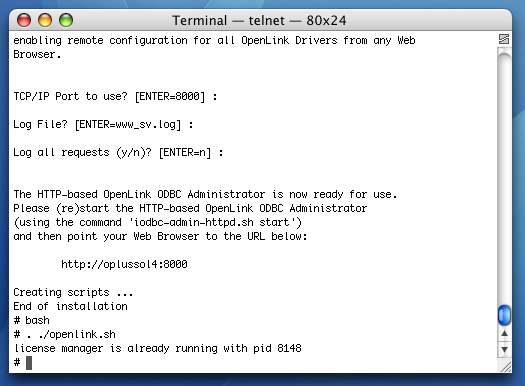
- Navigate to the bin sub-directory of your driver installation, e.g.,
cd /opt/openlink/bin/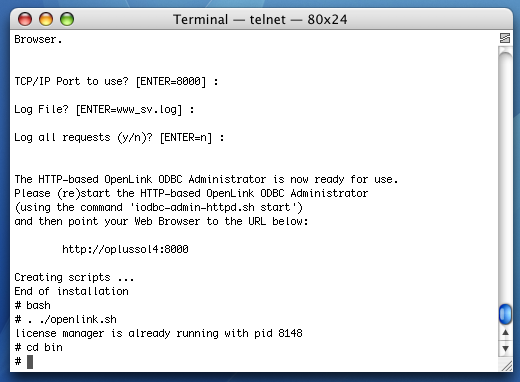
- Use the ls command to display your files.
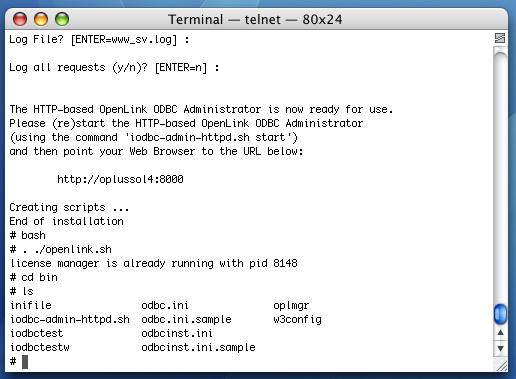
- Start the HTTP-based OpenLink? ODBC Administrator
./iodbc-admin-httpd.sh start
Note that if you have installed the Mutli-Tier Client and Server components on the same machine (and location) then the HTTP-based OpenLink? ODBC Administrator would not have been installed, as its functionality is included within the HTTP-based Multi-Tier Admin Assistant, installed as part of the Request Broker installation of the Server components.
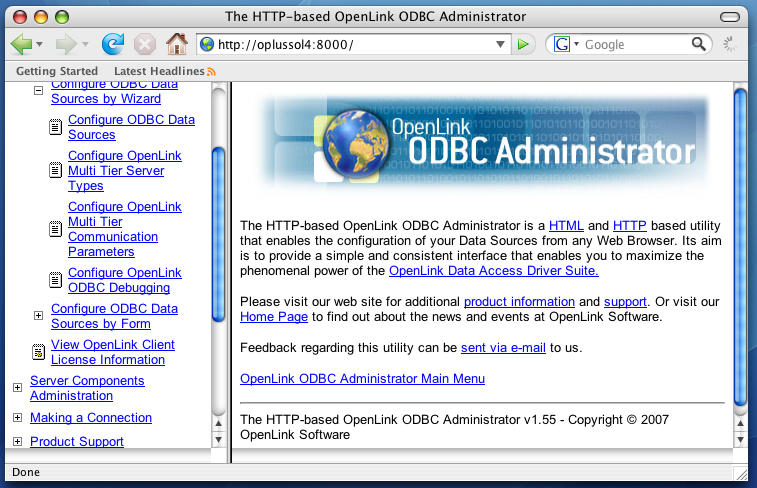
- Open a Web browser on any computer and type the URL for your administrator in the address bar.
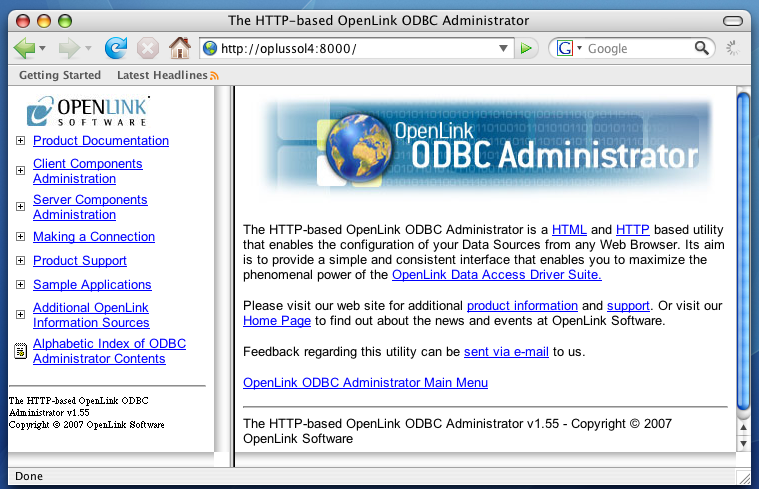
- Click the Client Components Administration link in the left hand side navigation bar.
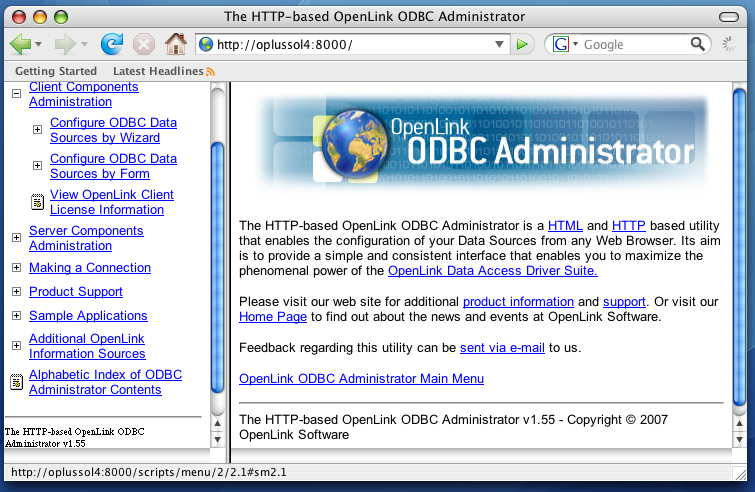
- Click the Configure ODBC Data Sources link in the left hand side navigation bar.
- Login with your Administrator's username and password, if prompted.
Both fields default to admin.
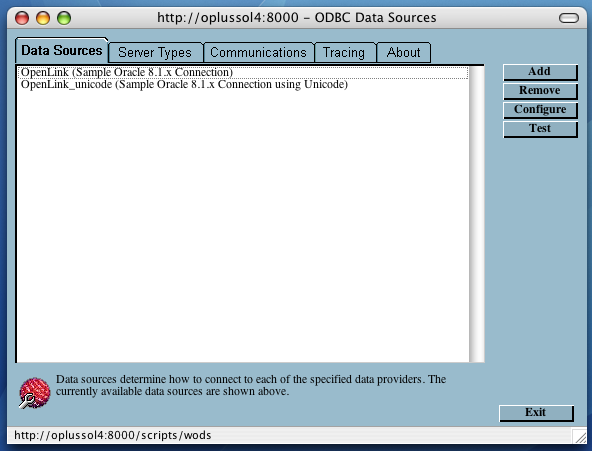
- Click the Add button that appears on the first DSN configuration dialog.
- Click the
OpenLink Generic ODBC Driver (multi-threaded). Then, click Create DSN. 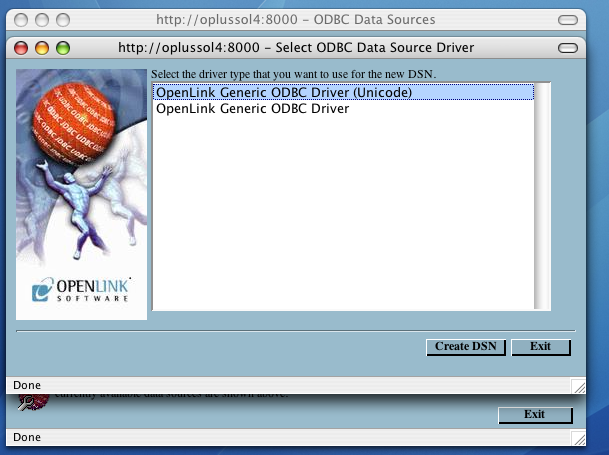
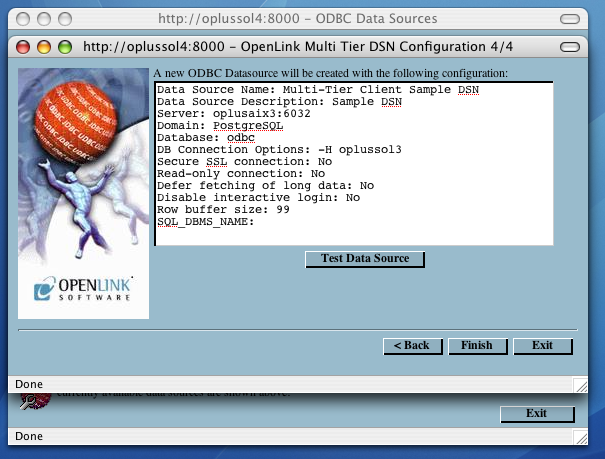
- Provide a name and optional description for your DSN.
Additionally, pass the hostname or IP address of the machine that contains the
OpenLink Multi-Tier Request Broker (server component) and the port on which the Broker listens. The form is: ip address:port number 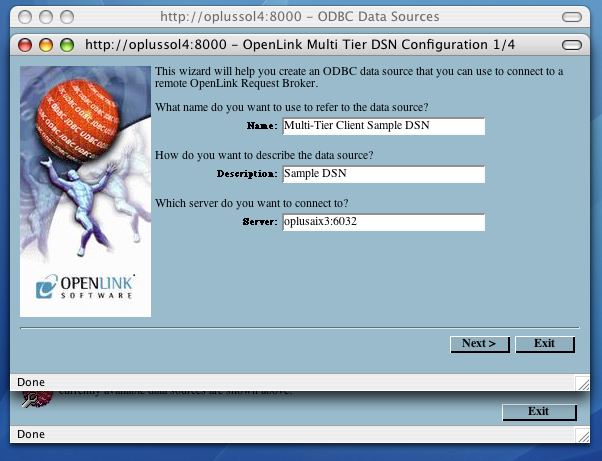
- Click Next.
- Pass the following values in the next dialog:
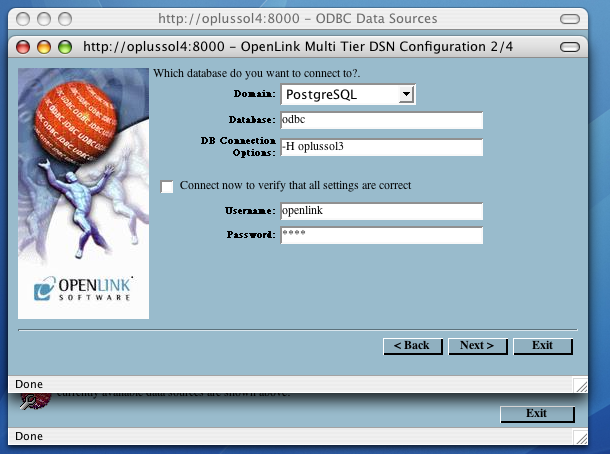
- Domain - The value must match a [Domain Alias], which is contained in the Server's Session Rules Book.
This Alias typically represents the name and version of an
OpenLink Agent. That agent version may differ from the DBMS version to which it connects. Note that advanced users may create custom domain names that follow their own, desired conventions. - Database - Takes a database name or Oracle SID.
- DB Connection Options - This field passes parameters that enable users to connect to
MySQL, PostgreSQL, SQLServer, and Sybase databases anywhere on the network. It also passes parameters that enable users to connect to any DBMS that does not reside on the same machine as the OpenLink Request Broker and Agent. Review Complete Settings and Usage for Connect Options - Connect now to verity that all settings are correct - Will attempt to connect to the database, once you click Continue.
- Username - A valid database uid.
- Password - A valid database password.
- Domain - The value must match a [Domain Alias], which is contained in the Server's Session Rules Book.
This Alias typically represents the name and version of an
- Click Next.
- The following parameters are optional settings that you may choose to use:

- Secure SSL connection - If checked, the client sets up a secure connection to the Request Broker.
- Read-only connection - Specifies whether the connection is "Read-only." Make sure the checkbox is unchecked to request a "Read/Write" connection.
- Defer fetching of long data - Defers fetching of LONG (BINARY, BLOB etc.) data unless explicitly requested in a query.
This provides significant performance increases when fields in query do not include LONG data fields.
- Disable interactive login - Suppresses the ODBC "Username" and "Password" login dialog boxes when interacting with your ODBC DSN from within an ODBC compliant application.
- Row buffer size - This attribute specifies the number of records to be transported over the network in a single network hop.
Values can range from 1 to 99.
- SQL_DBMS_Name - Manually overrides the
SQLGetInfo(SQL_DBMS_NAME) response returned by the driver. This is required for products like Microsoft InfoPath for which the return the value should be "SQL Server".
- Secure SSL connection - If checked, the client sets up a secure connection to the Request Broker.
- Click Next.
- Click the Test Data Source button to test your new Data Source.