
Creating Custom Aliases for use by Multi-Tier Data Access Clients
Understanding how to maintain Session Aliases is a critical part of understanding how to create session rules. You can create, modify, edit, and delete Session Aliases in two ways: you either use the Admin Assistant's GUI interface, or you manually edit the session rulebook using a text editor (only recommended for advanced users).
The steps that follow guide you through the Session Alias management process using the Admin Assistant's GUI. Before performing any of these steps you may need to start the Admin Assistant, by following the steps below:
- Start the Request Broker
- Start a Web Browser session
- Enter the appropriate URL into your browser (adjusting the port number, if you changed the Admin Assistant port number during installation):
- If the Request Broker is running on the same machine as your web browser, enter:
http://localhost:8000/
- If the Request Broker is running on another machine than your web browser, enter:
http://<hostname or IP address>:8000
- If the Request Broker is running on the same machine as your web browser, enter:
Domain Aliases
The steps that follow show you how to manage Domain Aliases:
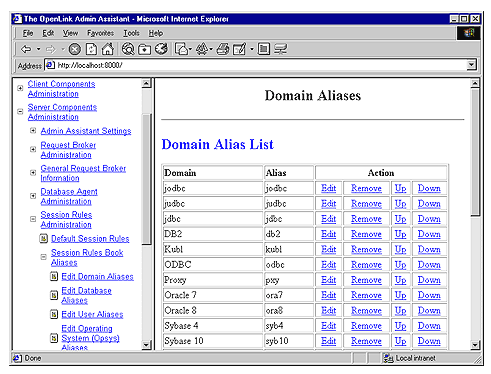
- Follow the "Server Components Administration"->"Session Rules Administration"->"Session Rules Book Aliases"->"Edit Domain Aliases" menu tree which brings you to a screen identical to the one depicted below.
The Admin Assistant presents you with a list of pre-configured Domain Aliases, click on the "Edit" hyperlink to change settings, the "Remove" hyperlink to delete an Alias, and the "Add" button at the bottom of the screen to create a new Domain Alias.
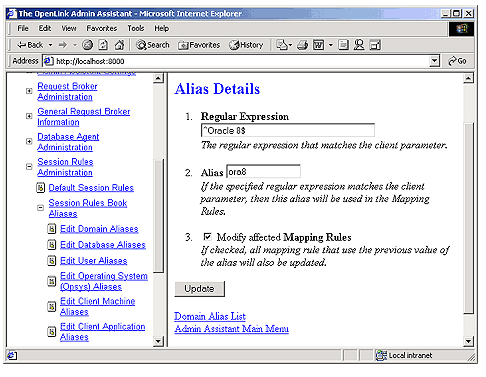
- The example below assumes that you are modifying a Domain Alias named "ora8" with the attribute values "Oracle 8".
This implies that you want to take note of Domain Connection Attributes from a Multi-Tier Client that start with the value "Oracle 8" evaluation against a mapping rules template.
Once you have completed your input click the "Update" button.
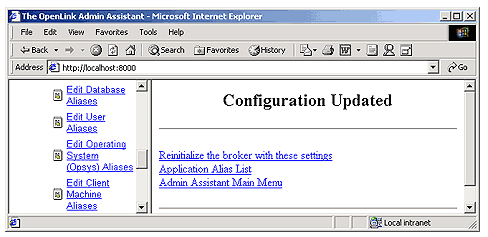
- You then commit your changes to the rule book by clicking on the "Reinitialize the Multi-Tier Request Broker with these settings" hyperlink.
See screen shot below:
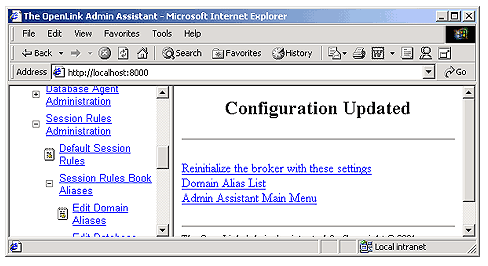
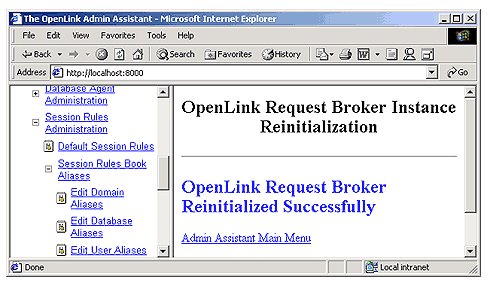
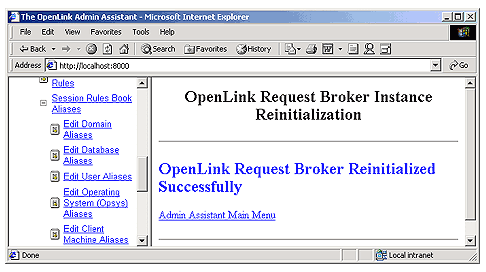
- Admin Assistant confirms commitment of your changes to the rule book.
User Aliases
The steps that follow show you how to manage User Aliases using the Admin Assistant:
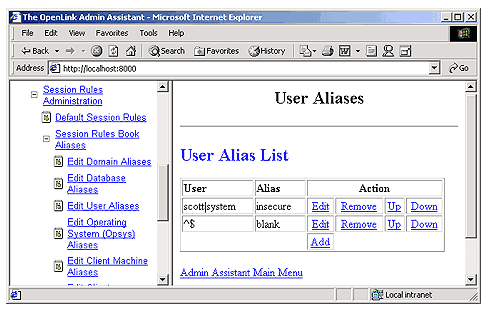
- Follow the "Server Components Administration"->"Session Rules Administration"->"Session Rules Book Aliases"->"Edit User Aliases" menu tree which brings you to a screen similar to the one depicted below.
The Admin Assistant presents you with a list of pre-configured User Aliases if any exist, if this is your first time there will be not items listed. Click on the "Add" hyperlink to create a new User Alias.
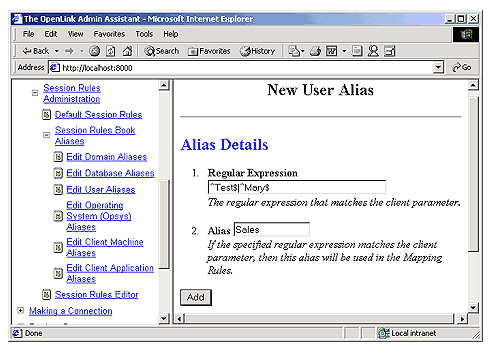
- The example below assumes that you are creating an User Alias named "Sales" with attribute values of "Test" or "Mary", the use of the caret symbol (character "^") and the Dollar symbol indicate the start and end of regular expression evaluation values respectively.
The Pipe symbol (character "|") indicates an OR condition.
Thus the entry depicted below implies that you want to take note of User Connection Attributes from a Multi-Tier Client that hold the values "Test" or "Mary" for evaluation against a mapping rules template.
Once you have completed your input click the "Add" button.
- You then commit your changes to the rule book by clicking on the "Reinitialize the Multi-Tier Request Broker with these settings" hyperlink.
See screen shot below:
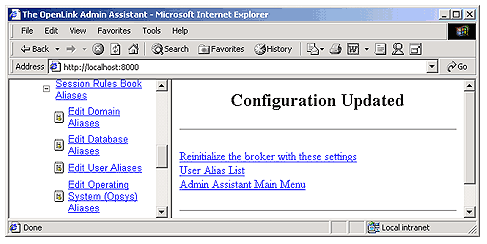
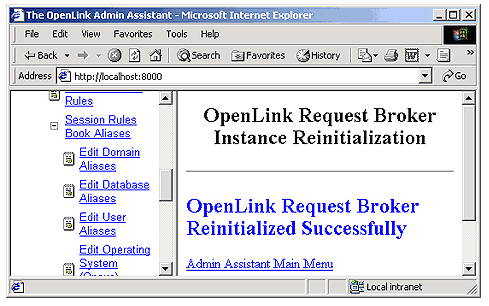
- Admin Assistant confirms commitment of your changes to the rule book.
The steps that follow show you how to manage
- Follow the "Server Components Administration"->"Session Rules Administration"->"Session Rules Book Aliases"->"Edit Operating System Aliases" menu tree which brings you to a screen identical to the one depicted below.
- The Admin Assistant presents you with a list of pre-configured
OpSys Aliases if any exist, if this is your first time no items will be listed. Click on the "Add" hyperlink to create a new OpSys Alias.
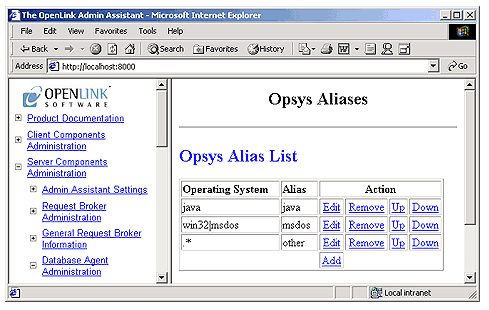
- The example below assumes that you are creating an
OpSys Alias named " ClientOS" with attribute values of "win32" or "unix". The Pipe symbol (character "|") indicates an OR condition. Thus the entry depicted below implies that you want to take note of OpSys Connection Attributes from a Multi-Tier Client that start with the values "win32" or "unix" for evaluation against a mapping rules template. Once you have completed your input click the "Add" button.

- Commit your changes to the rule book by clicking on the "Reinitialize the Multi-Tier Request Broker with these settings" hyperlink.
See screen shot below:
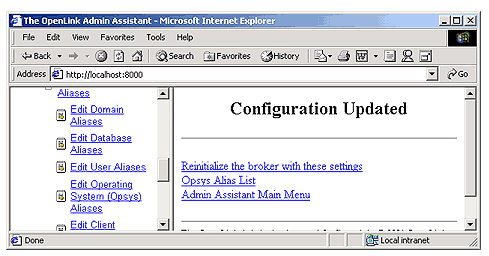
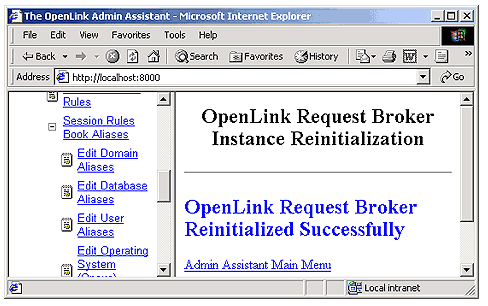
- Admin Assistant confirms commitment of your changes to the rule book.
Machine Aliases
The steps that follow show you how to manage User Aliases using the Admin Assistant:
- Follow the "Server Components Administration"->"Session Rules Administration"->"Session Rules Book Aliases"->"Edit Operating Machine Aliases" menu tree which brings you to a screen identical to the one depicted below.
- The Admin Assistant presents you with a list of pre-configured
OpSys Aliases if any exist, if this is your first time no items will be listed. Click on the "Add" hyperlink to create a new Machine Alias.
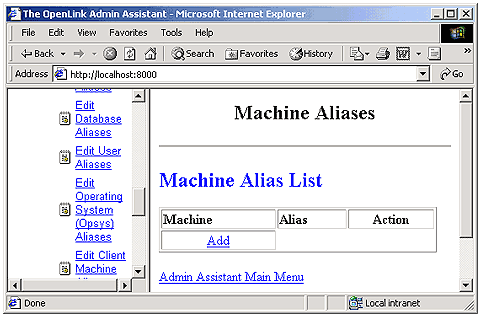
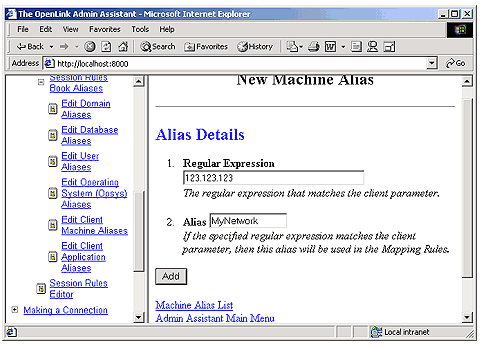
- The example below assumes that you are creating an Machine Alias named "
MyNetwork" with an attribute value of "123.123.123". This implies that you want to take note of Machine Connection Attributes from a Multi-Tier Client that start with the value "123.123.123" (you would do this to identify the Network portion of the client machines IP address). Once you have completed your input click the "Add" button.
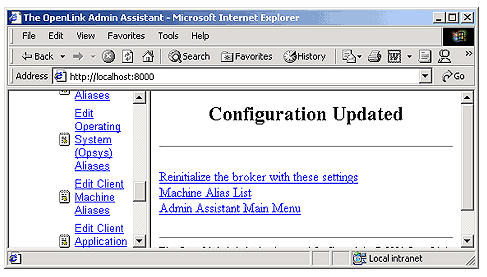
- Commit your changes to the rule book by clicking on the "Reinitialize the Multi-Tier Request Broker with these settings" hyperlink.
See screen shot below:
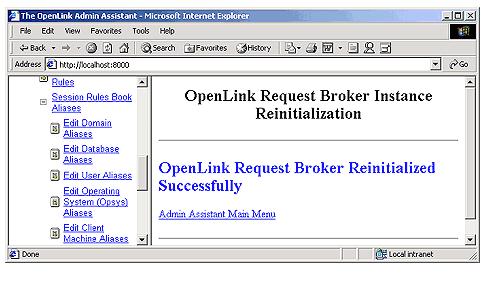
- Admin Assistant confirms commitment of your changes to the rule book.
Application Aliases
The steps that follow show you how to manage User Aliases using the Admin Assistant:
- Follow the "Server Components Administration"->"Session Rules Administration"->"Session Rules Book Aliases"->"Edit Application Aliases" menu tree which brings you to a screen identical to the one depicted below.
- The Admin Assistant presents you with a list of pre-configured Application Aliases, click on the "Edit" hyperlink to change settings, the "Remove" hyperlink to delete an Alias, and the "Add" button at the bottom of the screen to create a new Application Alias.
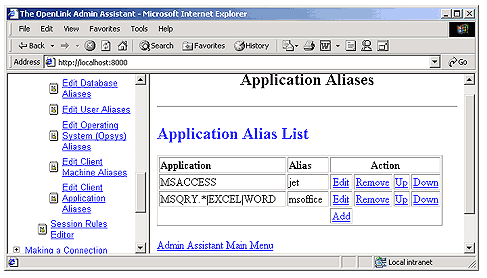
- The example below assumes that you are modifying an Application Alias named "msoffice" with attribute values of "MSACCESS" or "EXCEL" or "MSQRY32".
The Pipe symbol (character "|") indicates an OR condition.
Thus, the entry depicted below implies that you want to take note of Application Connection Attributes from a Multi-Tier Client that hold the values "MSACCESS" or "EXCEL" or "MSQRY32" for evaluation against a mapping rules template.
Once you have completed your input click the "Update" button.

- Commit your changes to the rule book by clicking on the "Reinitialize the Multi-Tier Request Broker with these settings" hyperlink.
- Admin Assistant confirms commitment of your changes to the rule book.
Determining The Values of Multi-Tier Client Generated Connection Attributes
To manage Aliases for non-user-configurable Connection Attributes, determine the relevant values with the following steps:
- Start the Request Broker in Debug Mode
- Then make a connection from your Multi-Tier Client
- Your Request Broker's debug window will contain something similar to the following:
oplrqb: client-machine.YourDomain called (123.123.123.100.1510)
oplrqb: request: domain=Oracle 8 database= serveropts=
oplrqb: connectopts= user= opsys=win32 readonly=0
oplrqb: application=OPLSCAN processid=384
- Take note of the values assigned to the following Connection Attributes: opsys, readonly, and application. Apply these values to the appropriate Aliases that your are attempting to configure.